Upgrade Your Vanity Lighting: A Step-by-Step Guide on How to Transform One Vanity Light into Two
*This post contains affiliate links. I will receive a commission for items purchased through these links at no extra cost to you. I appreciate your support. Please read all labels and follow all manufacturer safety recommendations when working with any tools or equipment recommended.
All My Favorite Tools Can Be Found Here
All Materials in this post can be found here!
Watch a video tutorial Here!
When it comes to bathroom aesthetics, good lighting is key, and upgrading your vanity lights can make a significant difference. In this step-by-step guide, we’ll walk you through the process of transforming a single vanity light into two for a more balanced and stylish look. Follow these instructions carefully to achieve the desired outcome while ensuring safety and functionality.
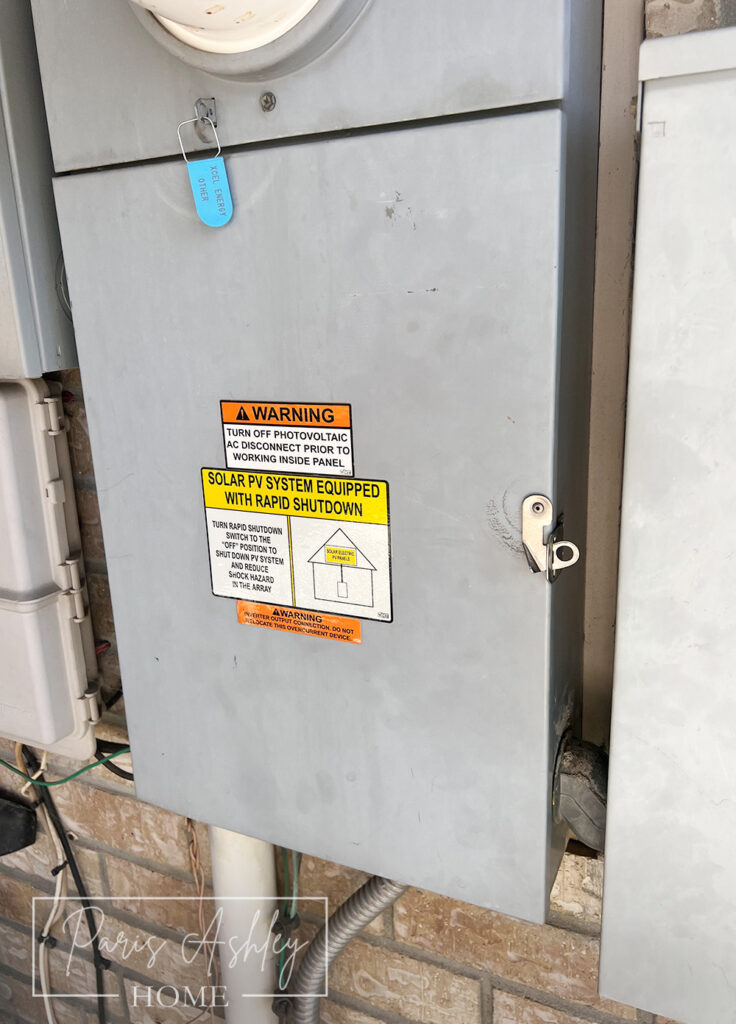
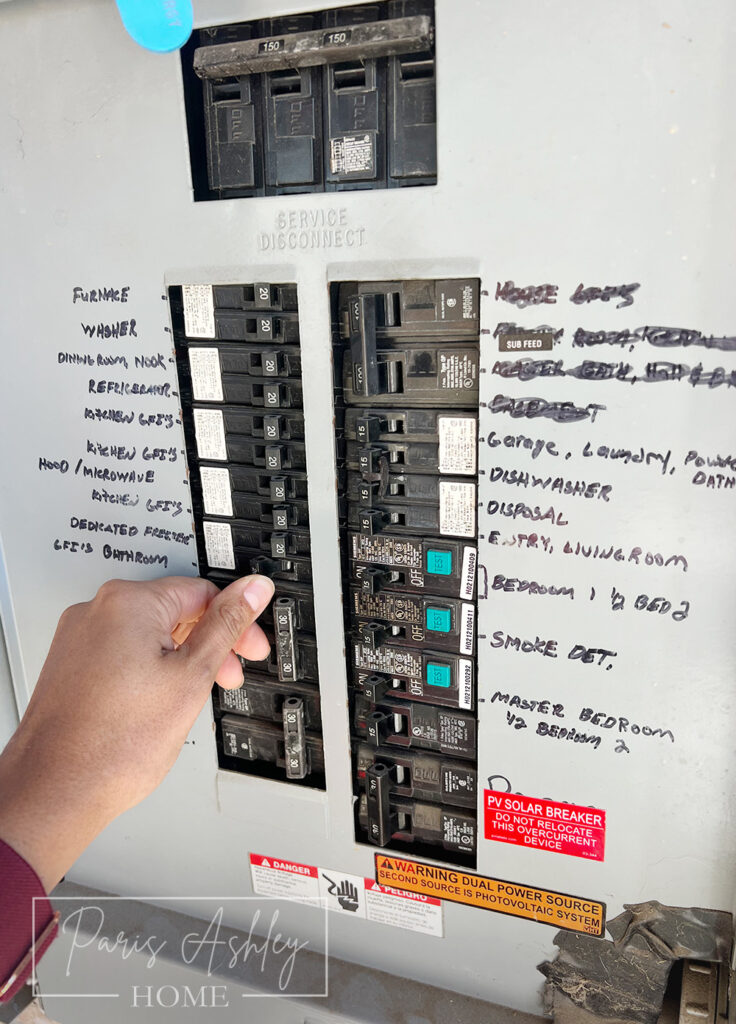
Step 1: Ensure Safety First
Safety should always be the top priority when working with electricity. Start by turning off the power at your breaker box to ensure a safe working environment.
Step 2: Remove the Old Light
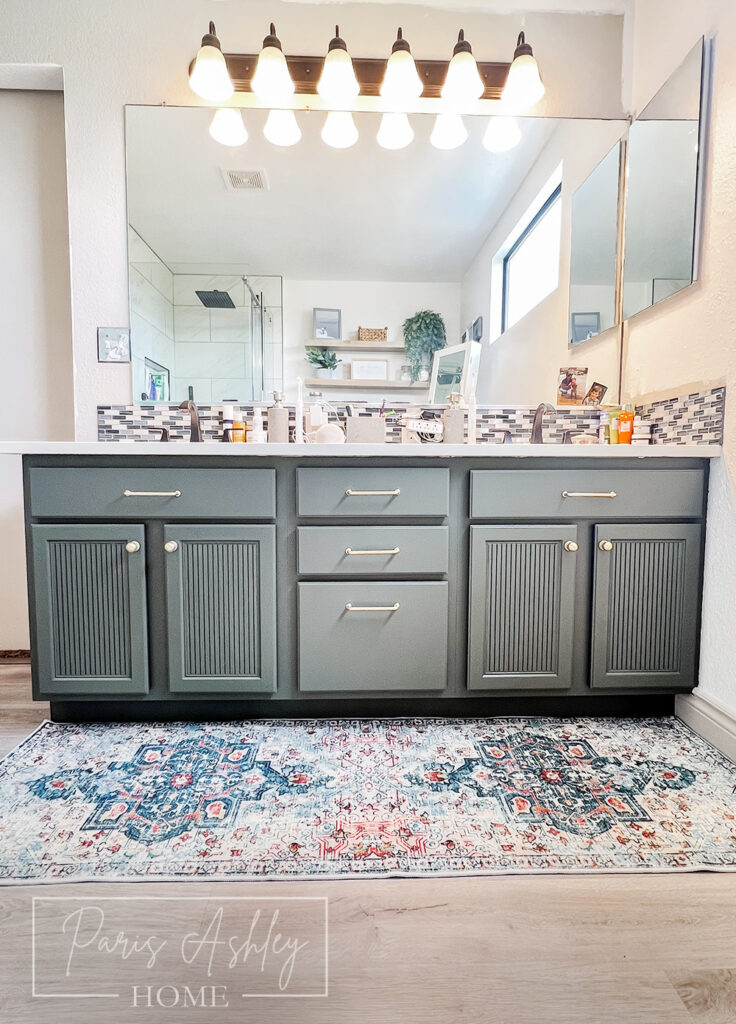
Carefully remove your old vanity light, taking note of its placement and wiring configuration.
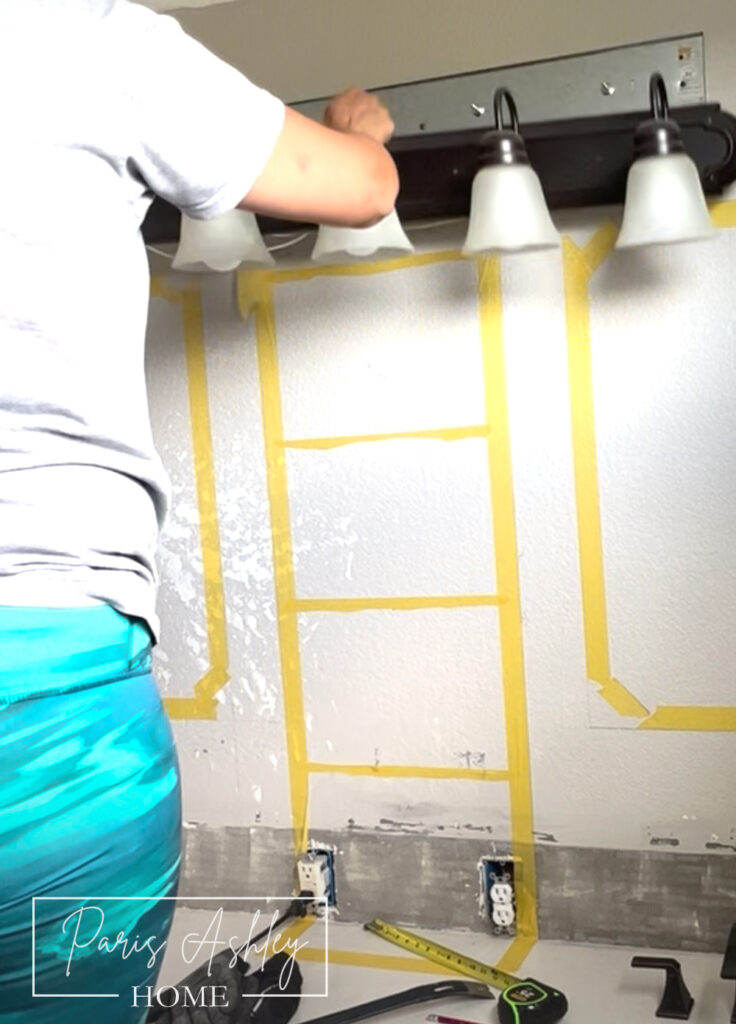
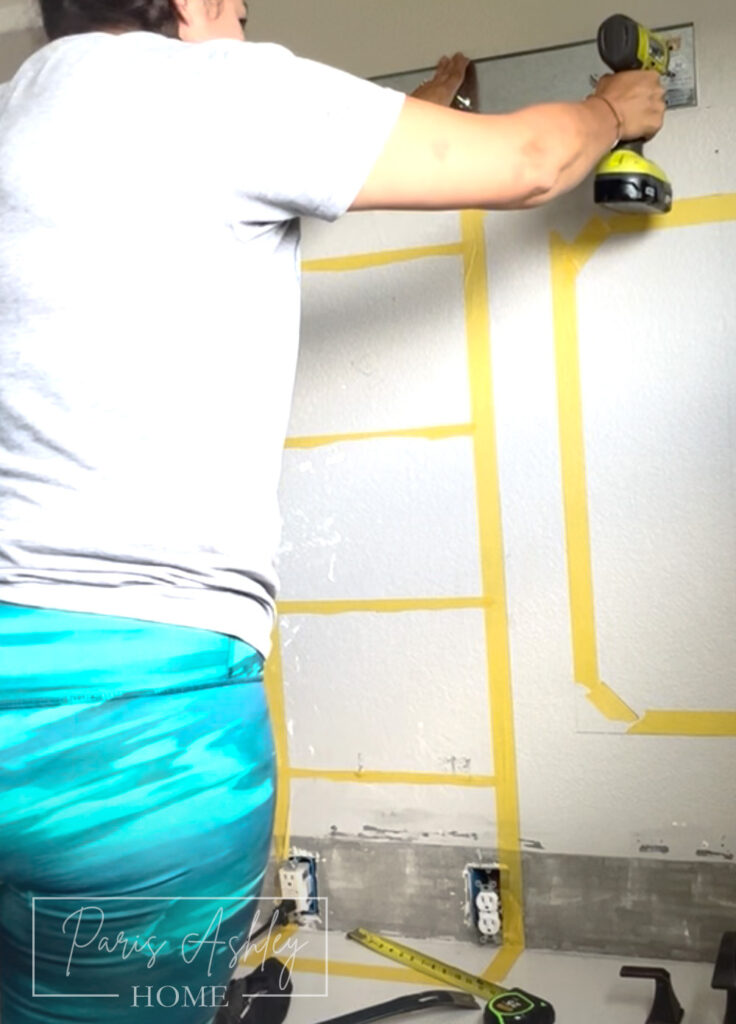
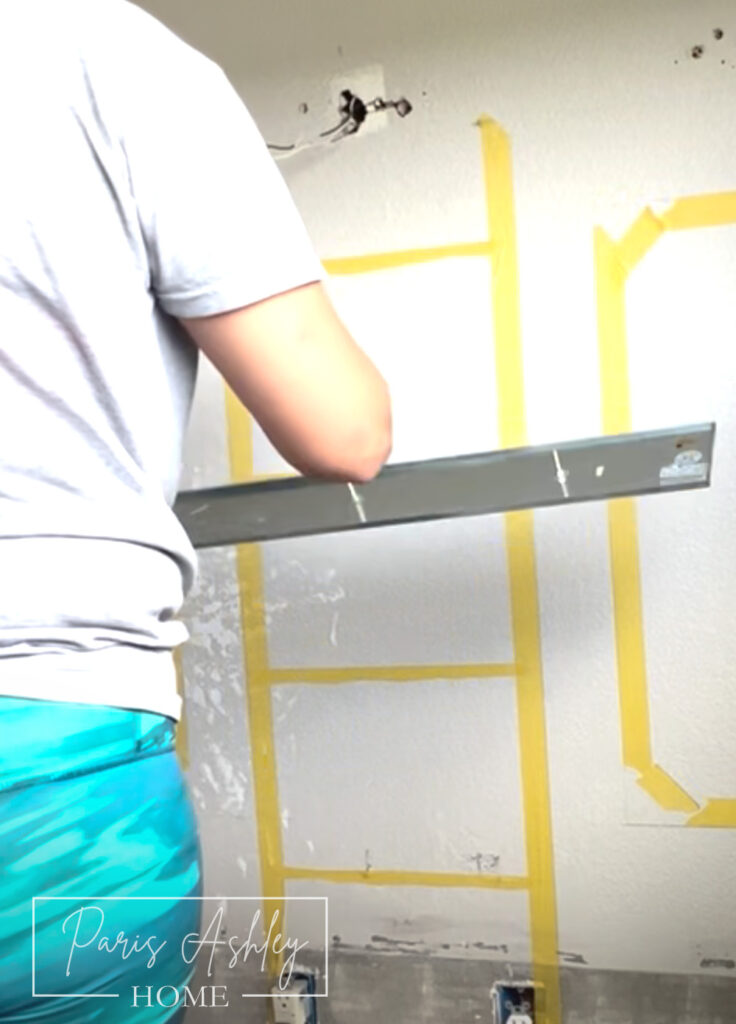
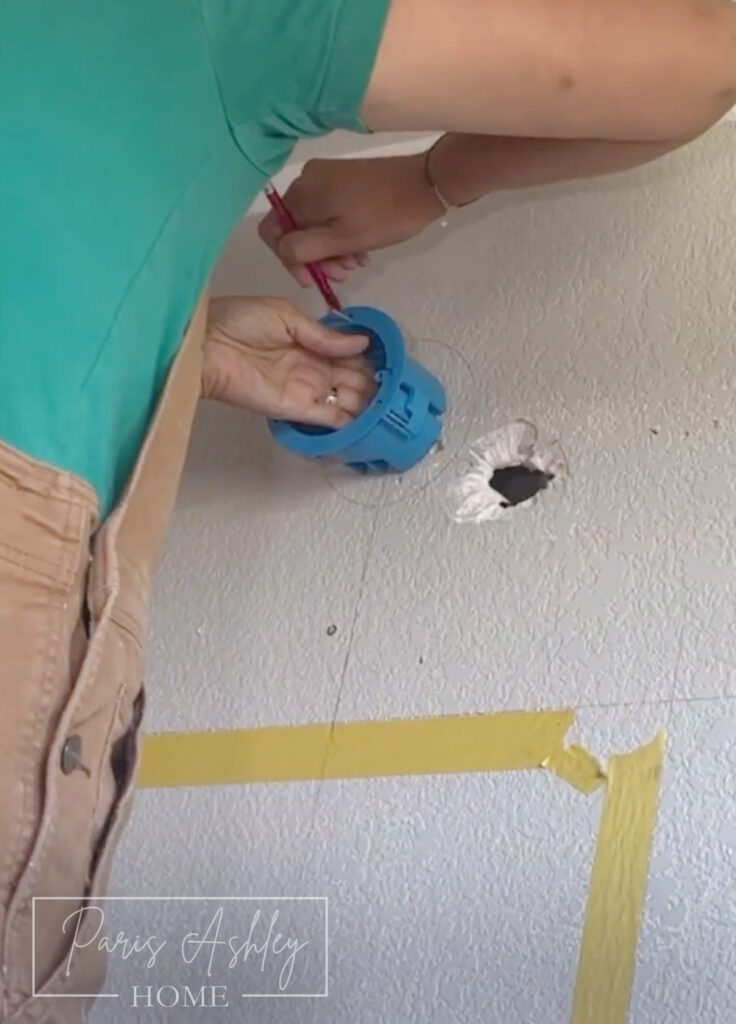
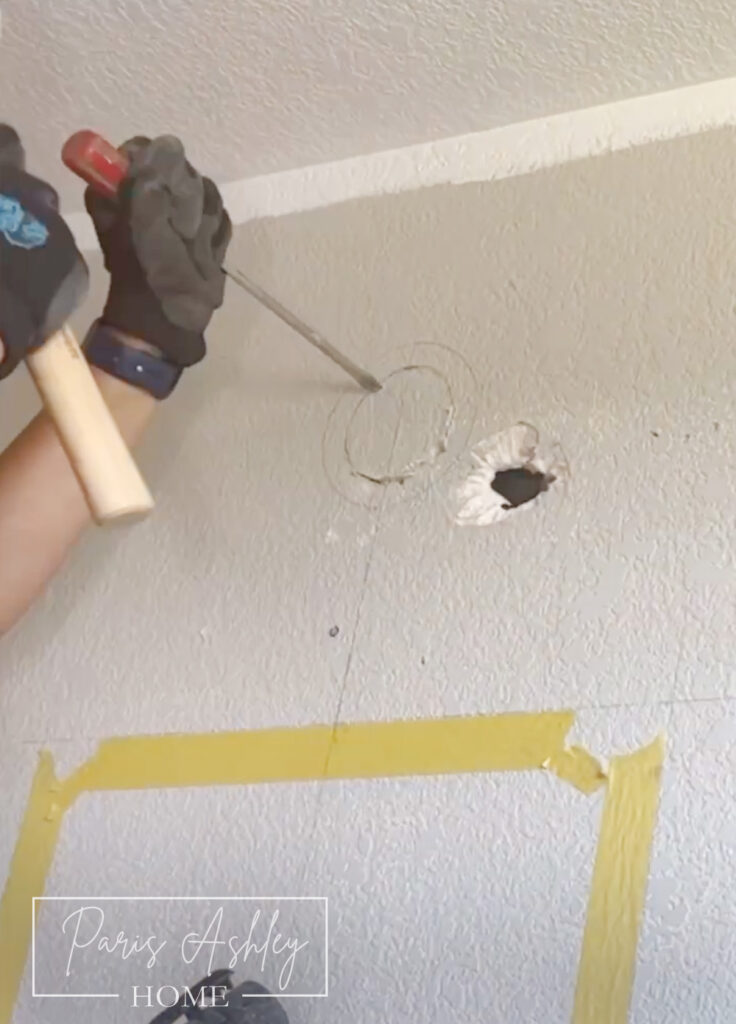
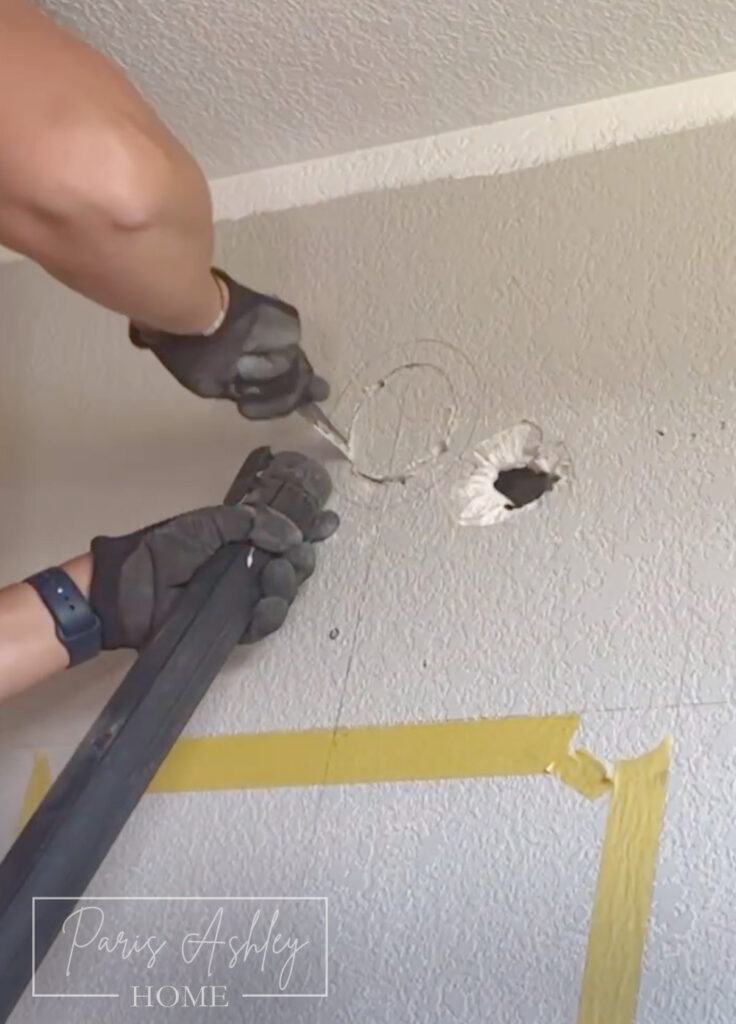
Step 3: Measure and Install New Electrical Boxes
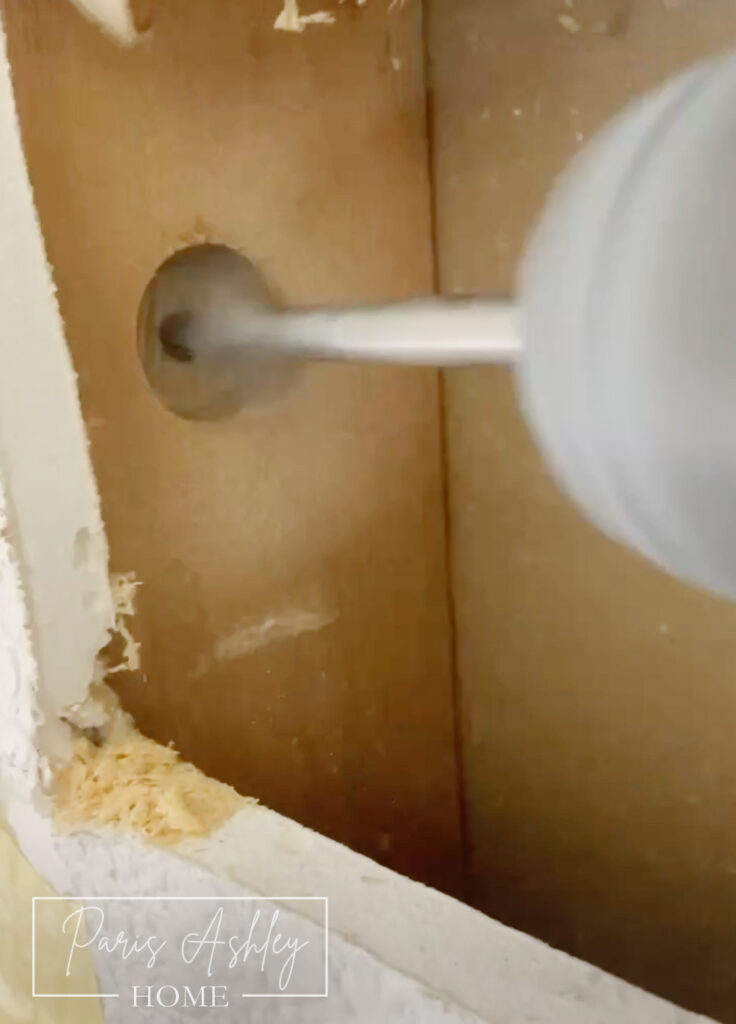
Measure where you want your two new lights, typically centered over your sinks. This step is crucial for achieving a symmetrical and visually appealing result. Place your new electrical boxes on the wall according to your measurements. Draw a line around each box and use a screwdriver to make a hole in the drywall. Use a sawzall blade to cut out the circles, ensuring the boxes fit snugly. Don’t push them all the way in yet, as you’ll need to fish the cords through the new holes first. Repeat the process for the second light on the other side of your vanity area.
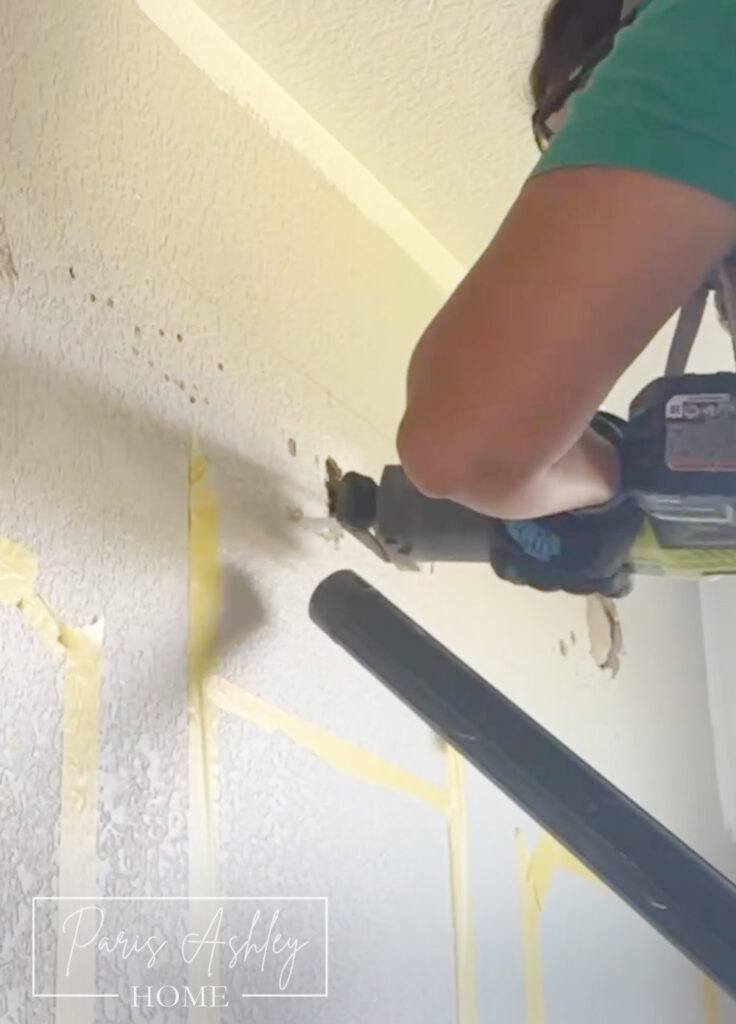
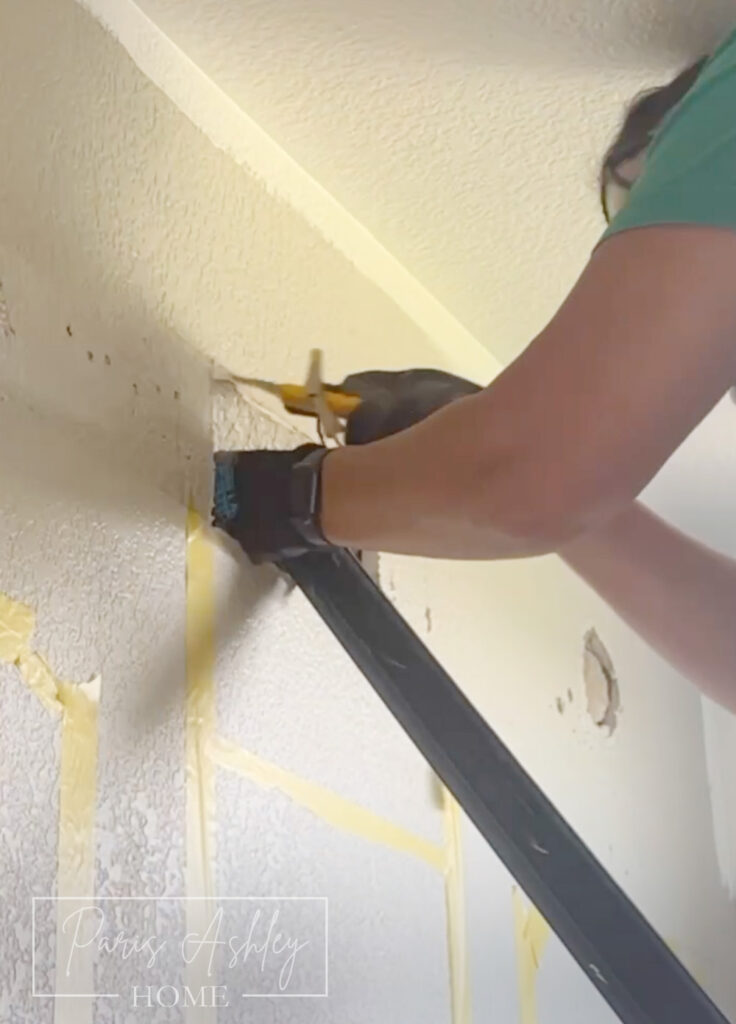
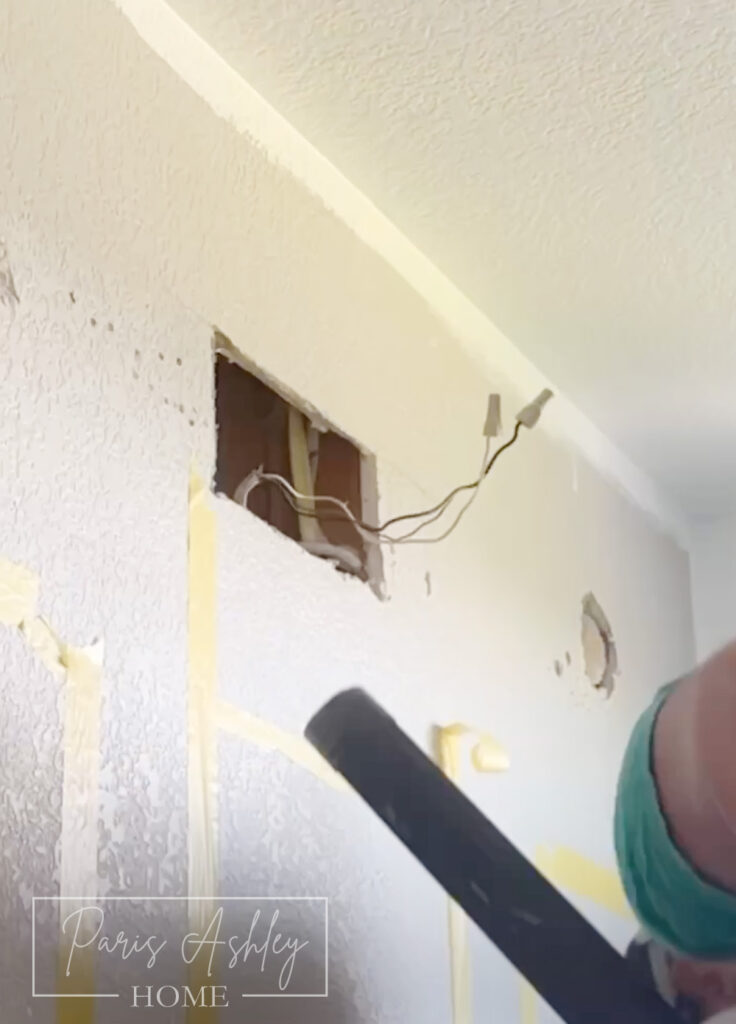
Step 4: Create Wire Paths
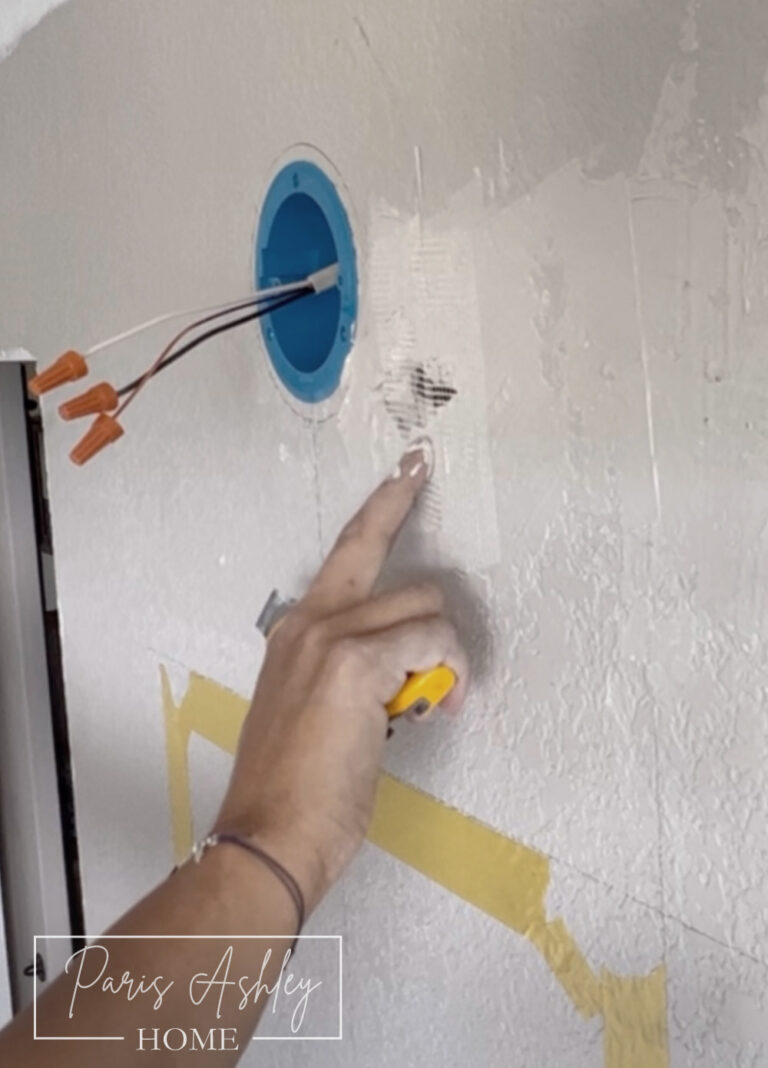
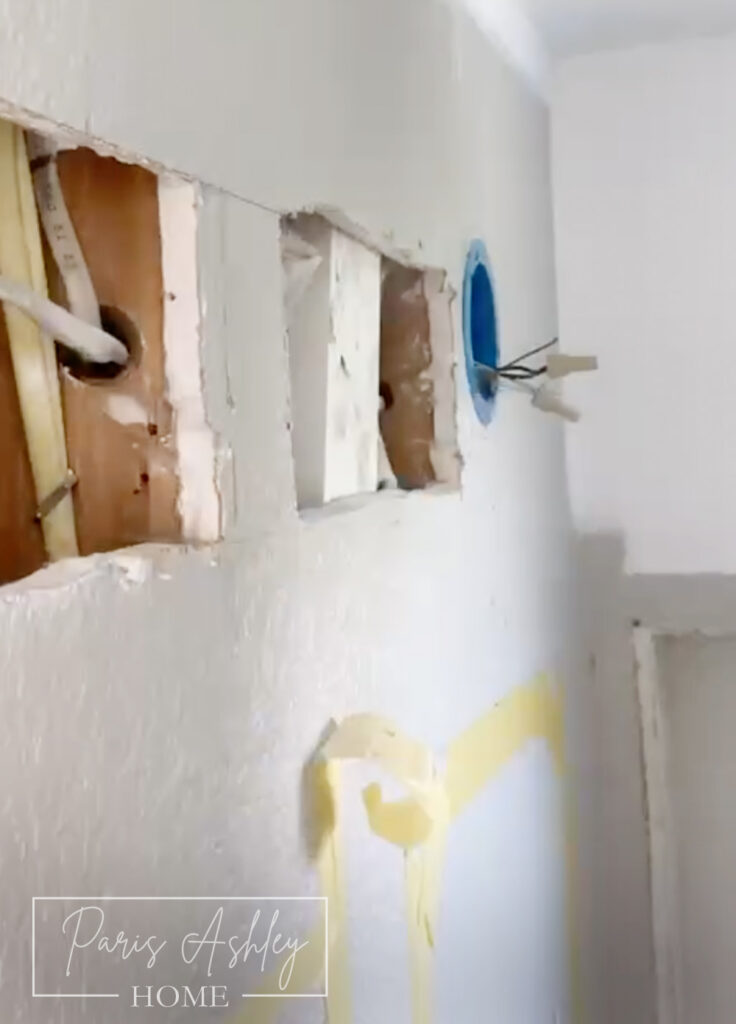
Use a sawzall to cut a large hole around the old wires, between the studs. Cut the drywall cleanly between the studs, preserving it for later repairs. Drill 1″ holes in the studs for fishing the wires to the new light locations.
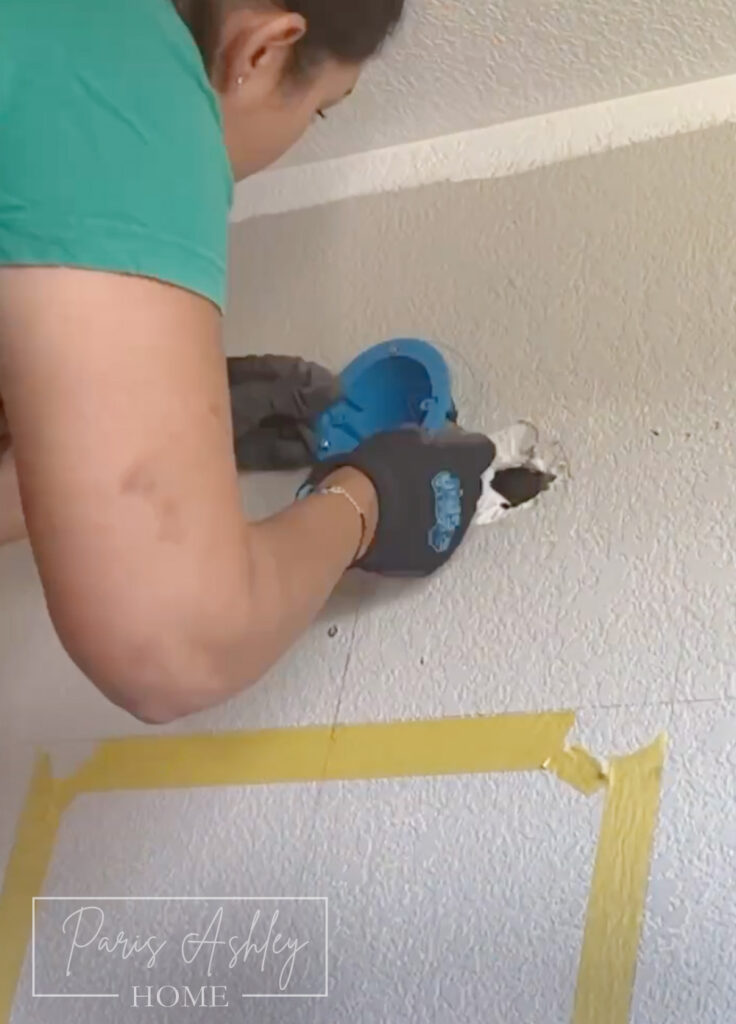
Step 5: Run New Electrical Wires
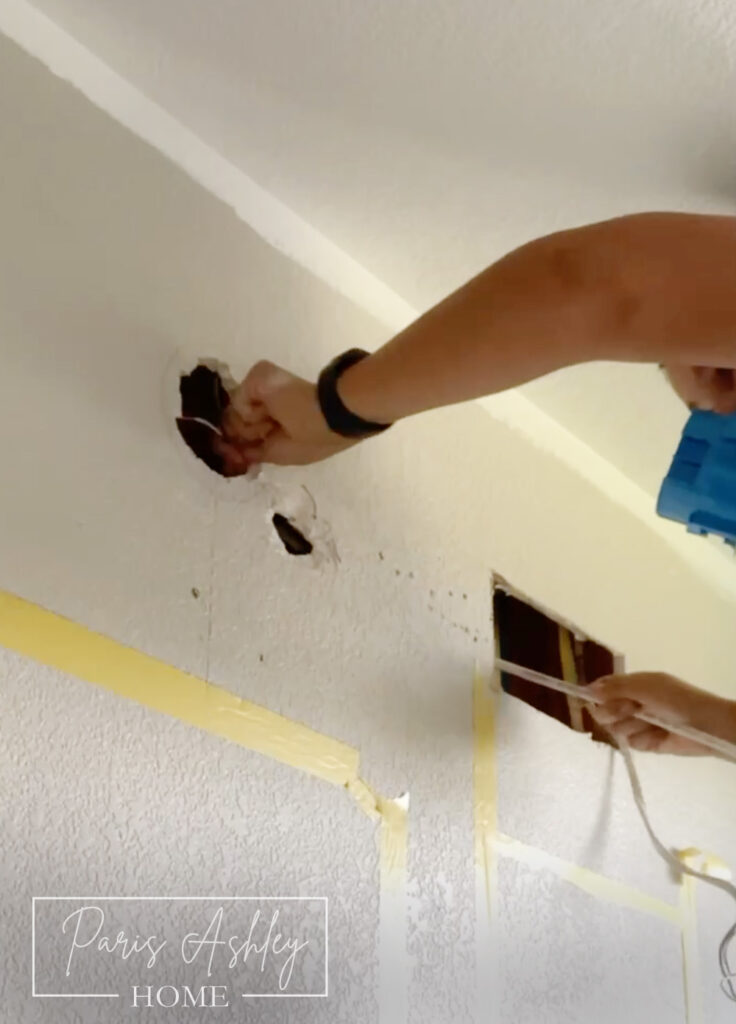
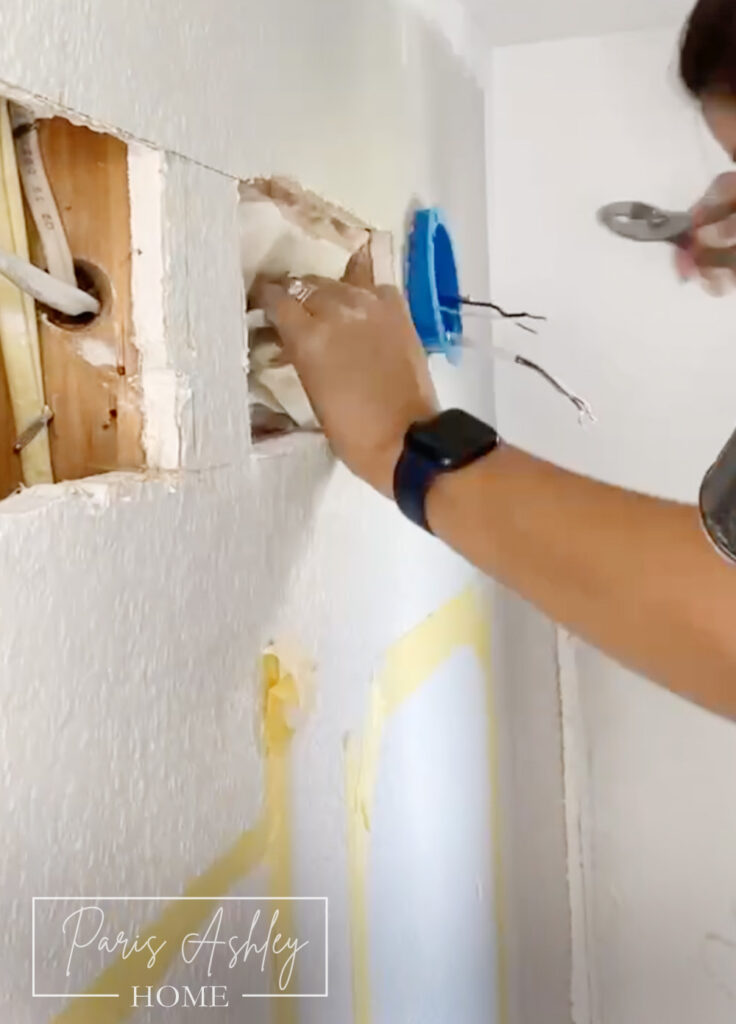
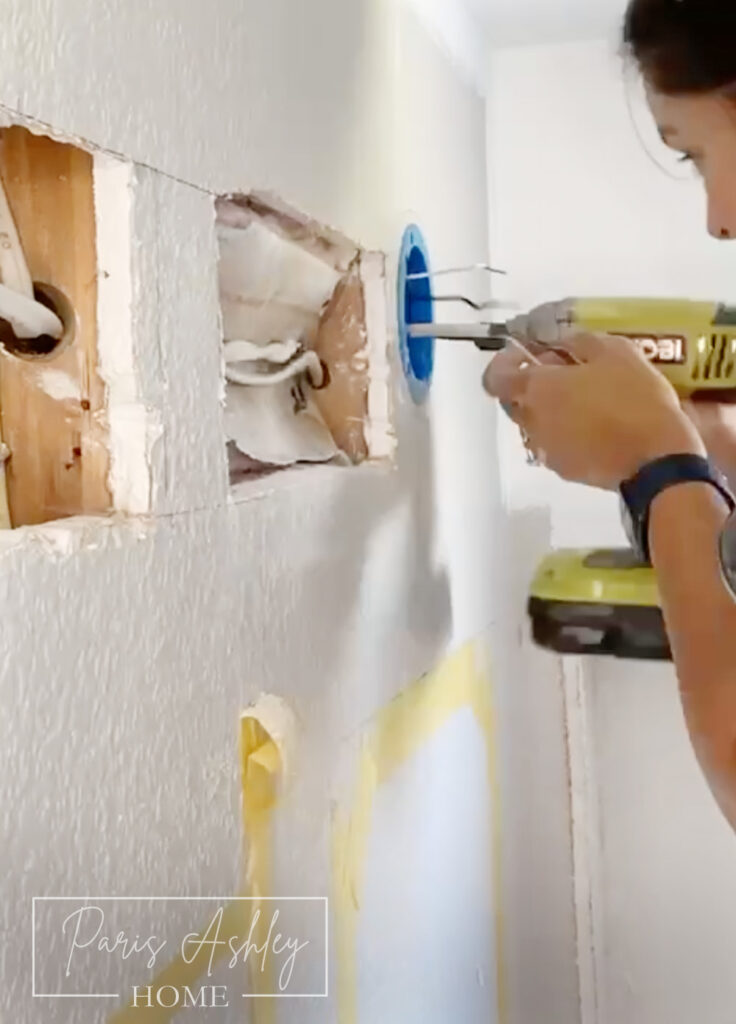
Cut a length of 14/2 electrical wire larger than the distance between your new holes. Direct the old wires to the nearest new hole. Pull the old wires through the new hole, and fish the new wire through the studs into both new holes. Use wire cutters to expose the raw wires. For the hole with only the new wires, fish them through the electrical box, secure the box to the wall, and cap the wires until you’re ready to install the light.

Step 6: Connecting the Old and New Wires
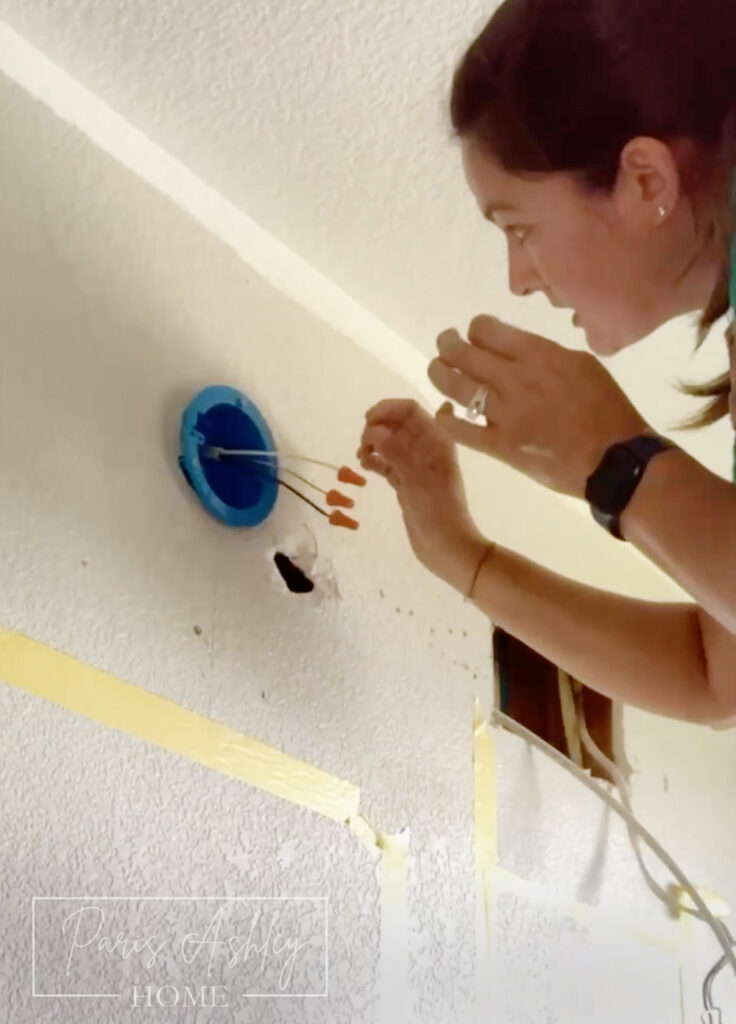
For the hole with both old and new wires, fish them through the electrical box, secure the box to the wall, combine the wires (black to black, white to white, copper to copper), and cap them until you’re ready to use them.
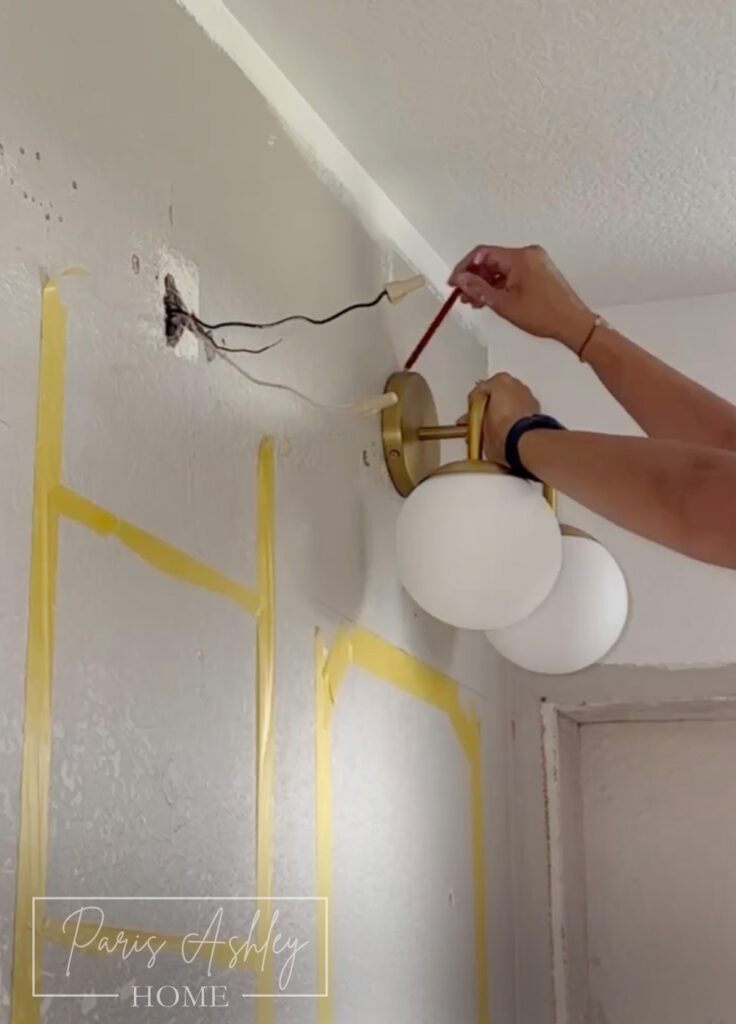
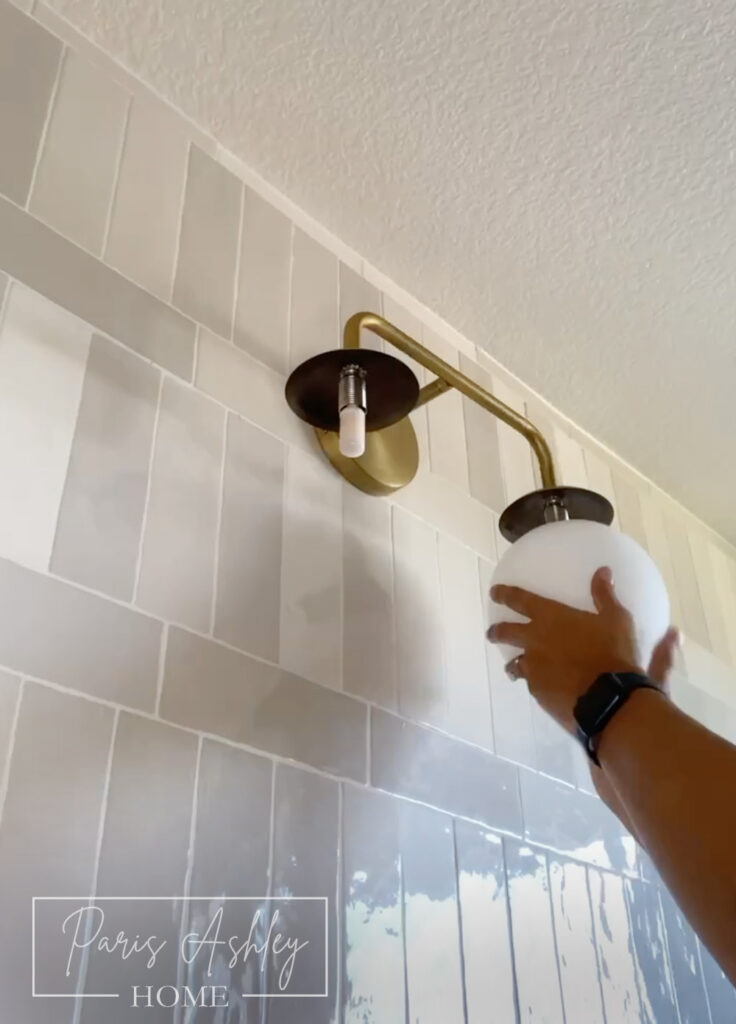
Step 7: Install New Lights and Finish
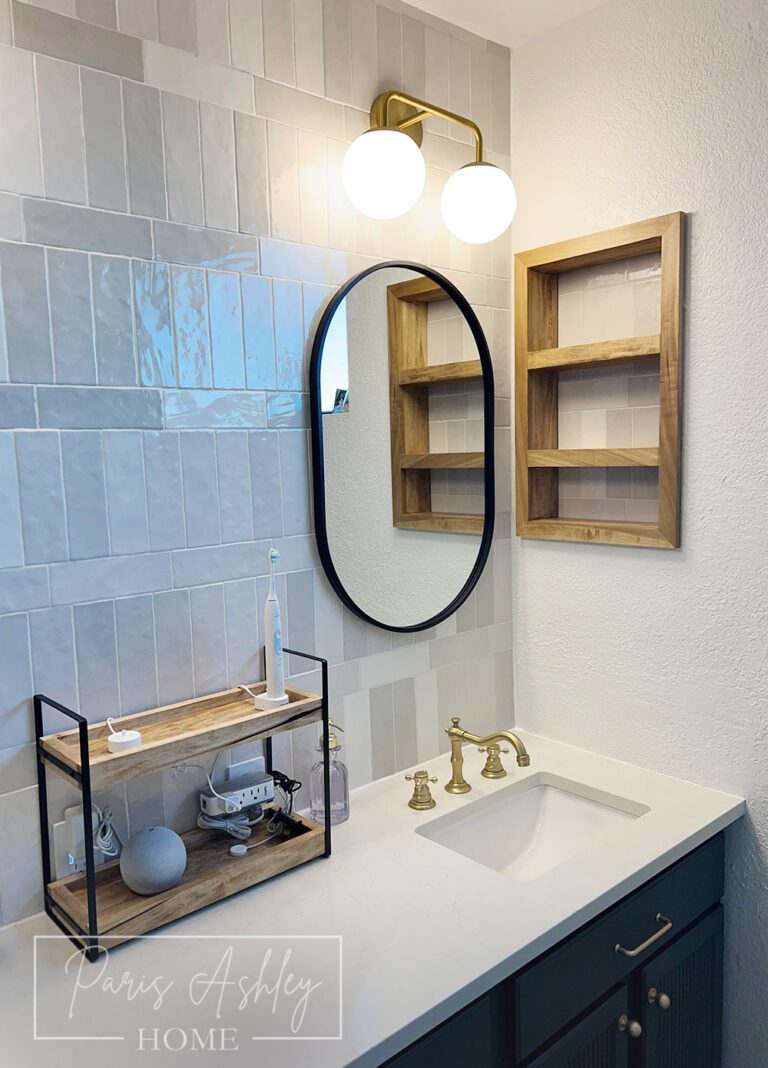
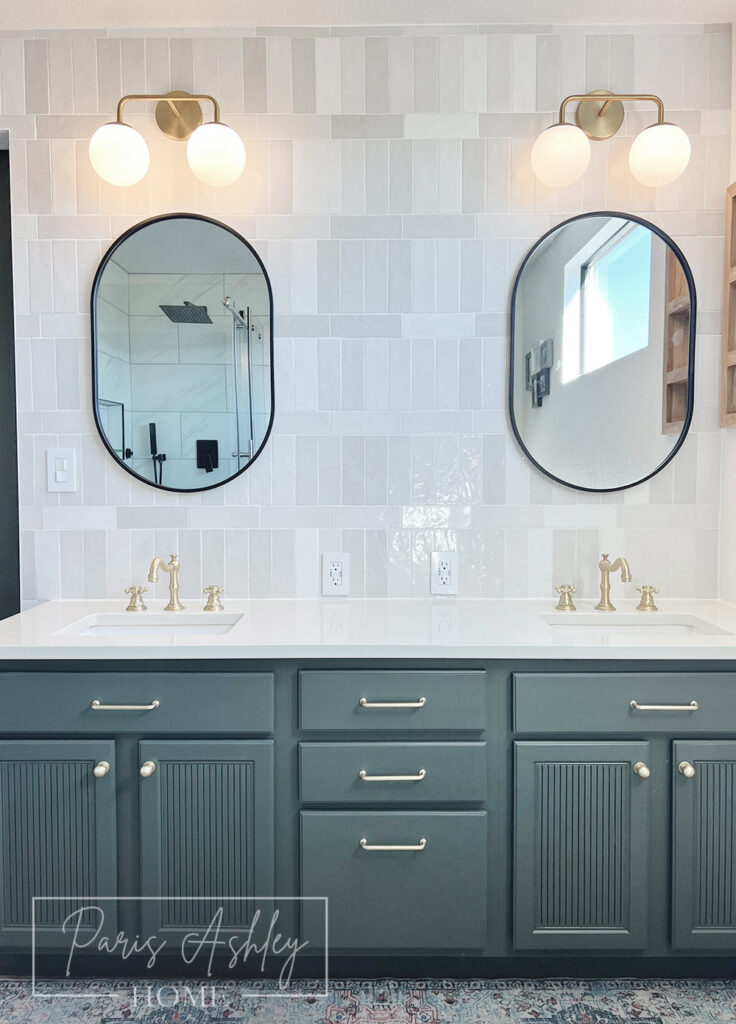
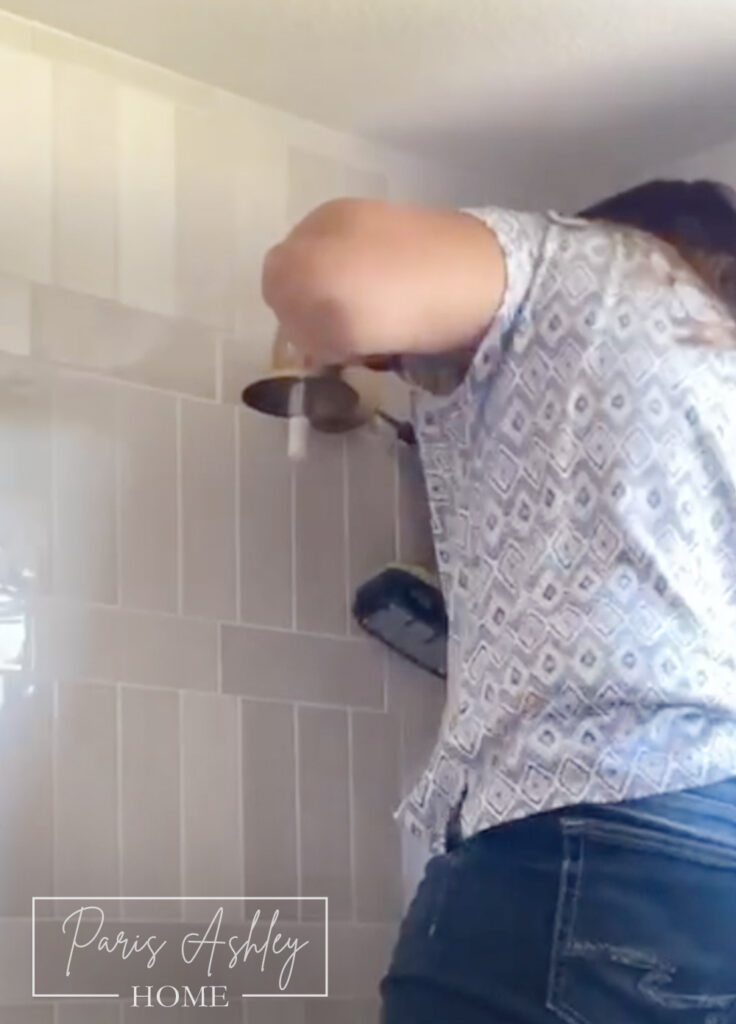
With the wiring complete, install your new lights, here is an installing lights tutorial if you need one!. Patch up the drywall using a my Drywall Patching Tutorial, and if desired, consider adding a stylish touch such as tiling the wall.
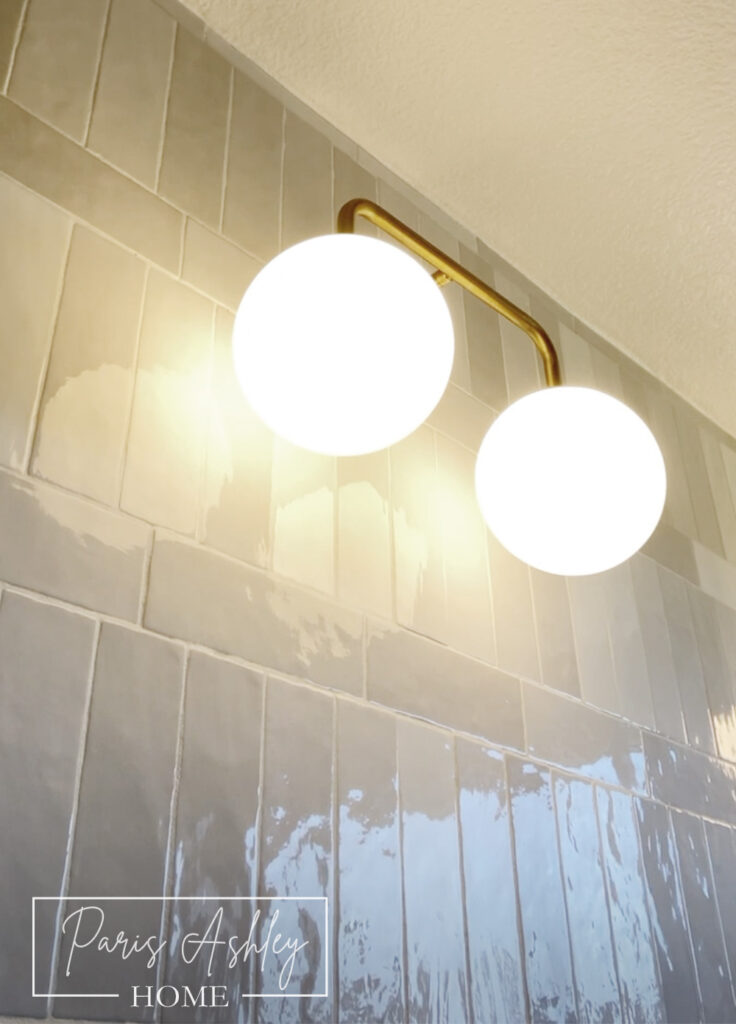
Step 8: Turn on the Power and Enjoy
Finally, turn the power back on and bask in the glow of your newly improved vanity lights. Congratulations on a successful transformation!
By following these steps, you’ll not only enhance the lighting in your bathroom but also gain the satisfaction of completing a DIY project that adds both style and functionality to your space. Enjoy your upgraded vanity lighting!
Watch a video tutorial Here! All the Necessary products Here!
Follow ParisAshleyHome on social for more DIY Tutorials!
Follow on Instagram, Subscribe on YouTube, Pin on Pinterest, Follow on Facebook, Follow on TikTok, Shop on LTK!