Transform Your Bathroom: A Step-by-Step Guide to a Stunning Medicine Cabinet Makeover
*This post contains affiliate links. I will receive a commission for items purchased through these links at no extra cost to you. I appreciate your support. Please read all labels and follow all manufacturer safety recommendations when working with any tools or equipment recommended.
All My Favorite Tools Can Be Found Here
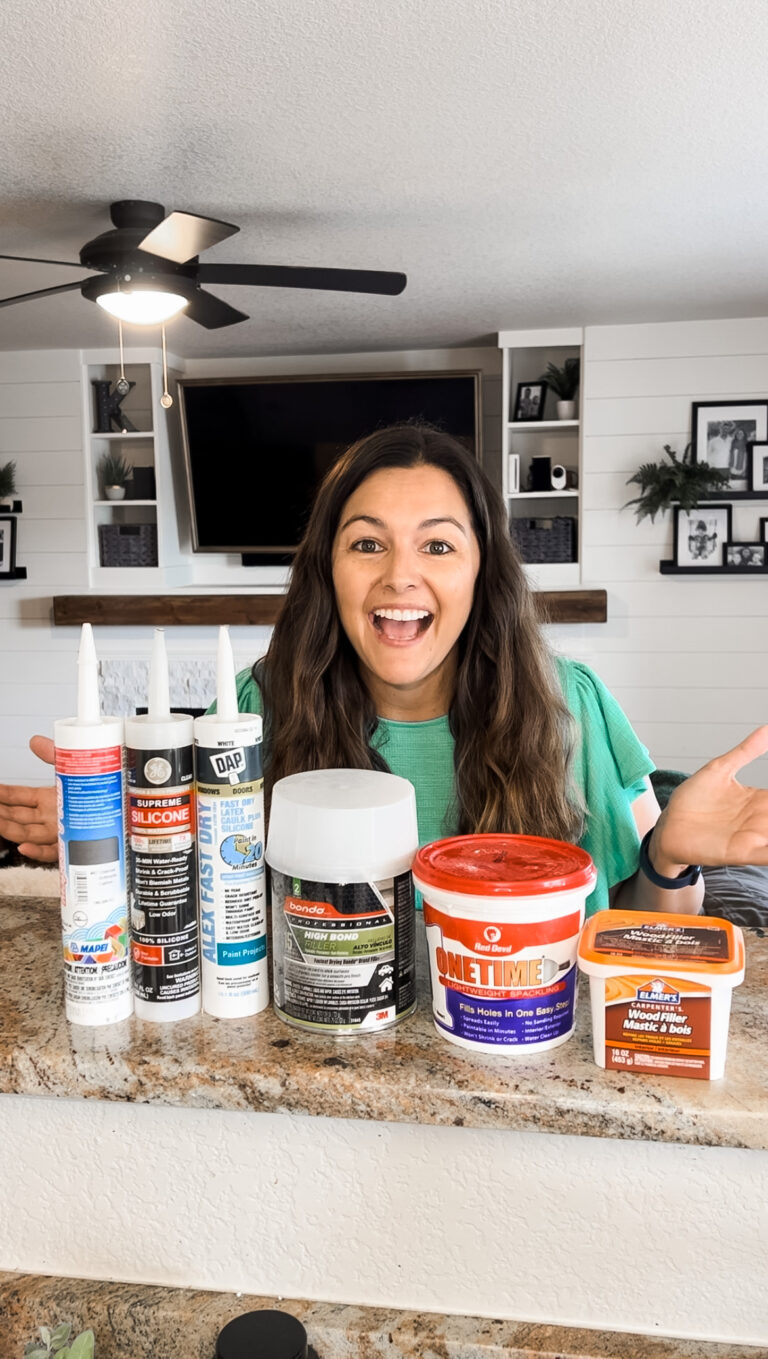
All Materials in this post can be found here!
Watch a video tutorial Here!
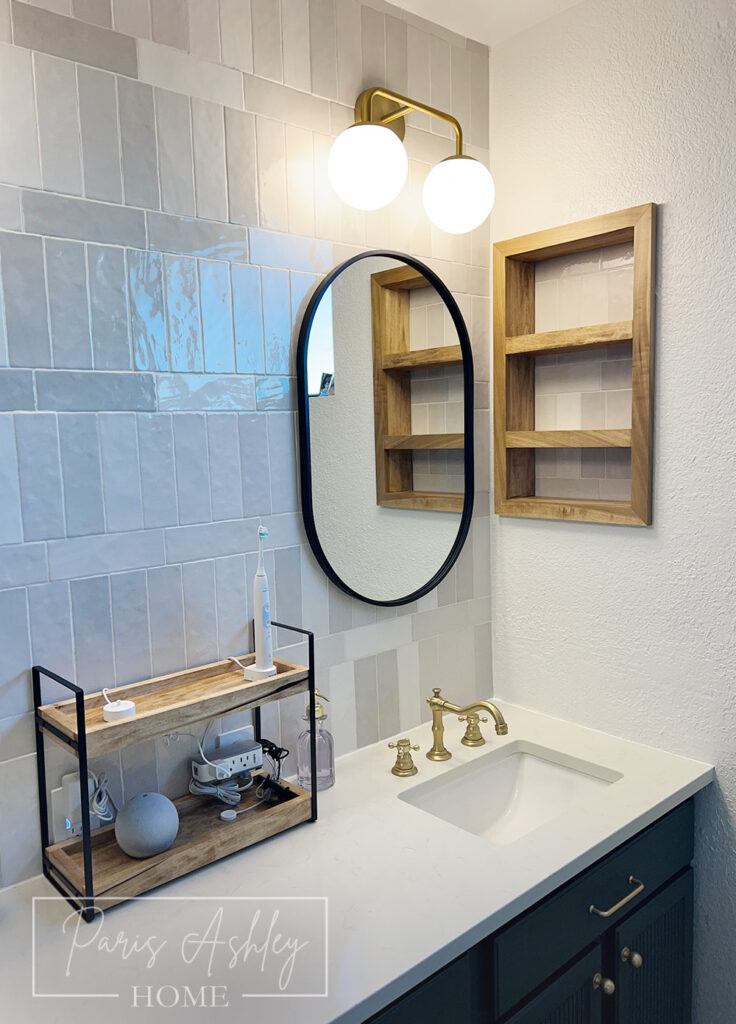
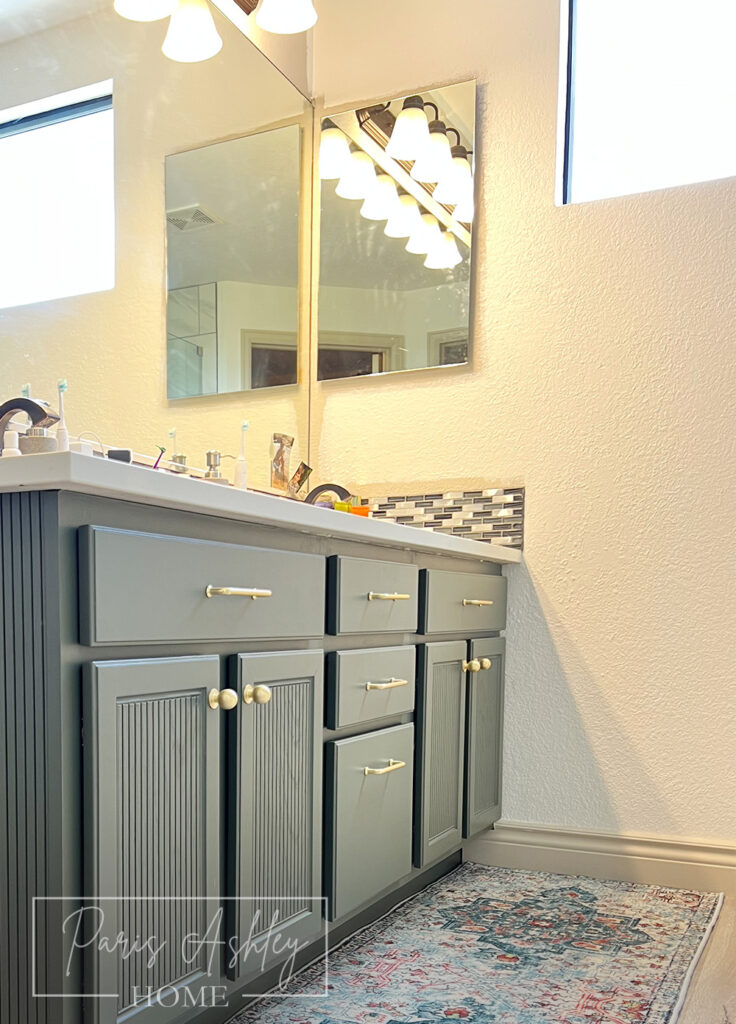
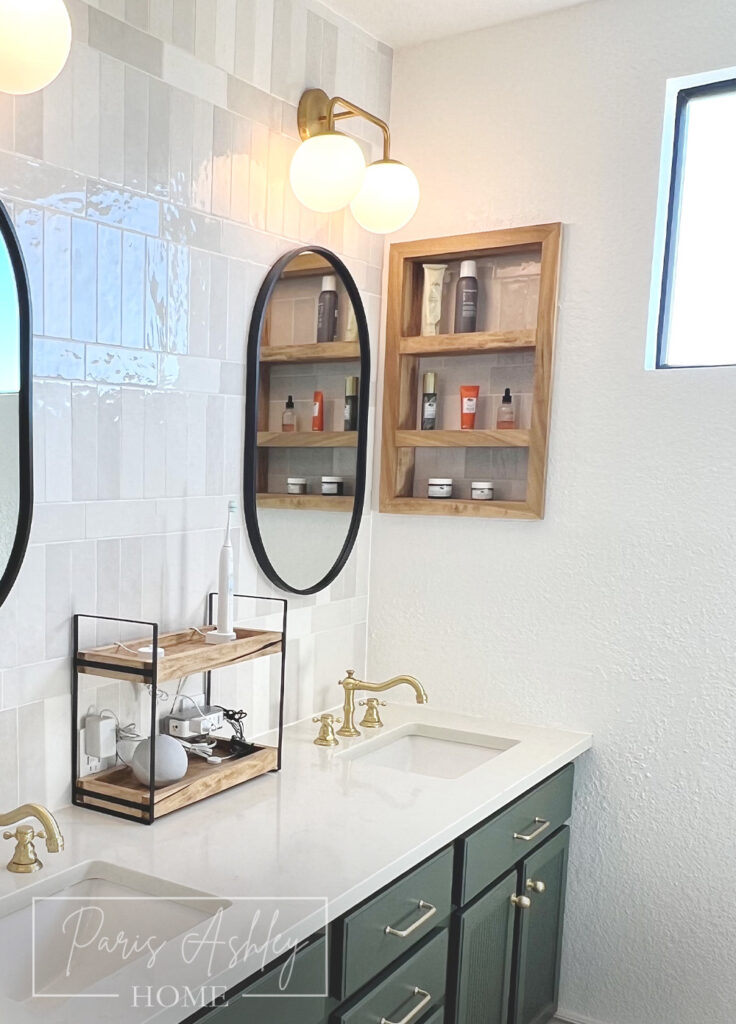
Are you tired of the basic mirror medicine cabinet in your bathroom? It’s time to transform it into a stylish focal point with some fun shelves. Let’s embark on a journey from basic to bomb as we give your medicine cabinet a chic makeover.
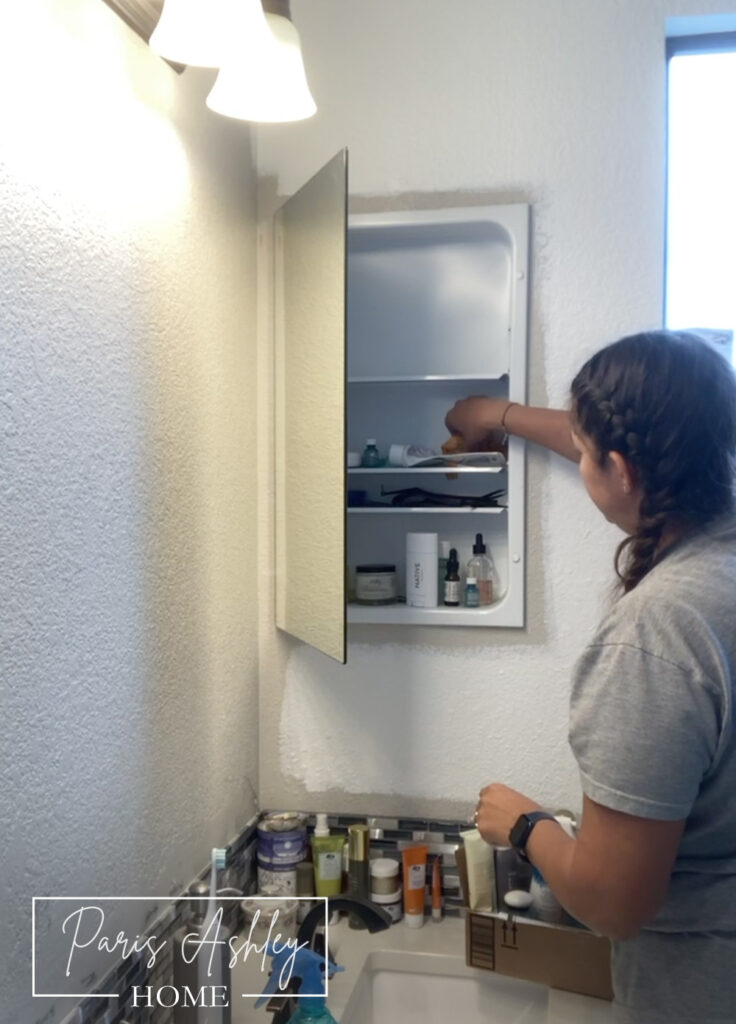
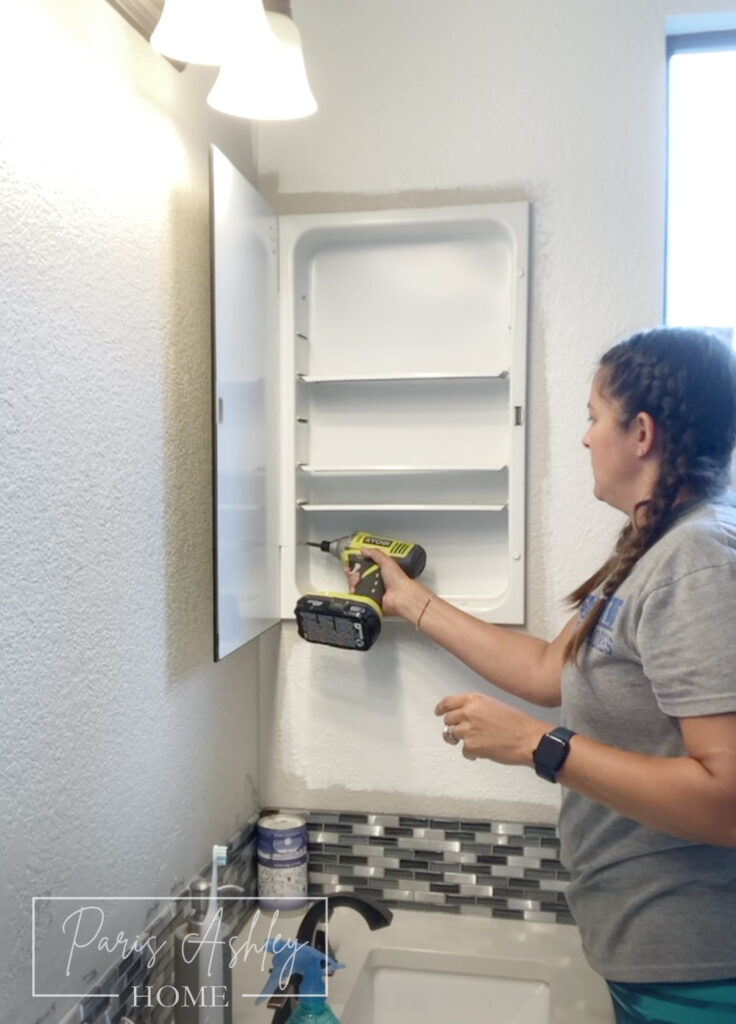
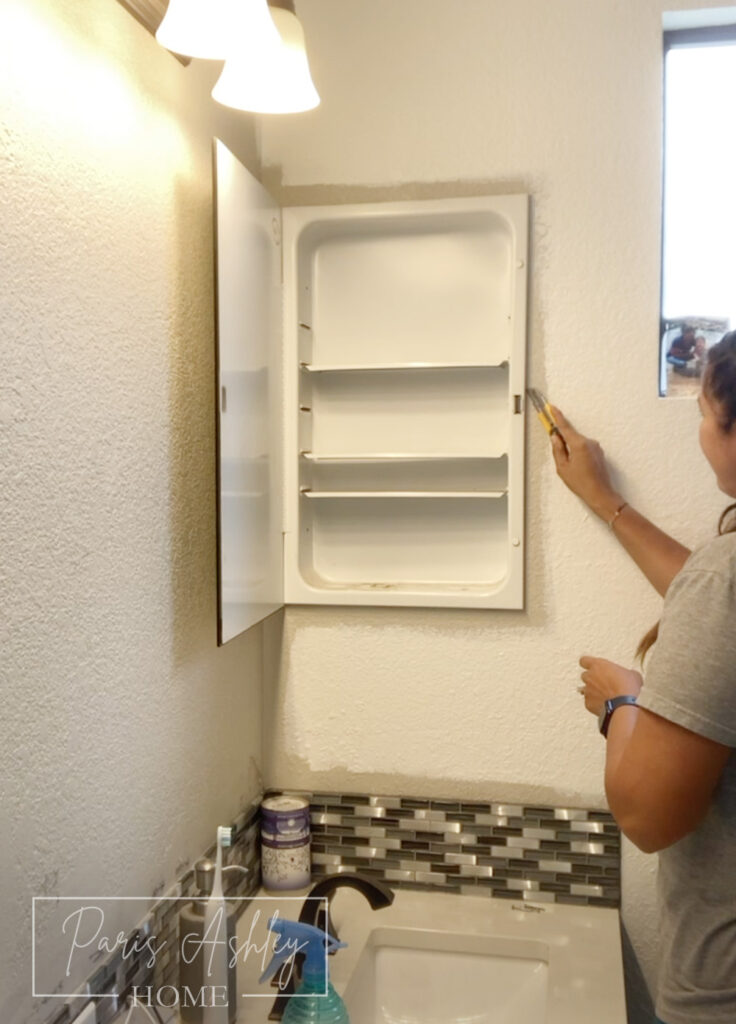
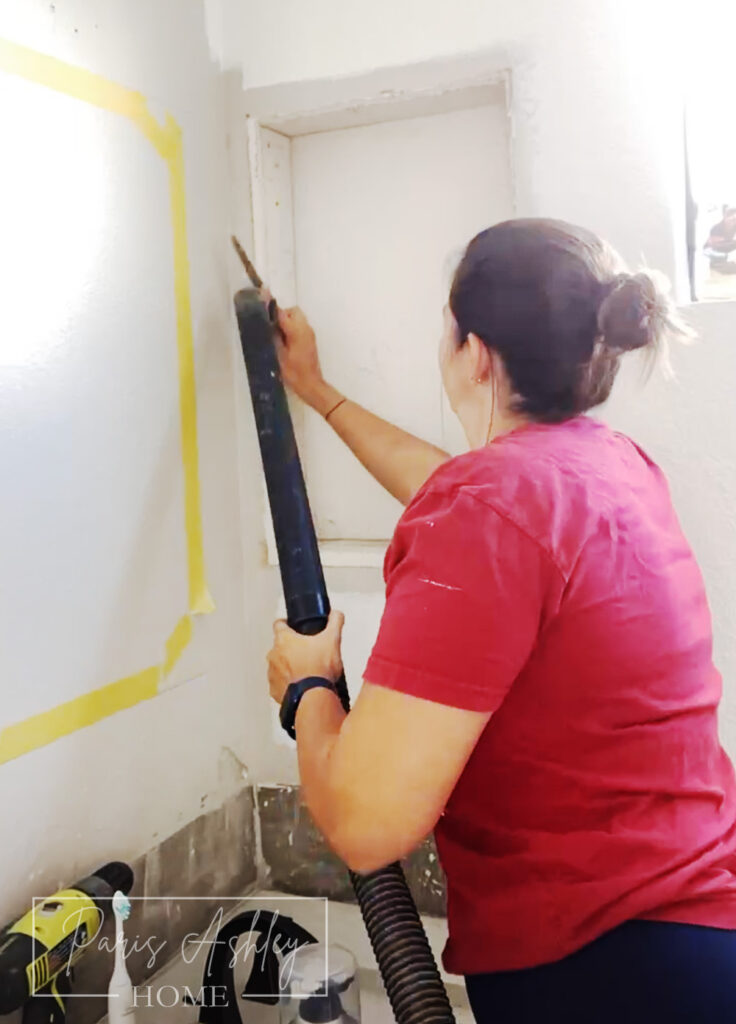
Step 1: Clearing the Slate & Removing the Old Cabinet
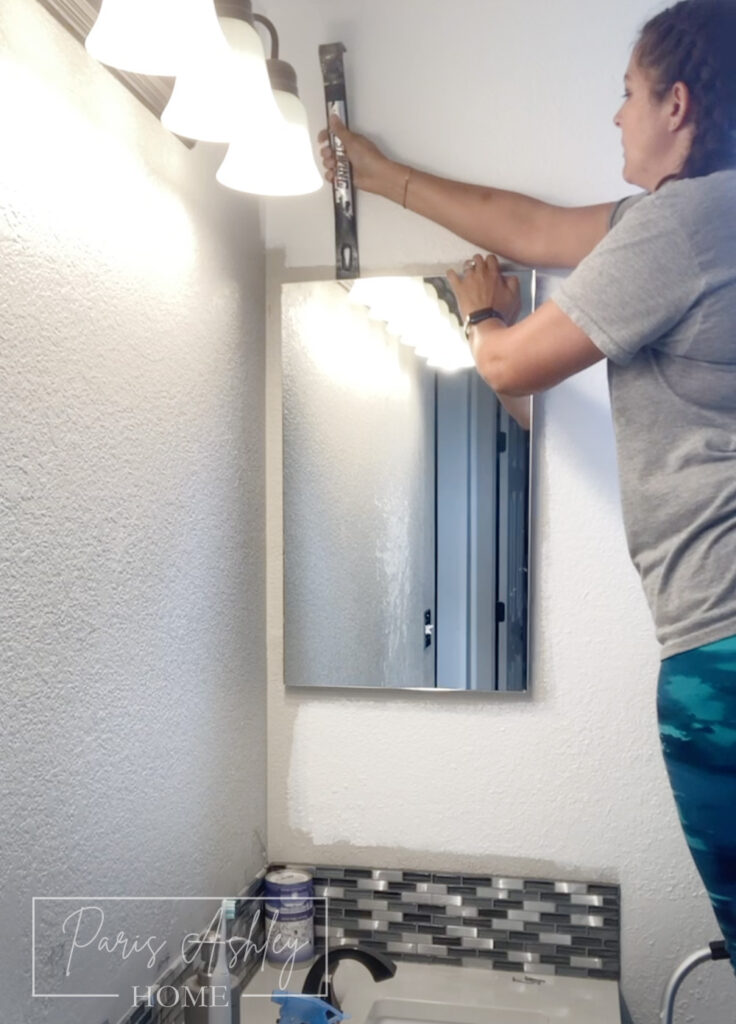
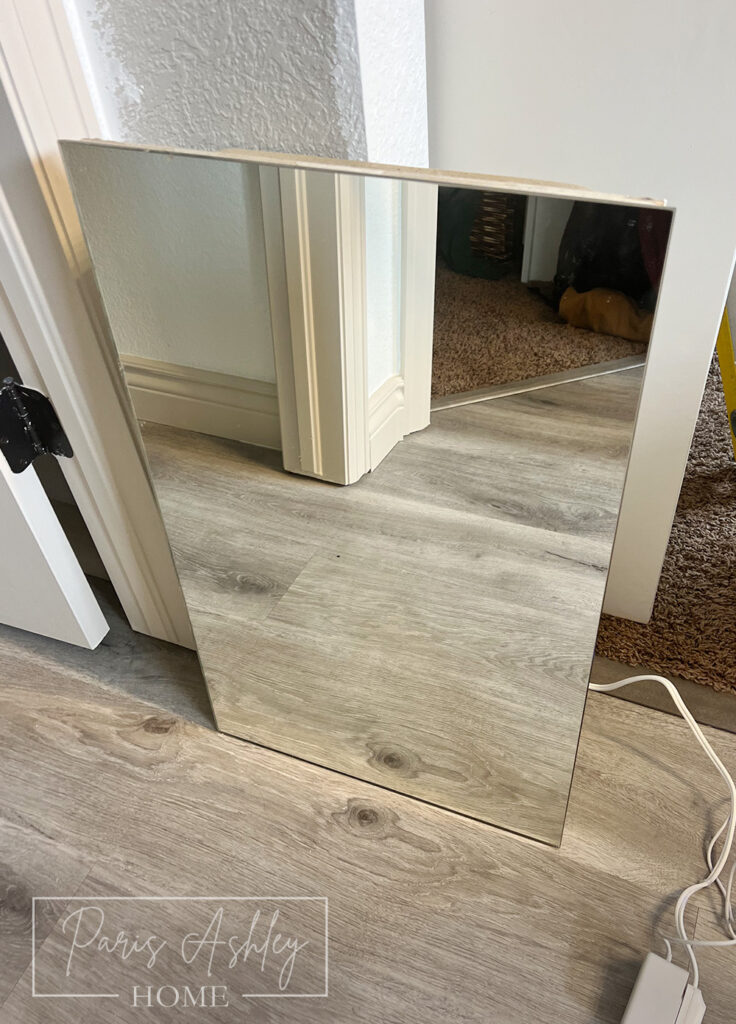
To begin, remove everything from your cabinet, and bid farewell to that face cream from five years ago. Embrace the change! Gather the necessary tools: a power drill, utility knife, flat bar, shop vac, and a sawzall knife. Using your power drill, unscrew the cabinet from the inside. Score and remove any caulk with the utility knife, then carefully pop the cabinet out with the flat bar. Consider listing it for free online to minimize waste.
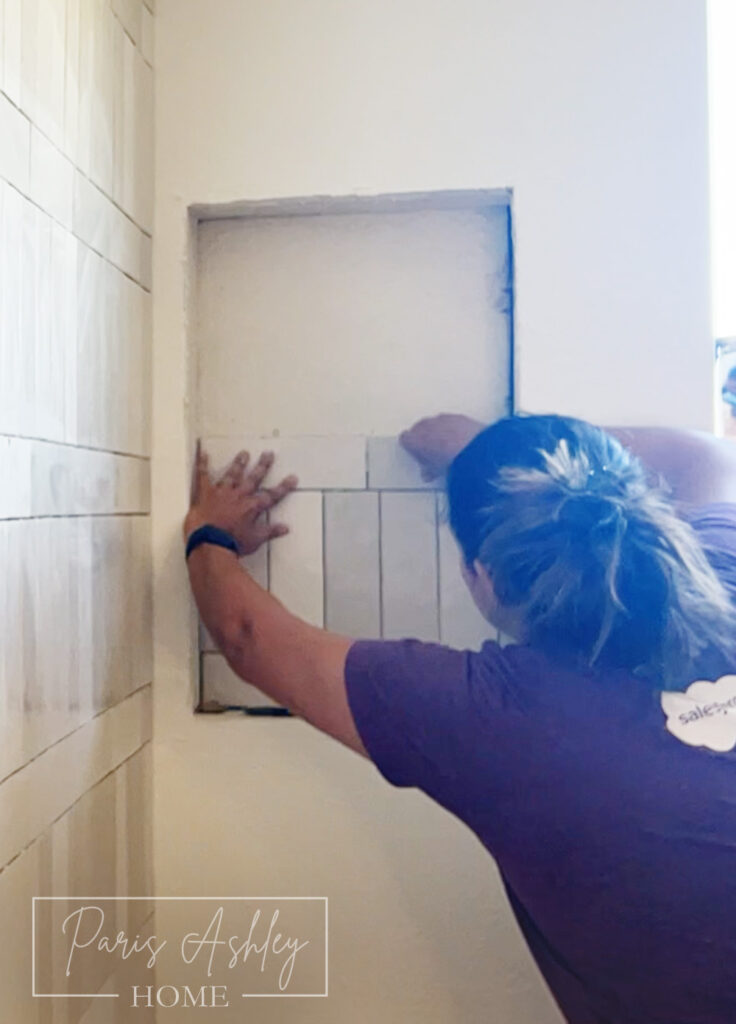
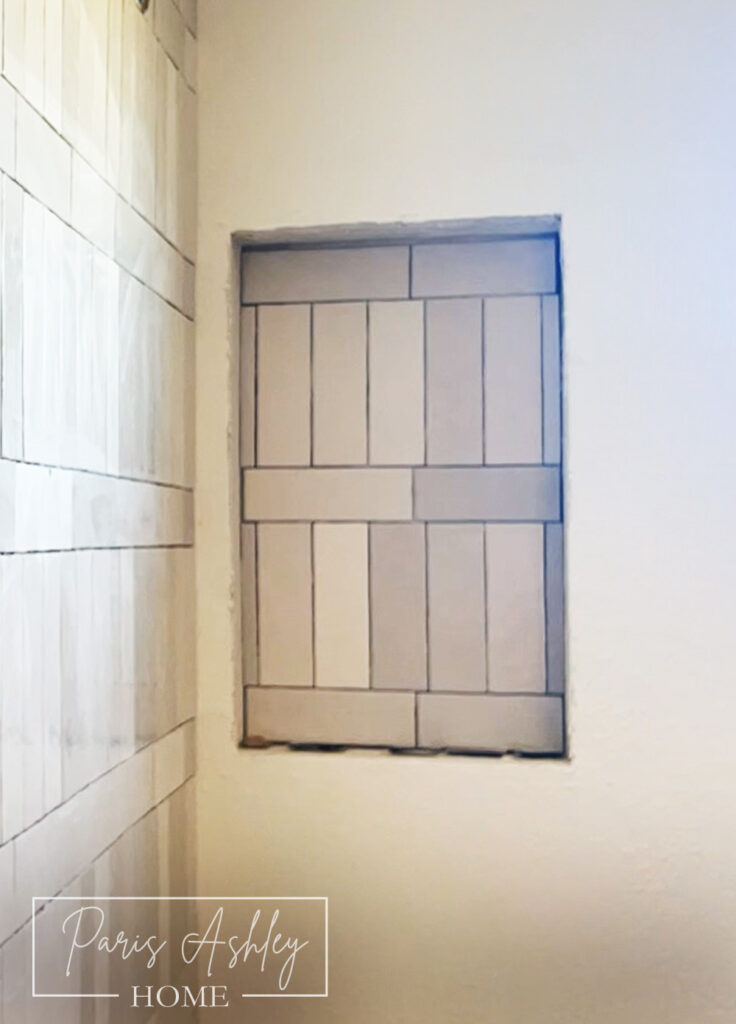
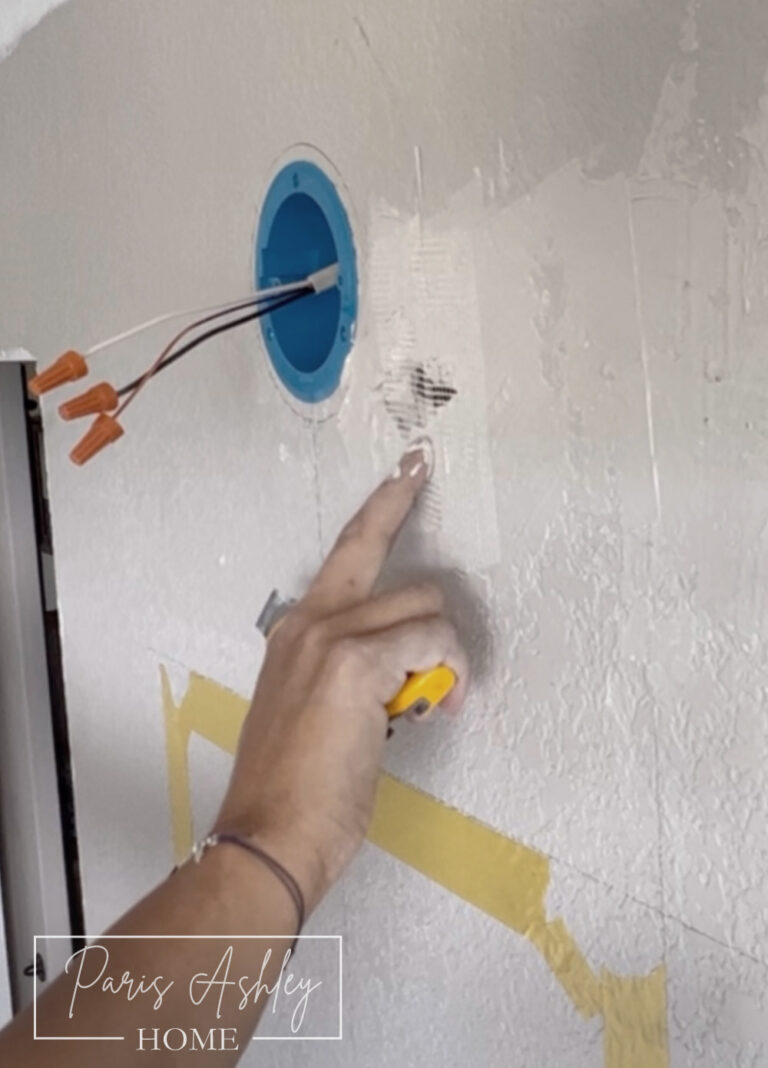
Step 2: Cleaning and Prepping
Clean the cabinet’s interior with a sawzall knife and a shop vac. Decide on the appearance of the nook’s back – whether it’s tiled, shiplapped, wood-paneled, or freshly painted, it’s your chance to personalize.
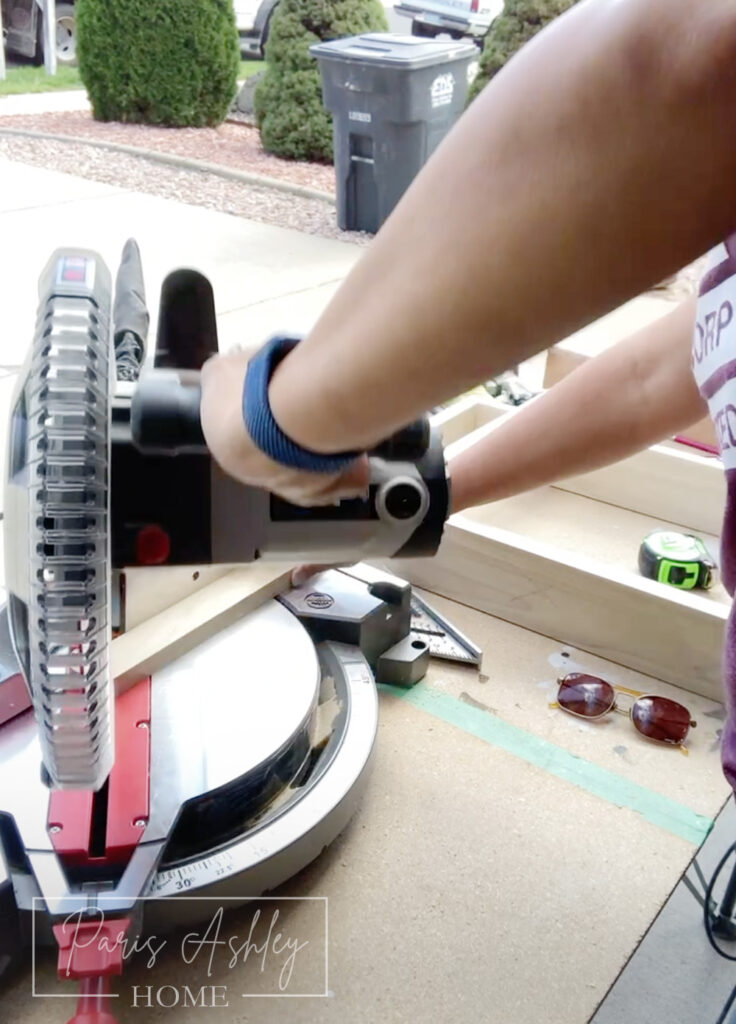
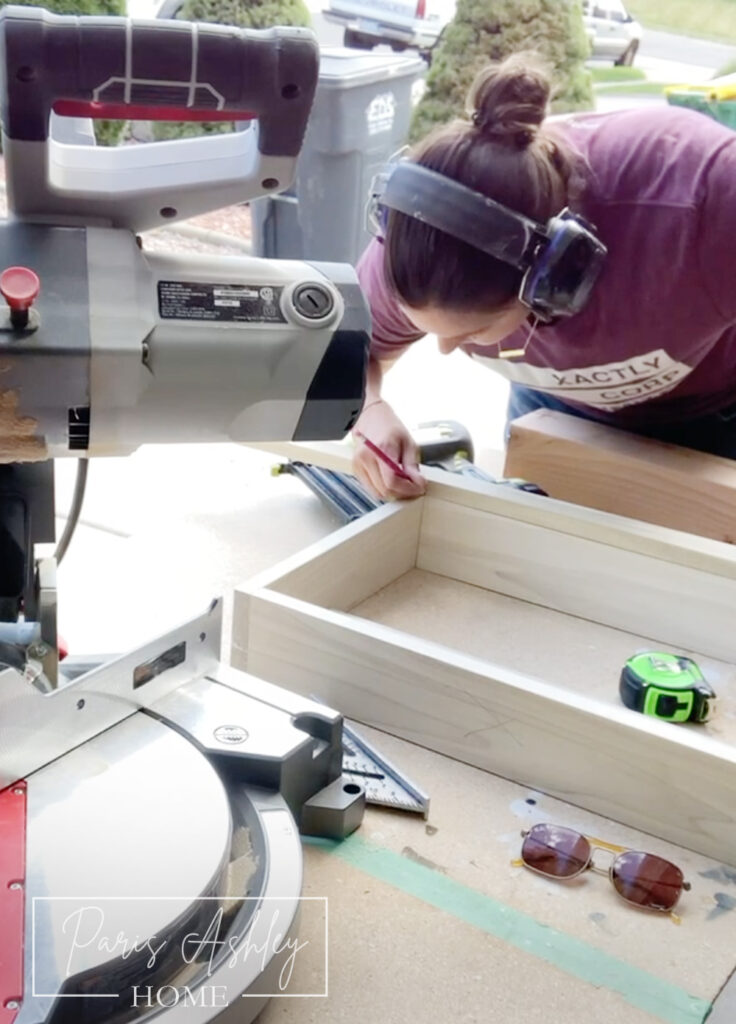
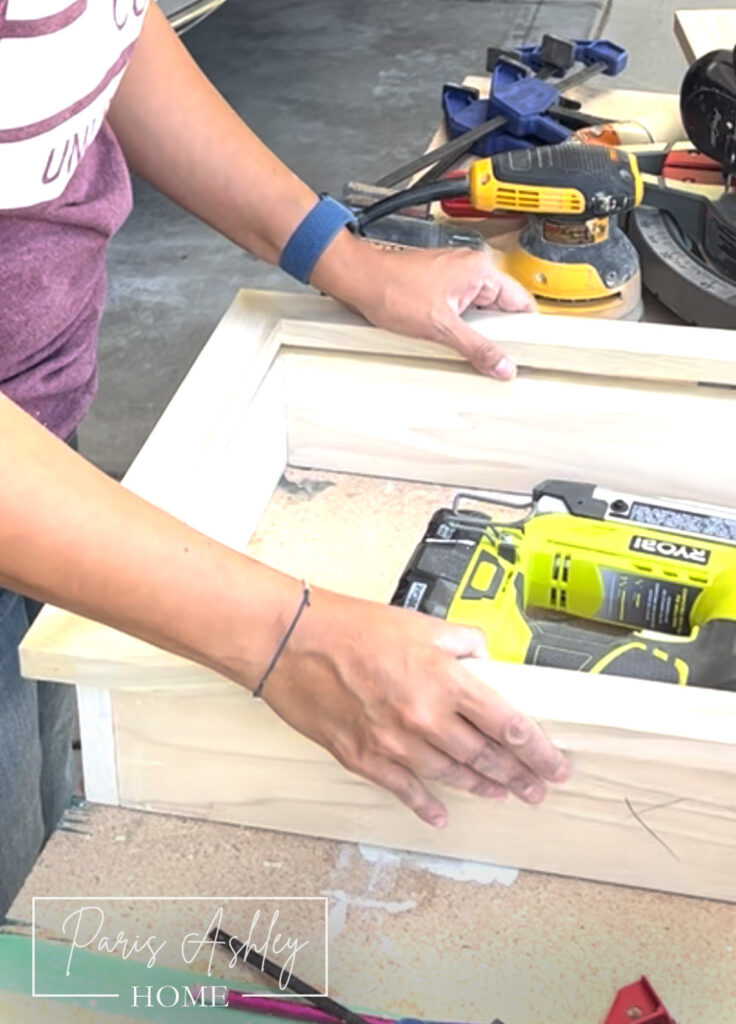
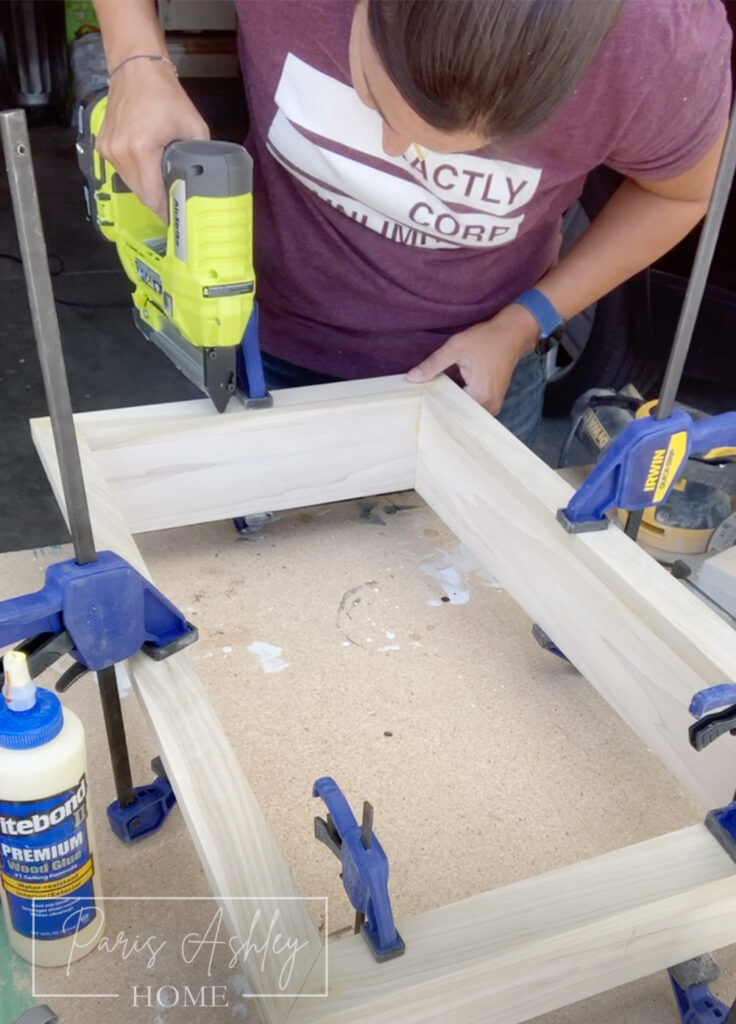
Step 3: Building the Inset Frame
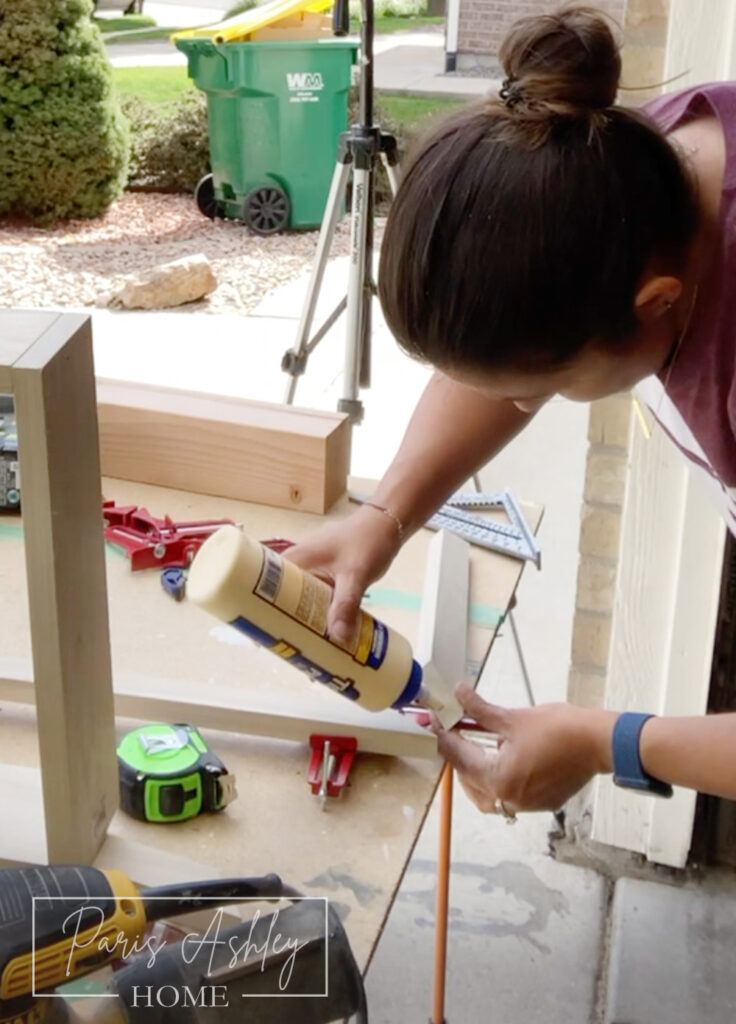
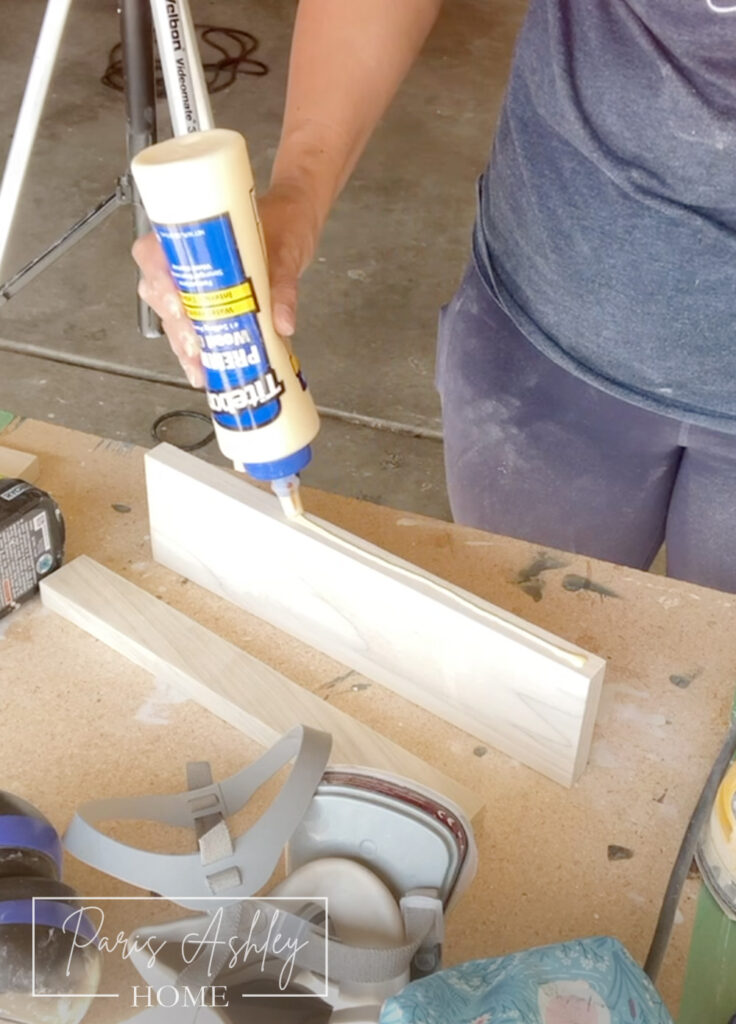
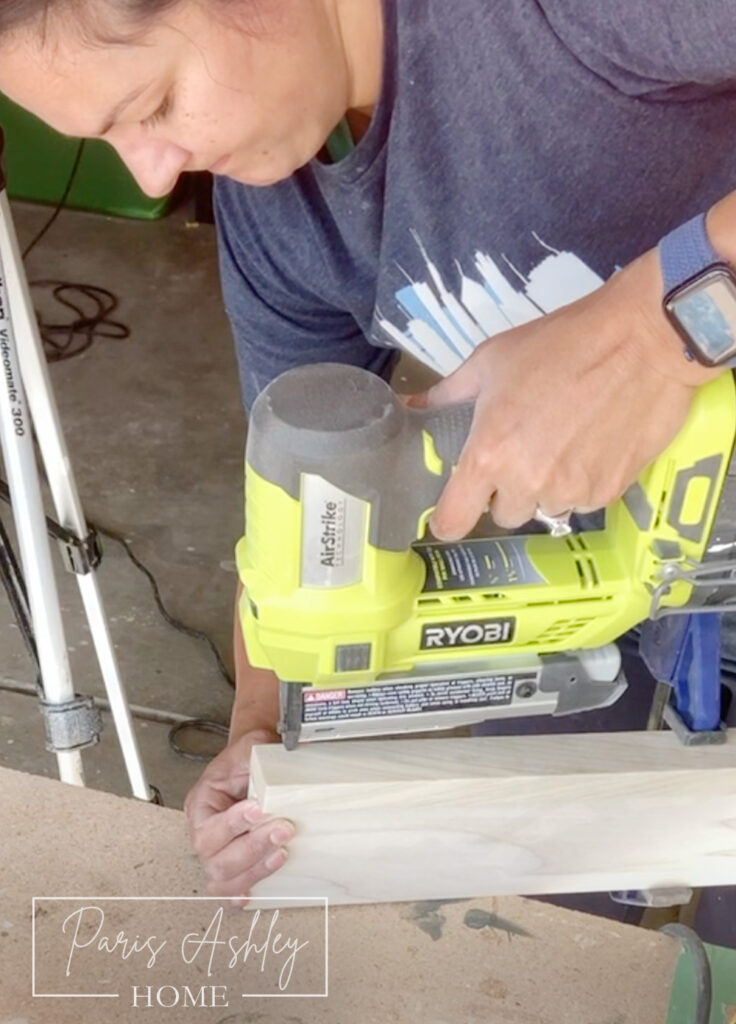
Measure the Height, Width, and Depth of your nook. Use 1×4 poplar, keeping in mind the actual measurements differ from nominal sizes. Cut and assemble the frame using wood glue and a brad nailer. I cut the bottom and top peices first, then for the two side pieces subtract 1.5” (.75 x 2) the thickness of the top and bottom boards for the side boards. Before assembling take inside and dry fit, make any necessary adjustments.
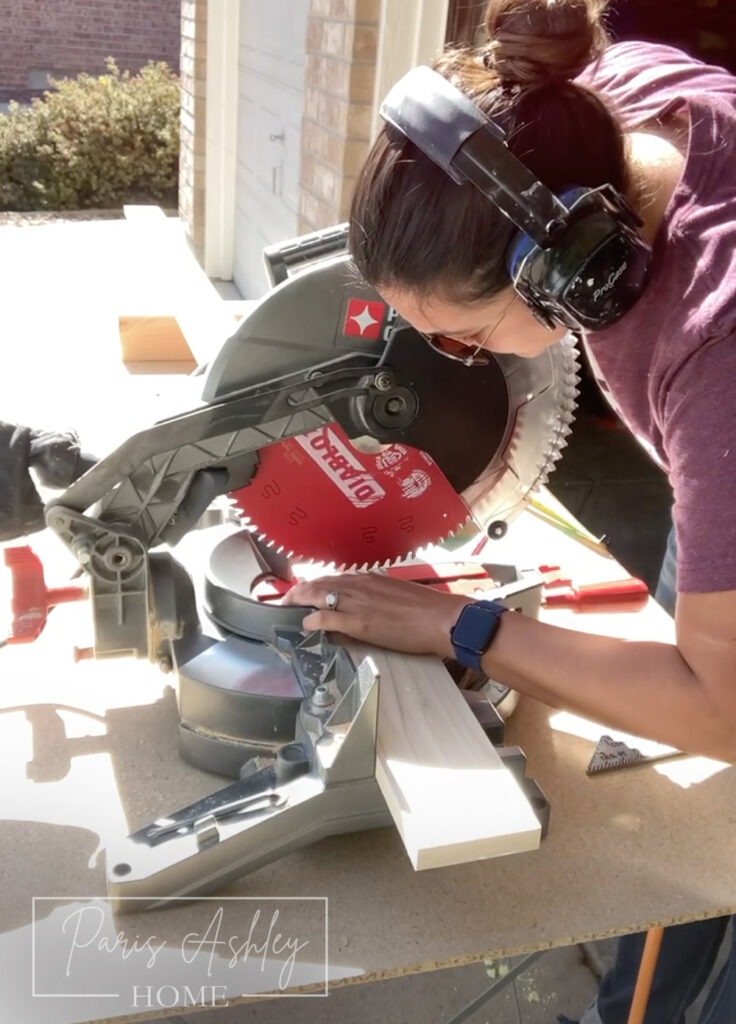

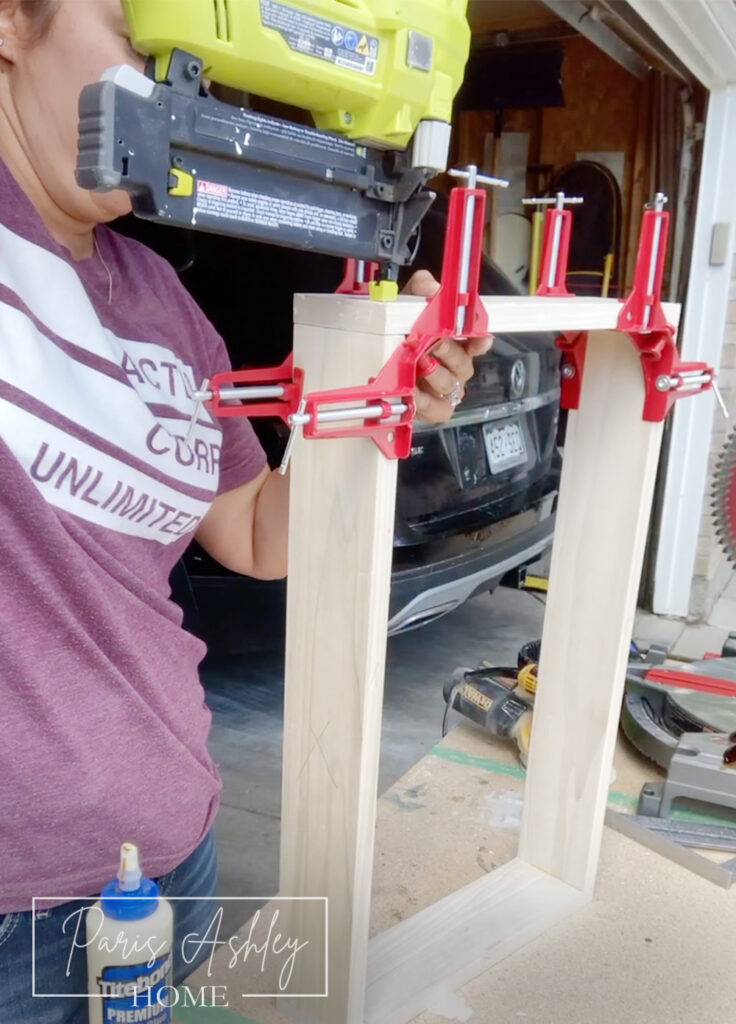
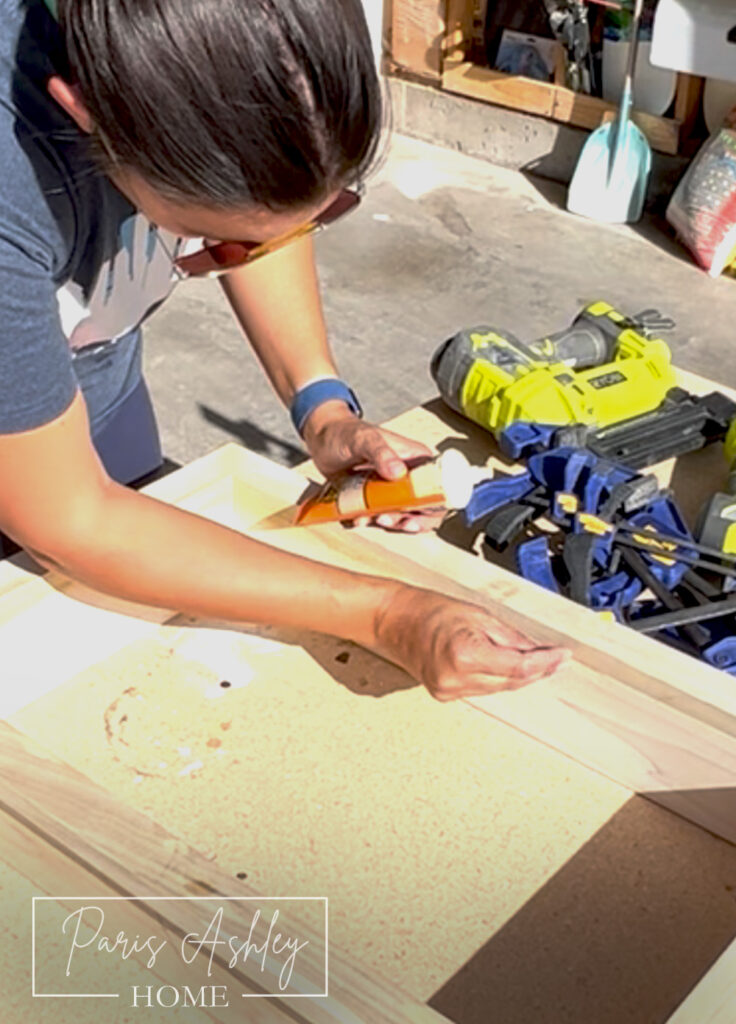
Step 4: Crafting and Attaching the Face Frame
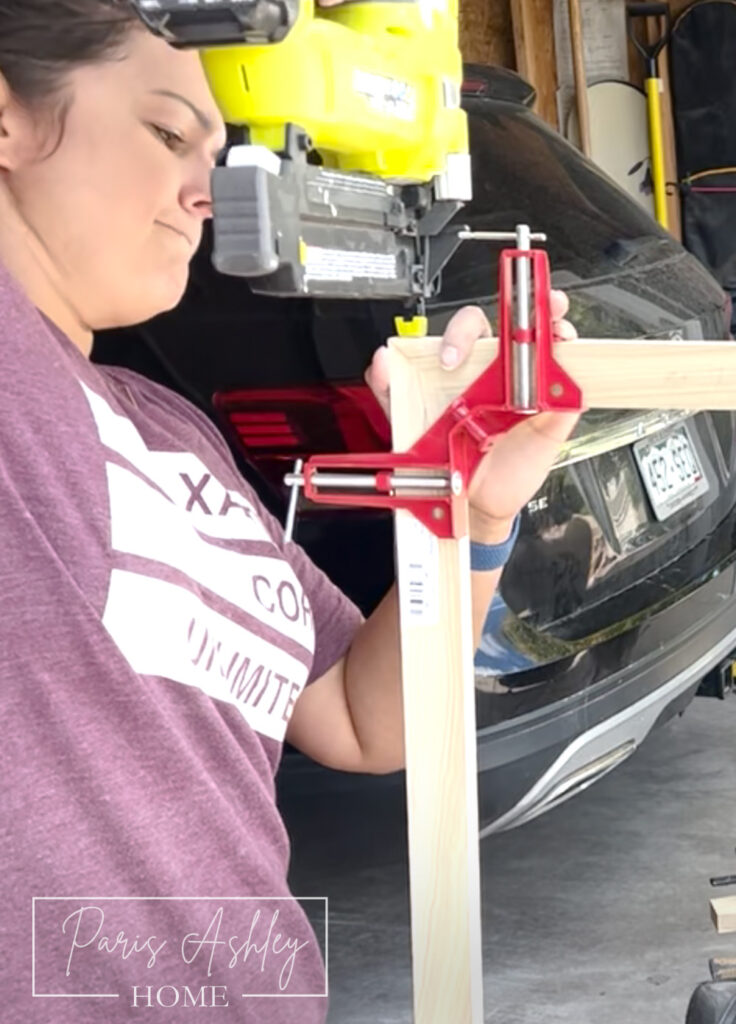
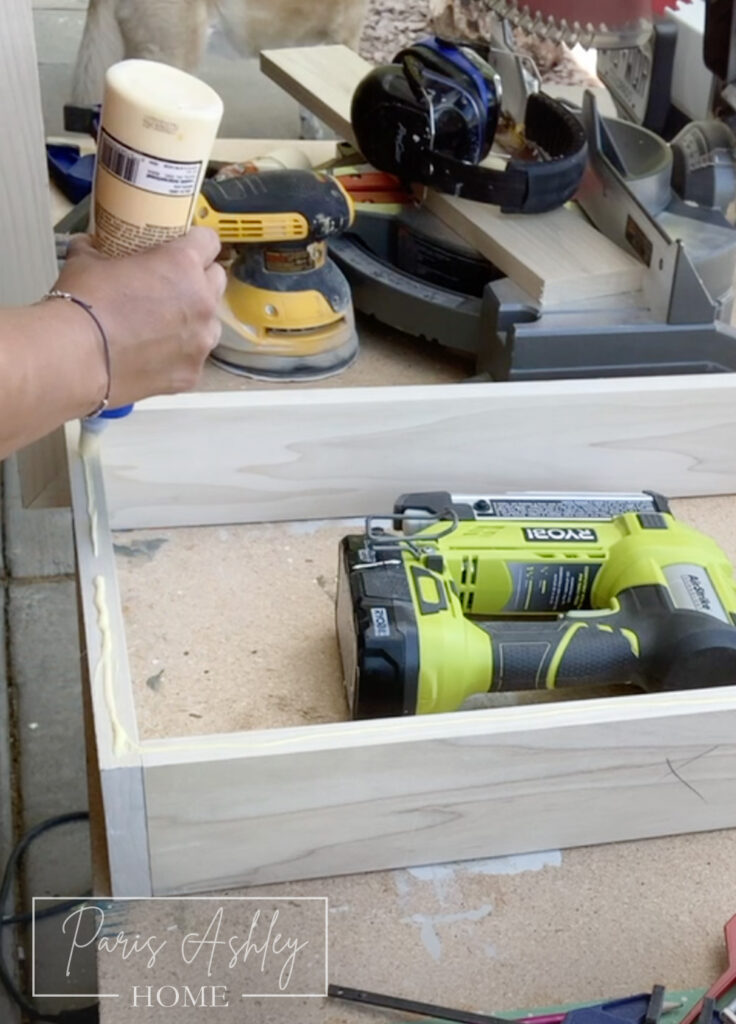
Cut 1x2s at a 45-degree angle to create a polished face frame. Assemble it with wood glue and a brad nailer. Corner clamps could help assist in assembly. Attach it to the inset frame with wood glue, clamps, and a pin nailer. Apply wood filler to any seams, sand when wood filler is 70% dry.
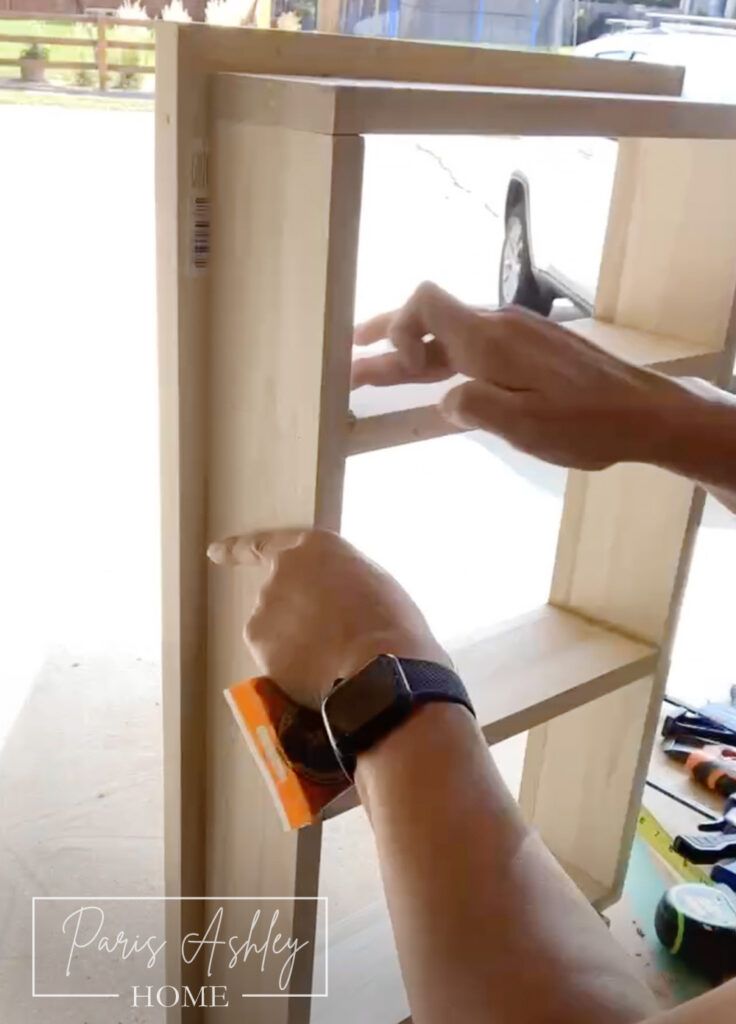
Step 5: Making and Installing the Shelves
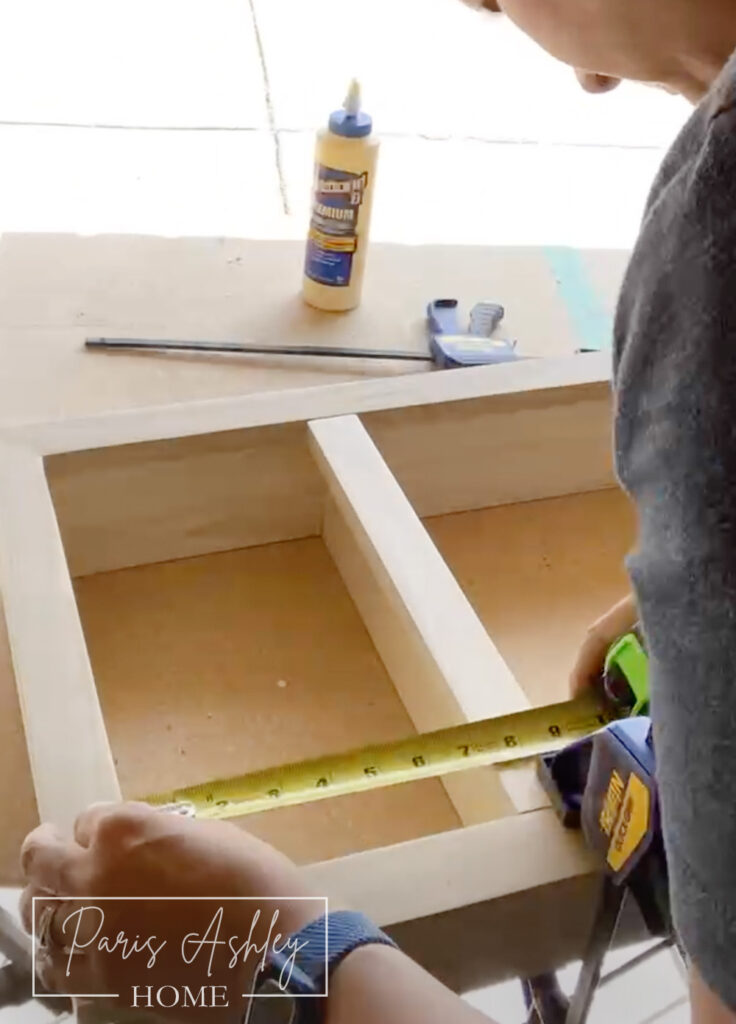
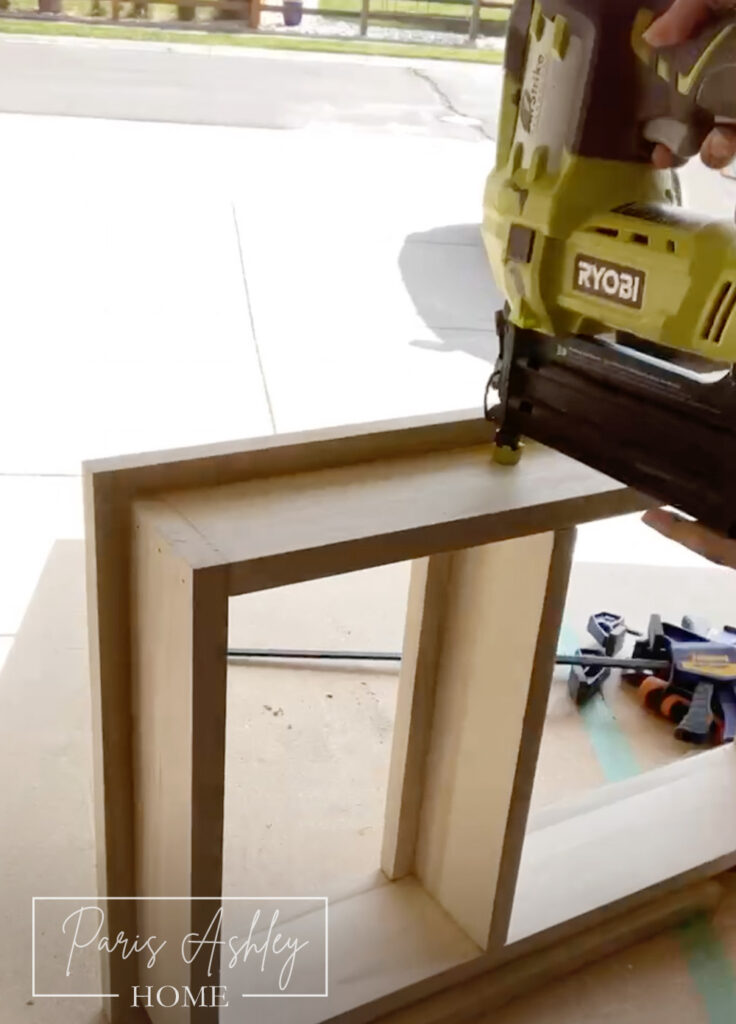
Measure the inside of the frame and cut 2 1x4s and 2 1x2s. Attach the 1x2s to the 1x4s with wood glue, clamps, and pin nails, giving a professional look. Use clamps and a tape measure to ensure the shelves are level. Use wood glue and brad nails from the outside of the inset frame. Repeat with the second shelf.

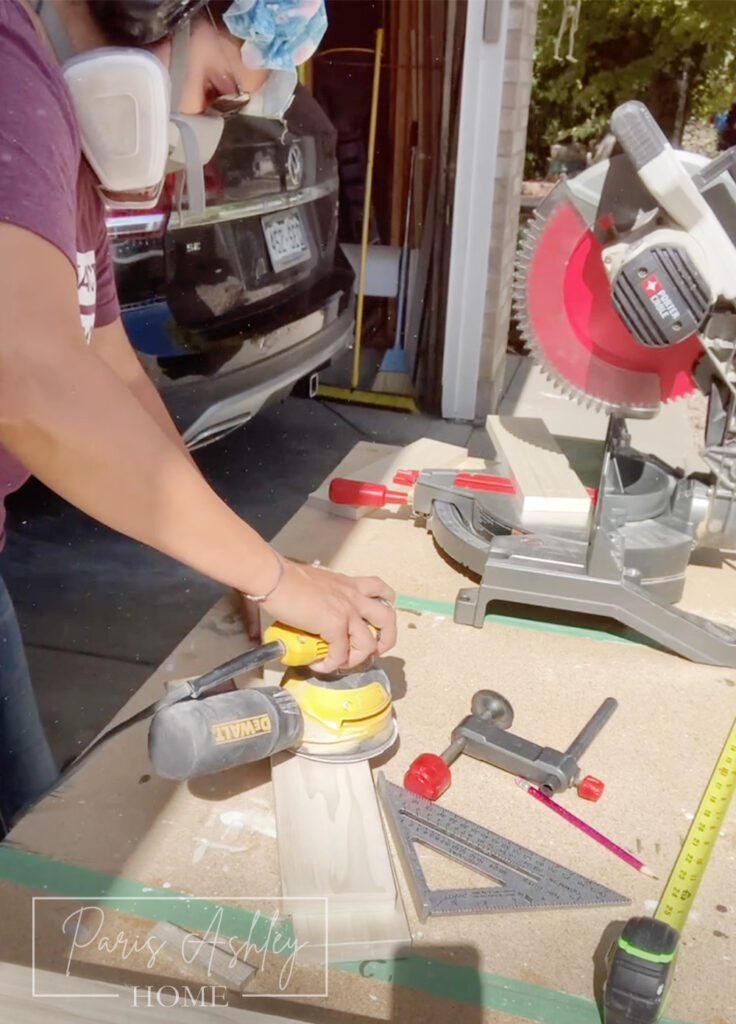
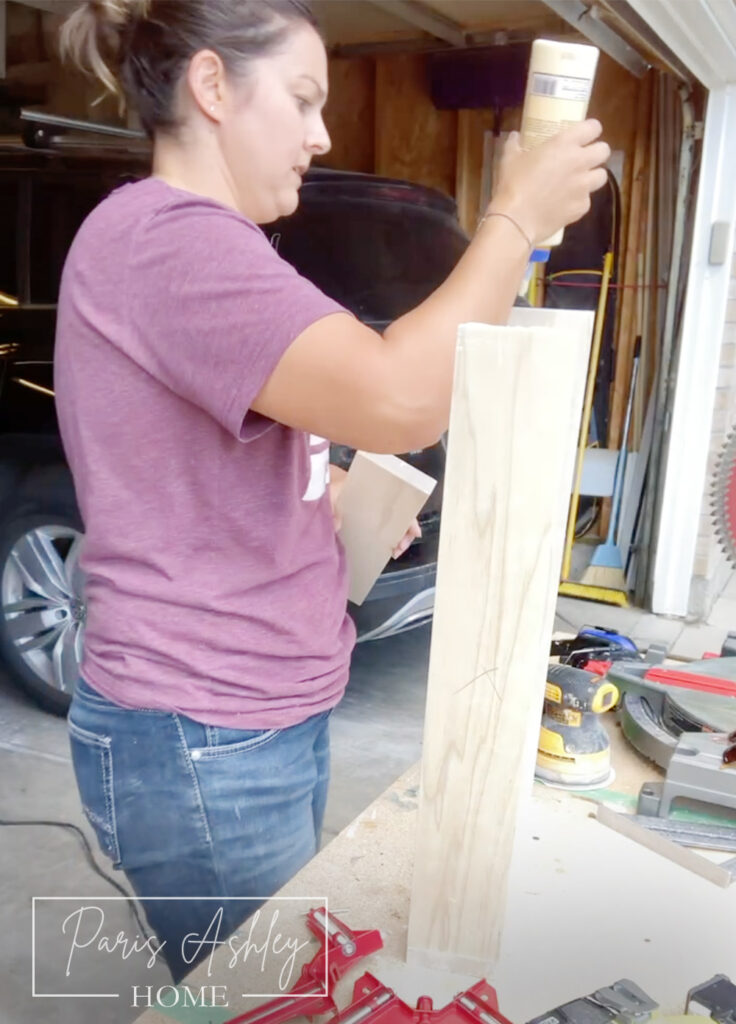
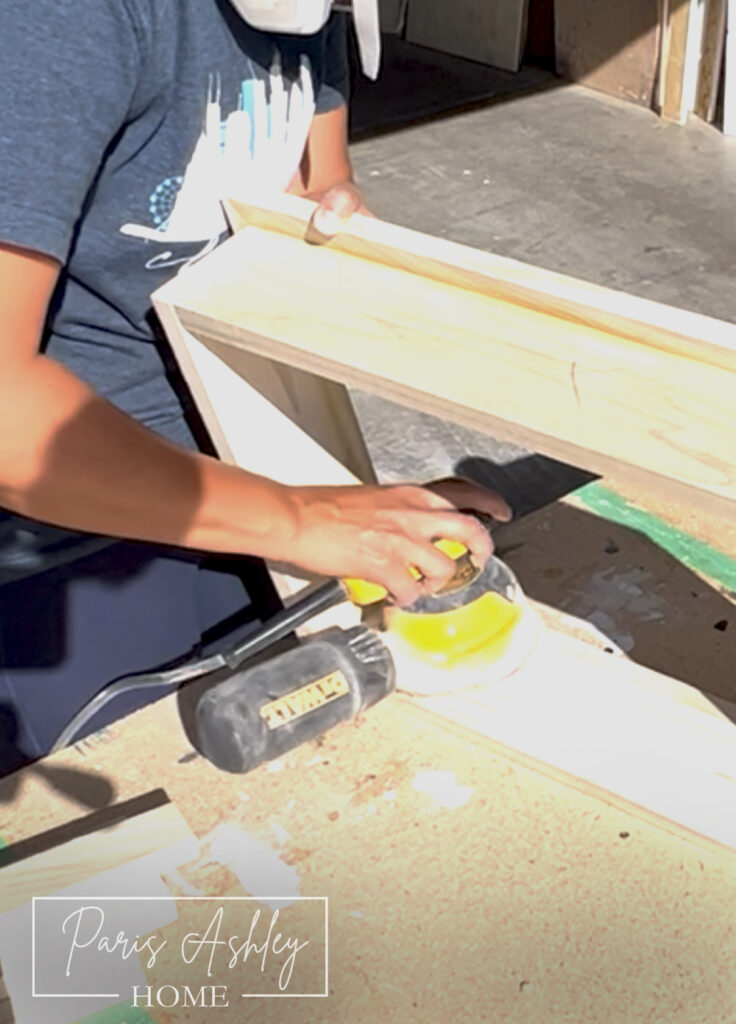
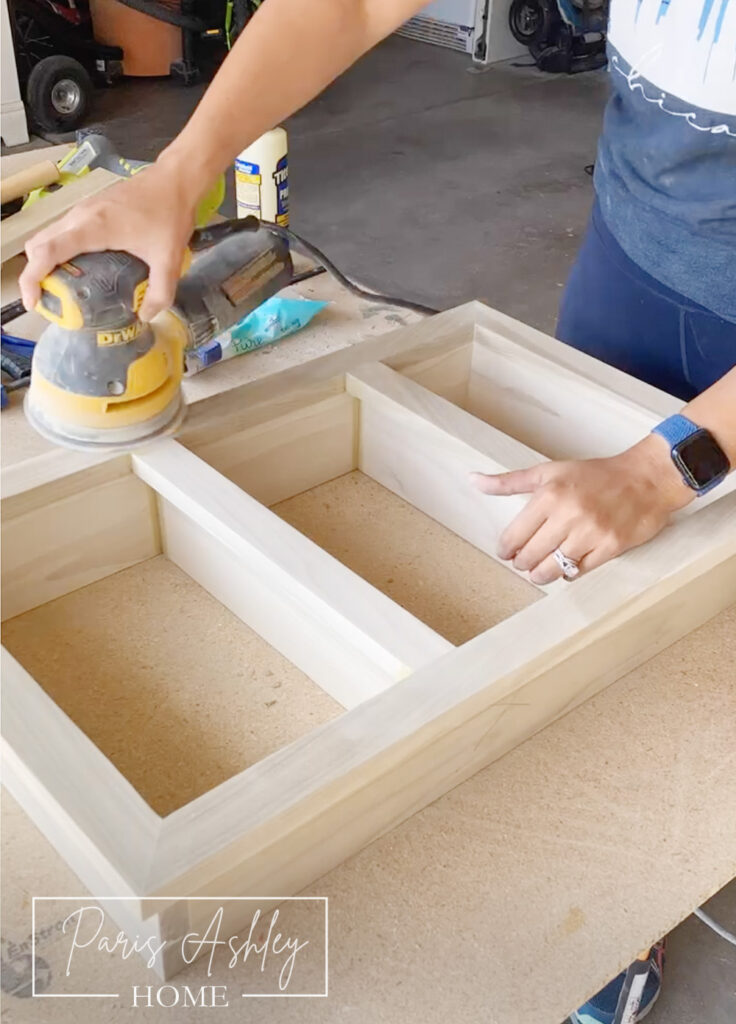
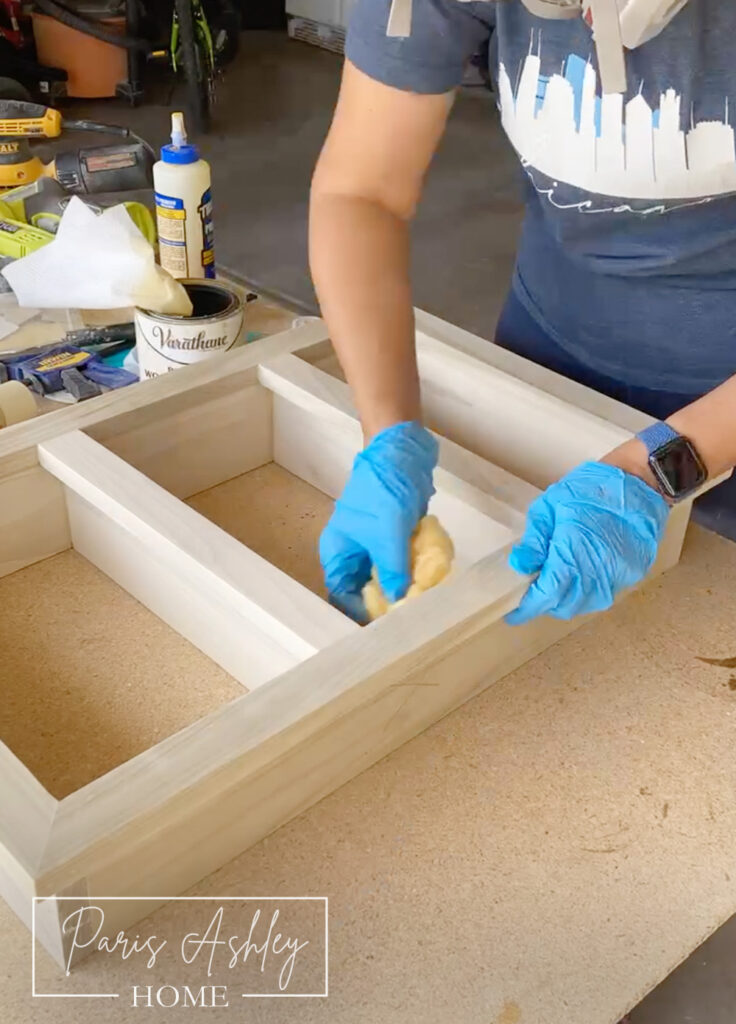
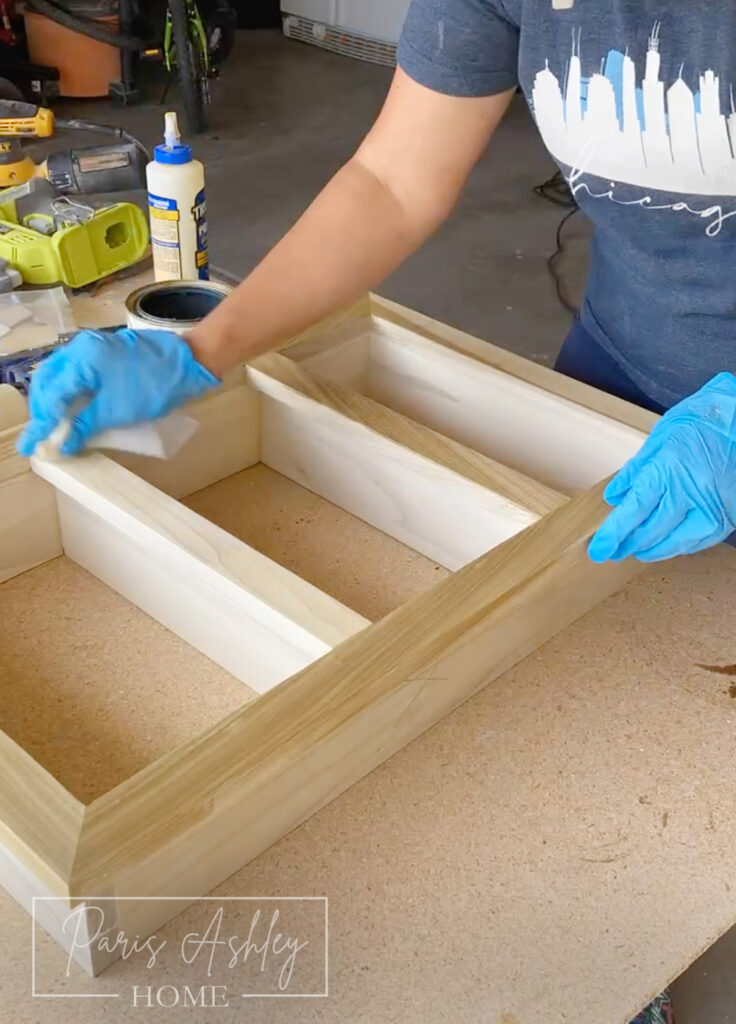
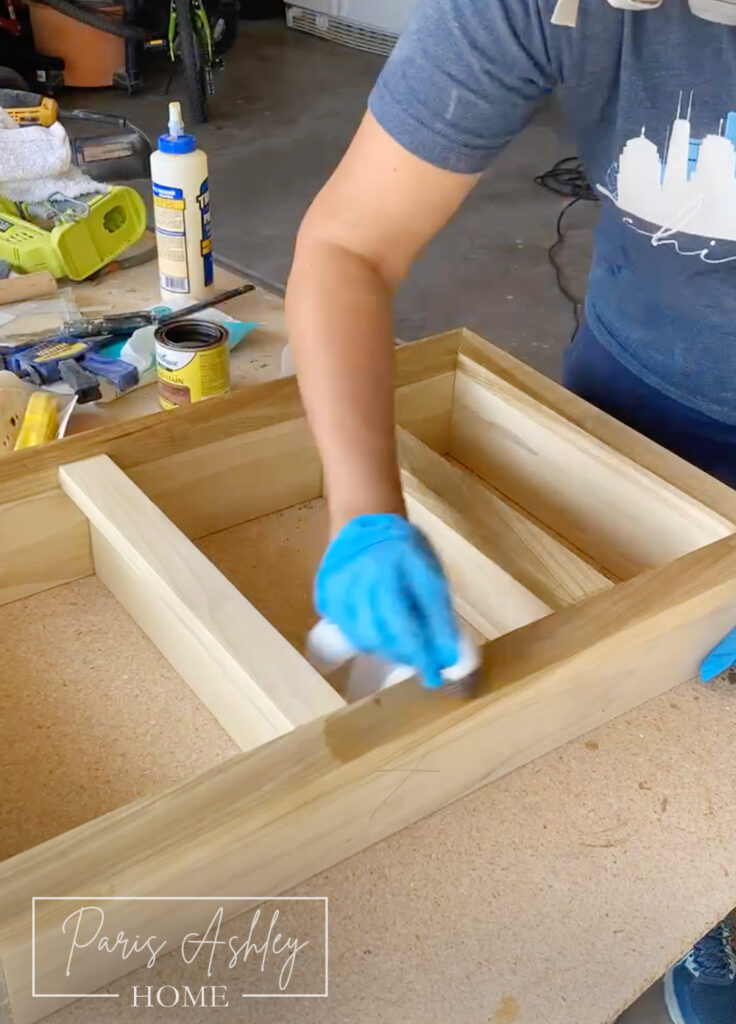
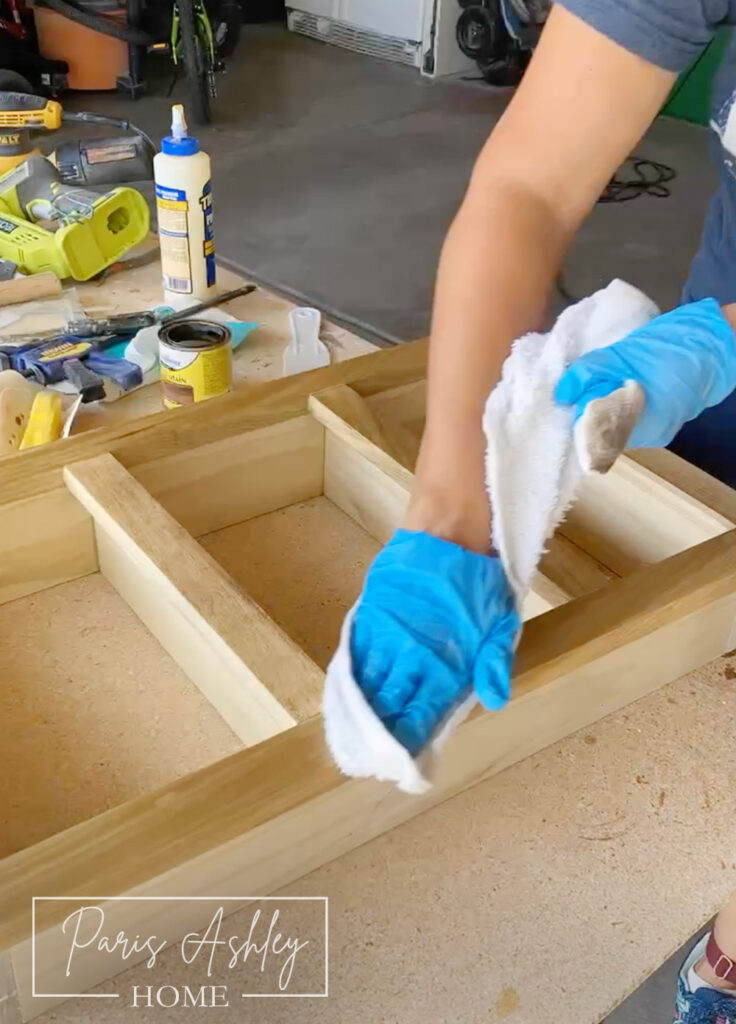
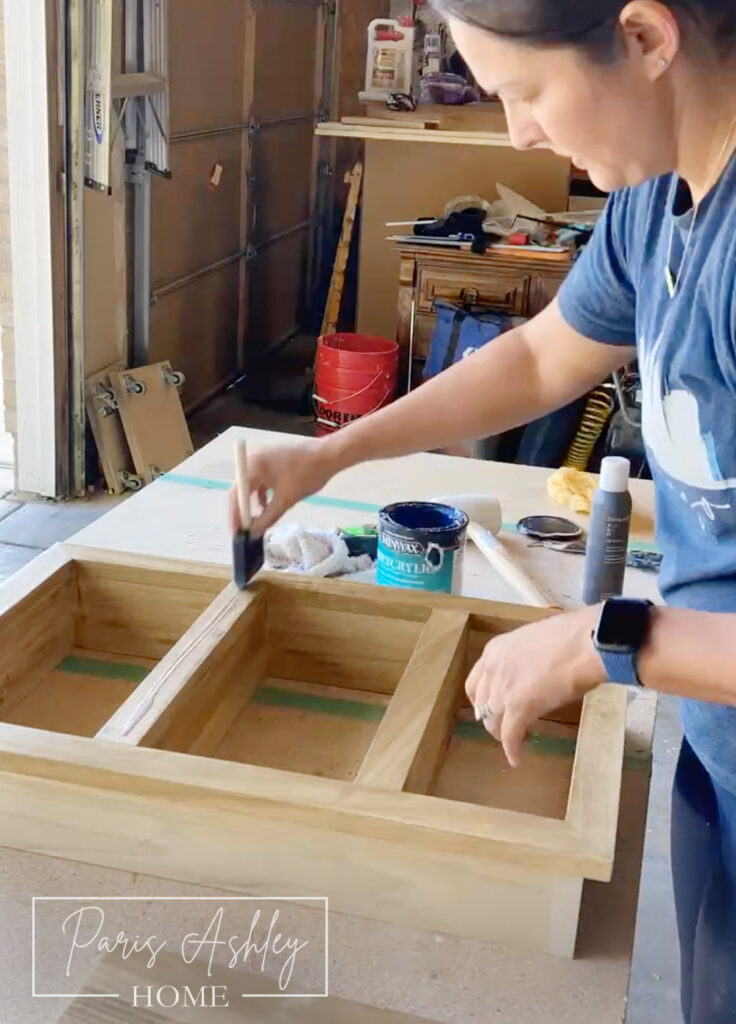
Step 6: Final Touches – Sanding, Staining & Sealing
Choose your stain (e.g., Early American), sand once more, wipe with a tack cloth, and wood condition the pieces. Apply the stain with a lint free rag and wipe off excess oil and drips. Apply three coats of matte polyurethane, sanding with a 220 grit between each coat. Let it dry, then you’re ready to install.
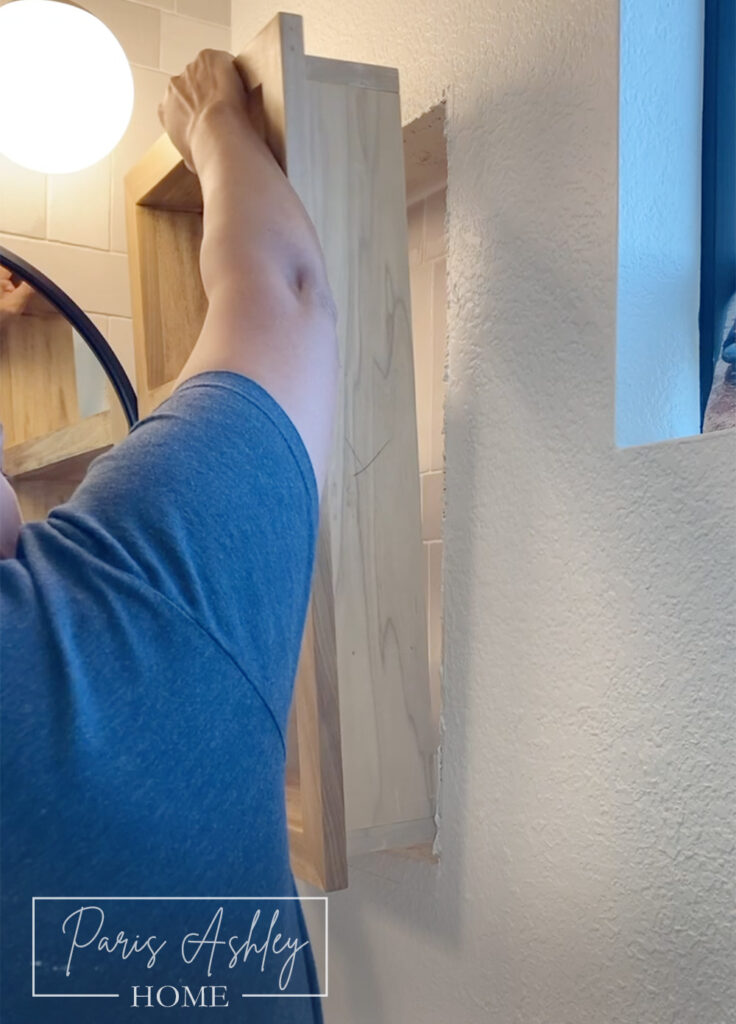
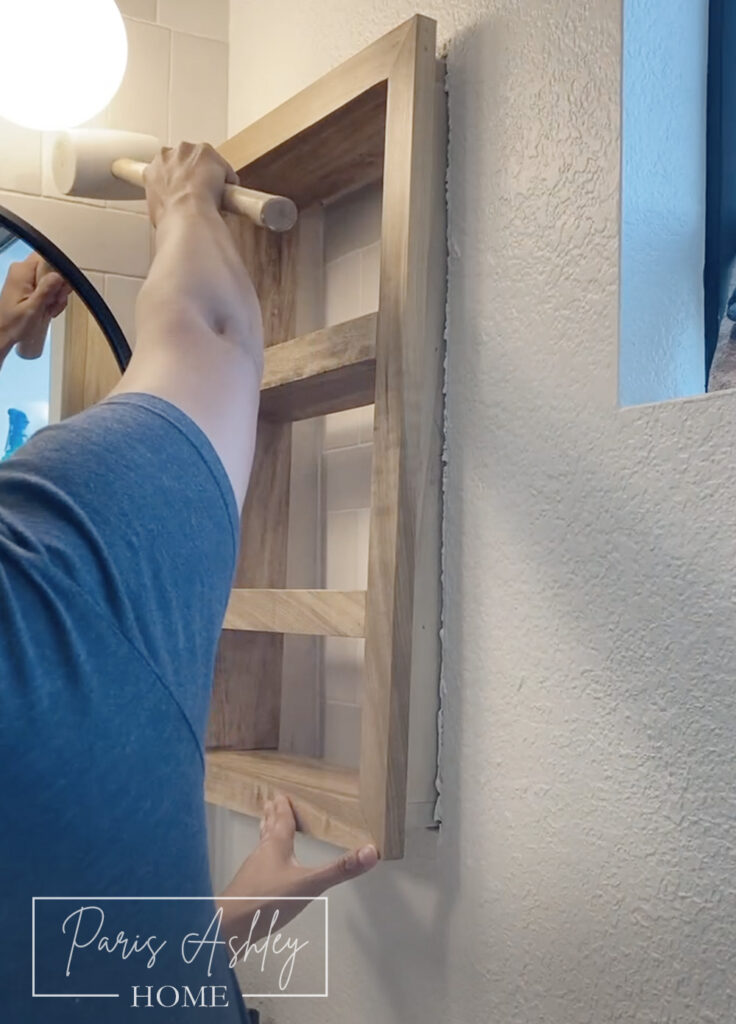
Step 7: Installing the Shelf Frame
Take the shelf frame inside and tap each corner gently with a rubber mallet until it’s fully in. Apply clear silicone caulk around the edges and the wall to secure it.
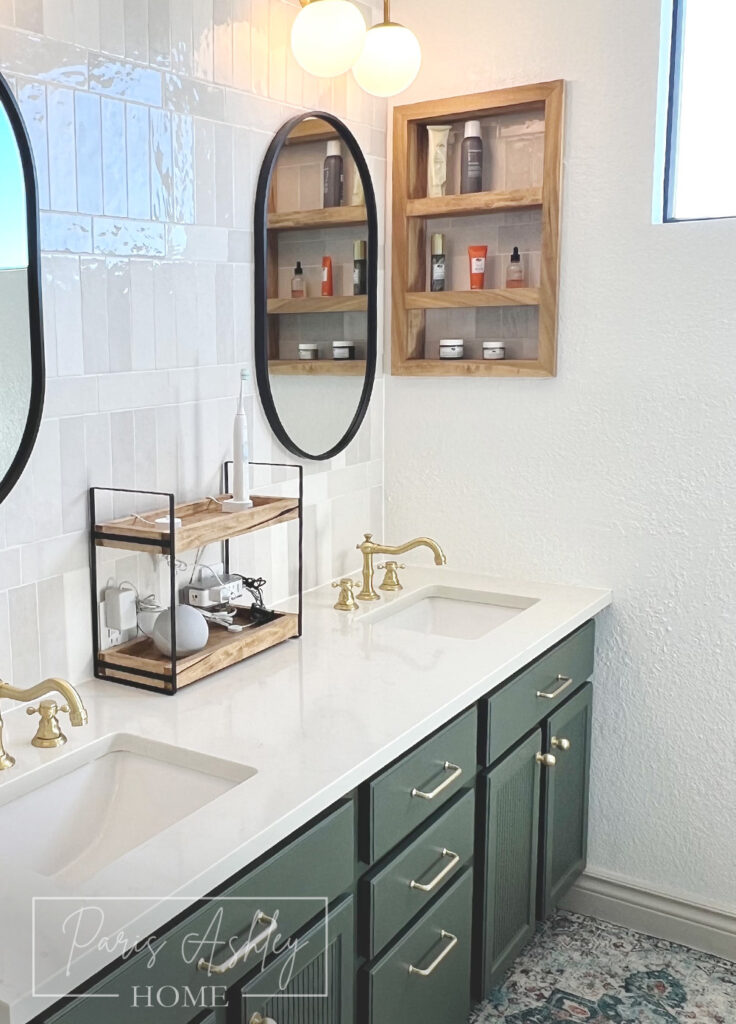
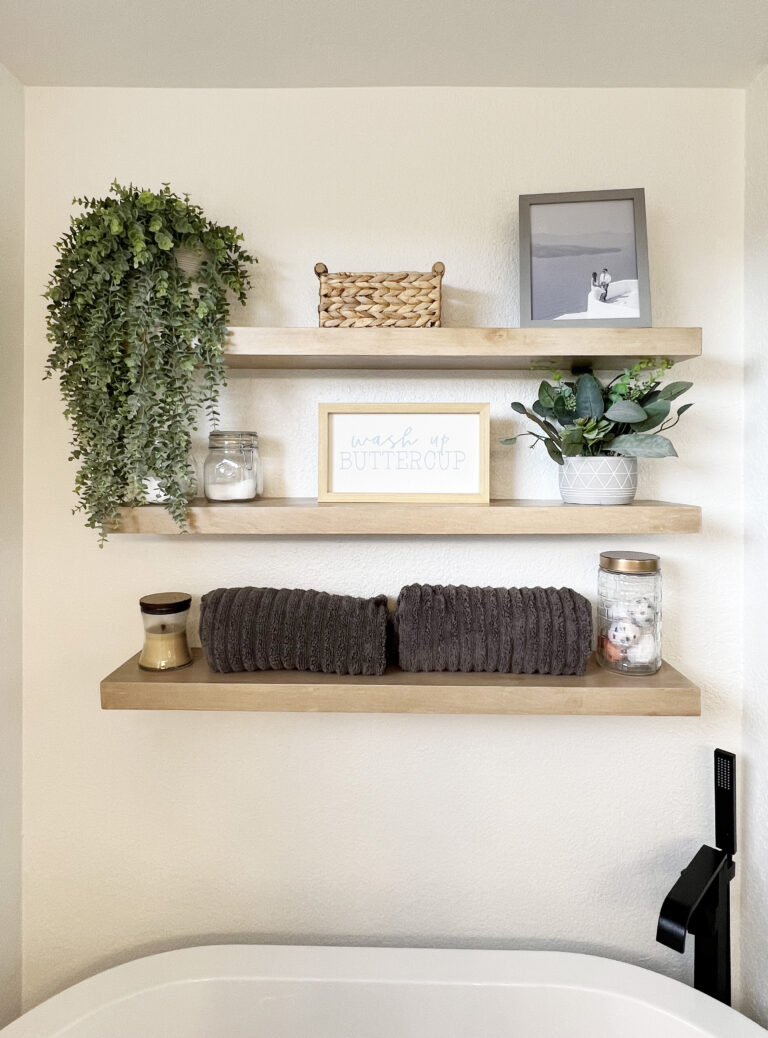
Congratulations, you’ve successfully transformed your medicine cabinet! It’s time to add your personal touch to the decor and enjoy your newly upgraded space.
Want even more inspiration and behind-the-scenes action? Follow me on Instagram @parisashleyhome! I share all my DIY projects, home decor tips, and the latest updates on my journey to creating a beautiful, cozy home. Join me and let’s inspire each other to tackle more DIY adventures.
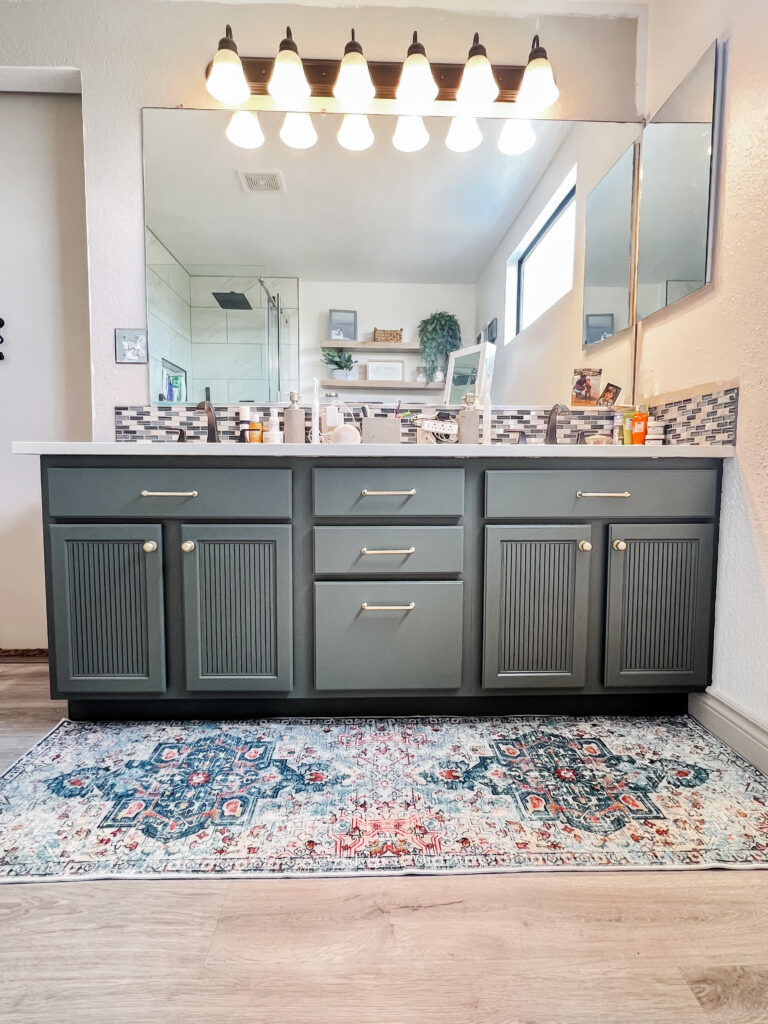
So go ahead, give your own vanity the love it deserves, and get ready to be blown away by the results. Happy DIYing!
Watch a video tutorial Here!
Follow ParisAshleyHome on social for more DIY Tutorials!
Follow on Instagram, Subscribe on YouTube, Pin on Pinterest, Follow on Facebook, Follow on TikTok, Shop on LTK!
Hey! What kind of tile did you use on the back wall? I really like it!