Designing Accent Doors
Here is your How-To breakdown to make these closet doors!
*This post contains affiliate links. I will receive a commission for items purchased through these links at no extra cost to you. I appreciate your support. Please read all labels and follow all manufacturer safety recommendations when working with any tools or equipment recommended.

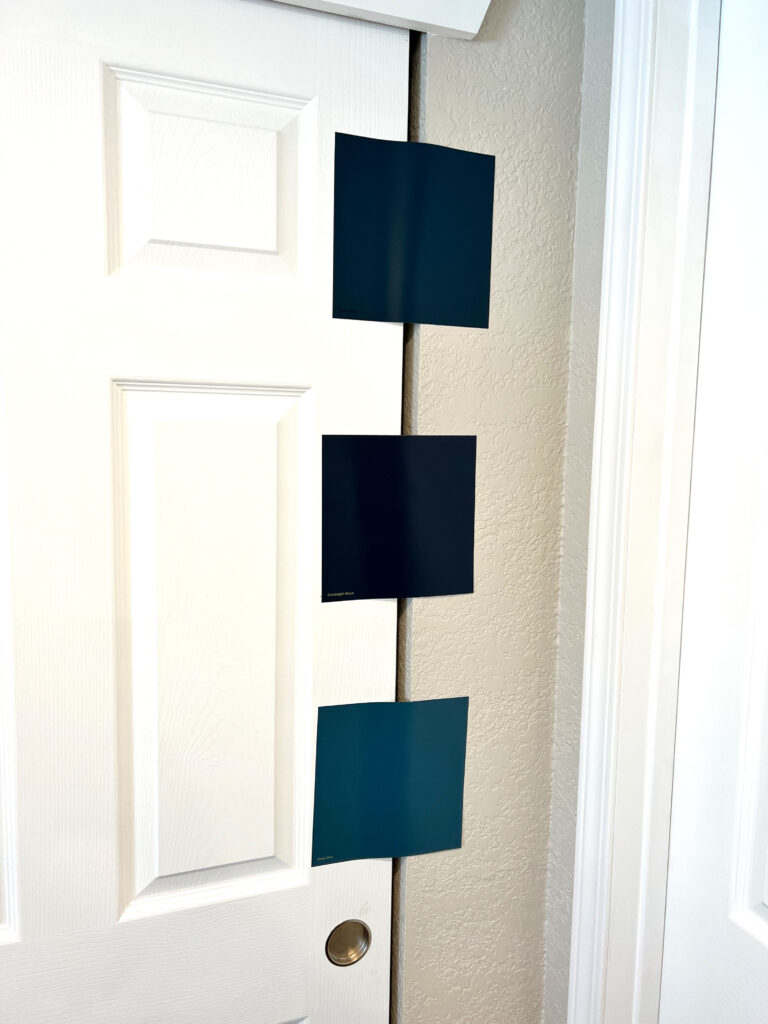
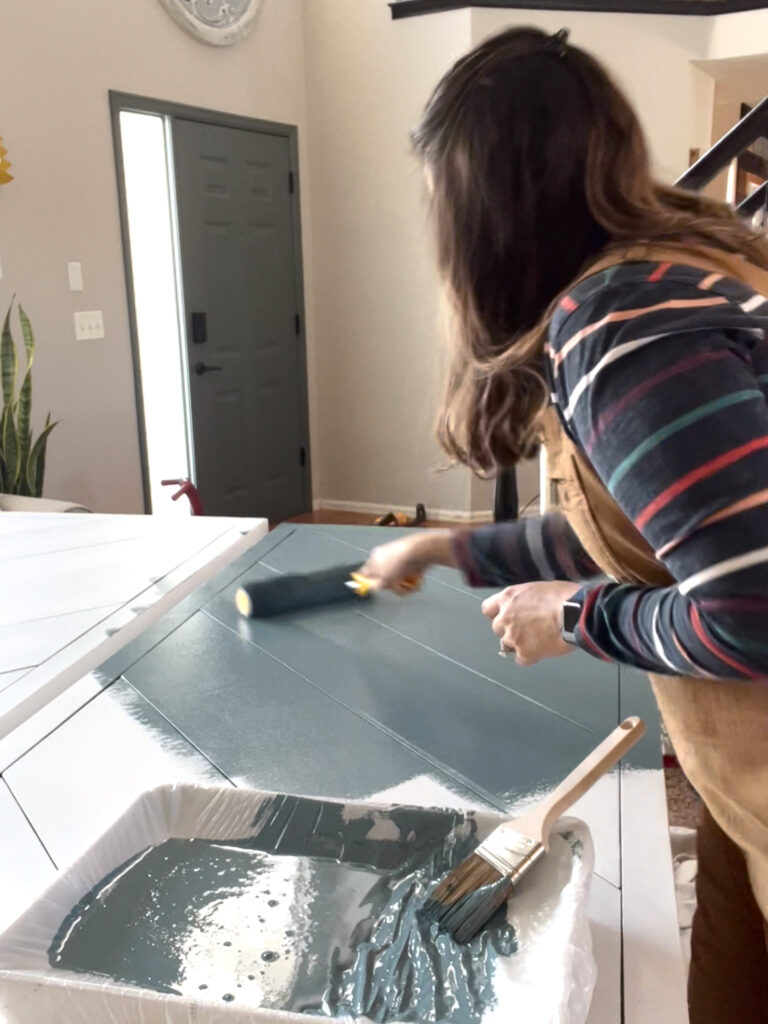
I was lucky enough to be gifted paint by Clare Paint, they have premium zero VOC paint and quality painting supplies, delivered to you. They make paint shopping simple with designer-curated colors, peel and stick paint swatches to get a great example of their colors before committing!
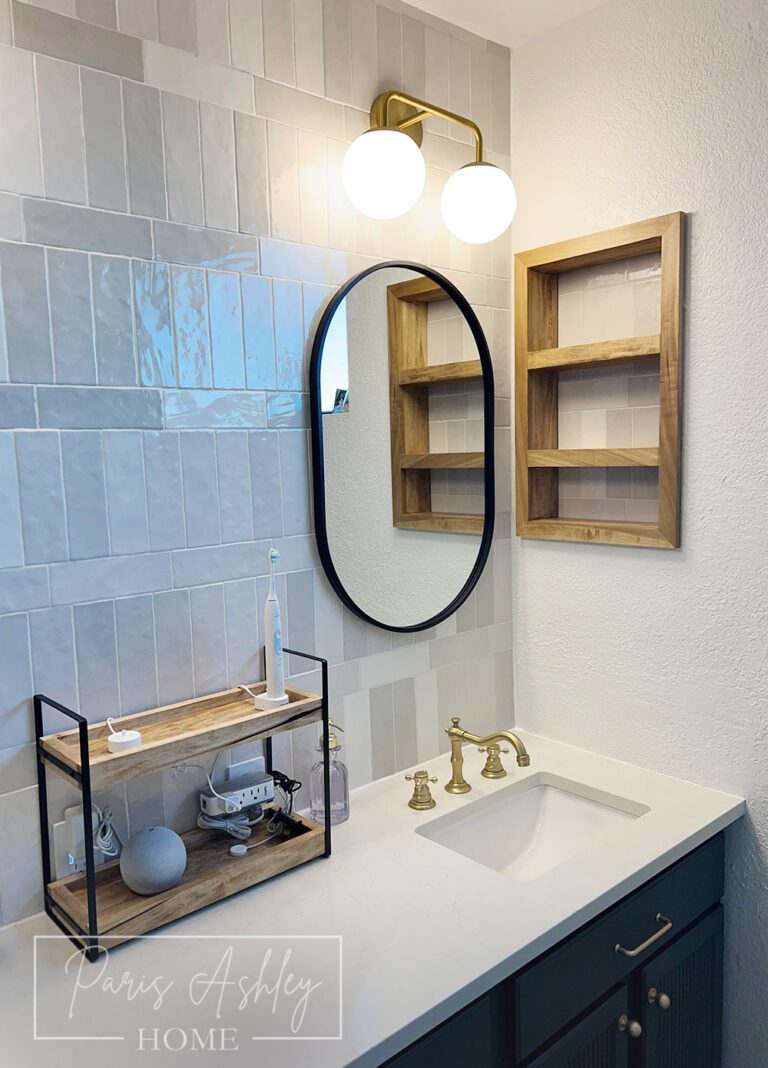
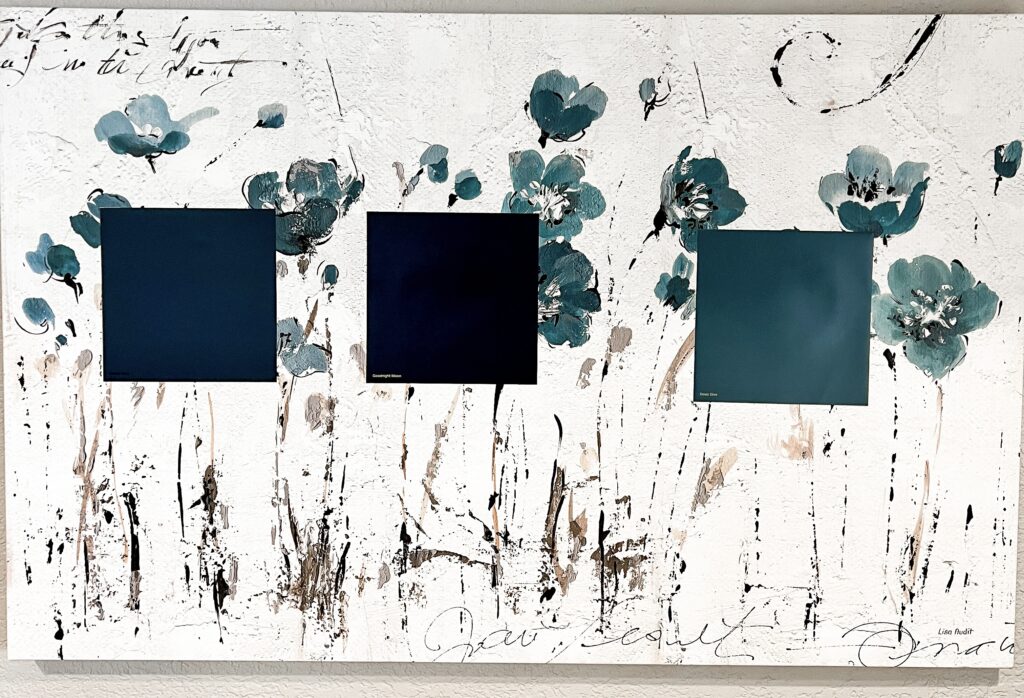
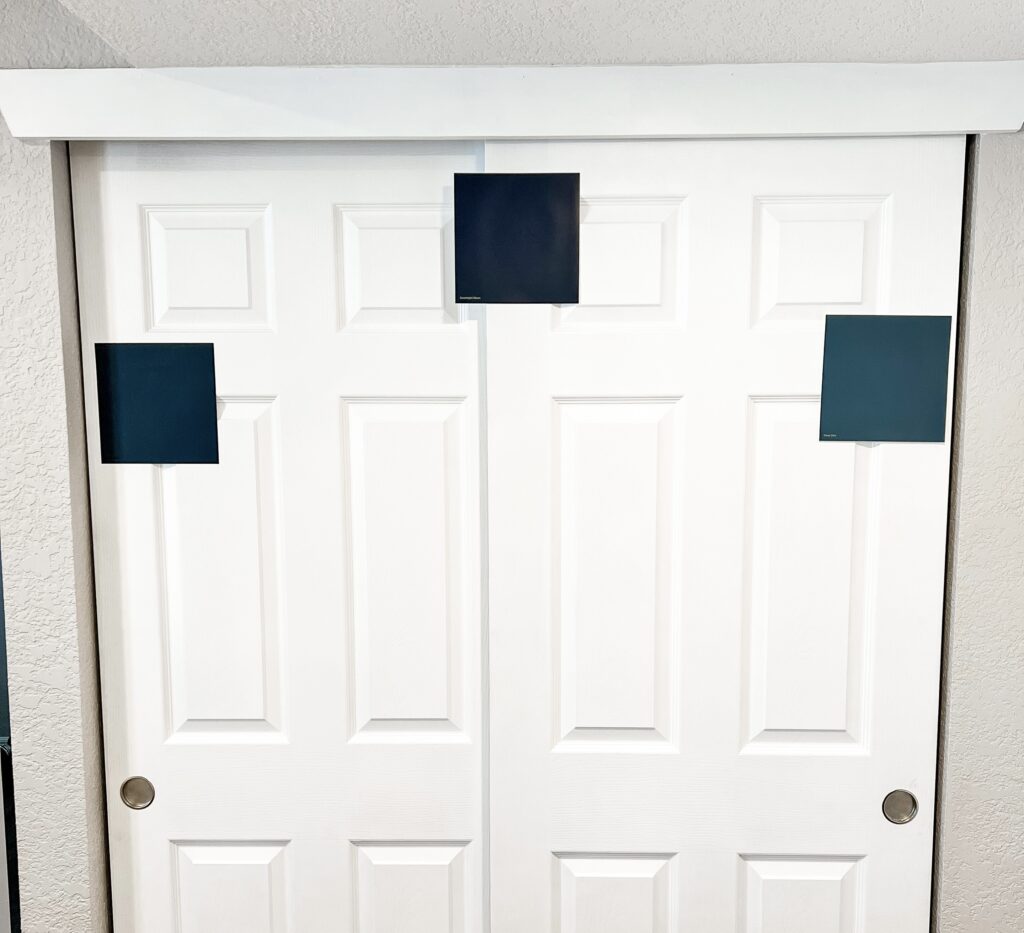
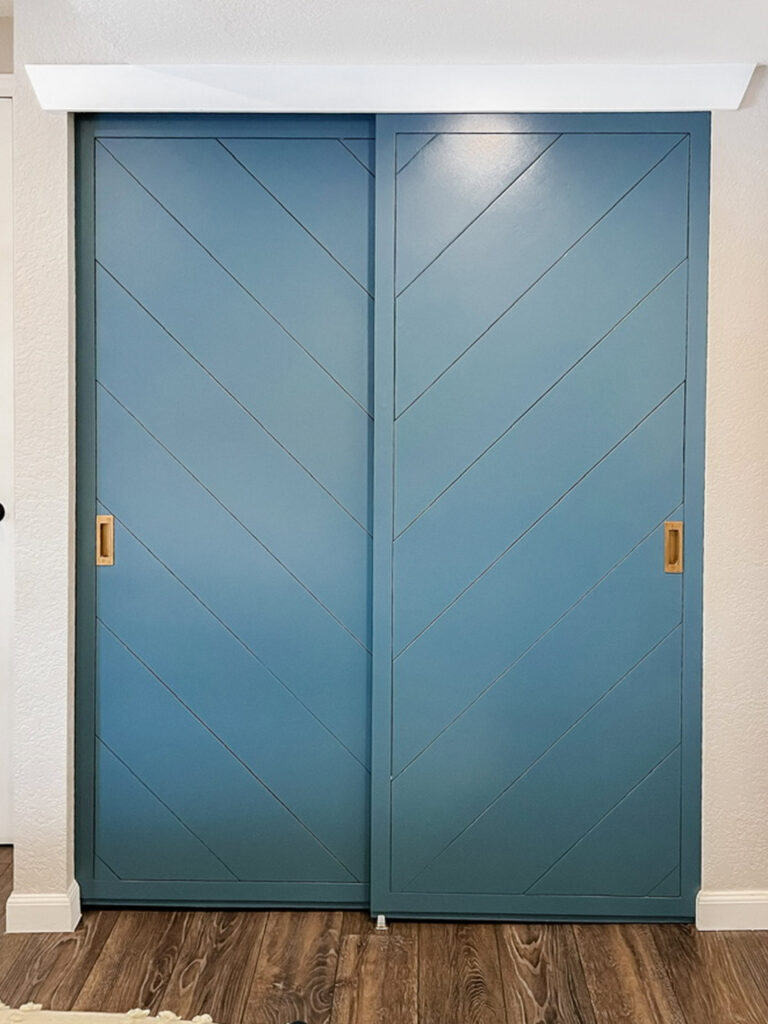
When I received my swatches I included my followers in my stories by helping me pick my paint color, I was deciding between Nearly Navy, Goodnight Moon and Deep Dive. All beautiful colors. I had a painting in the room that I wanted the color to compliment so that helped in the decision to pick Deep Dive.
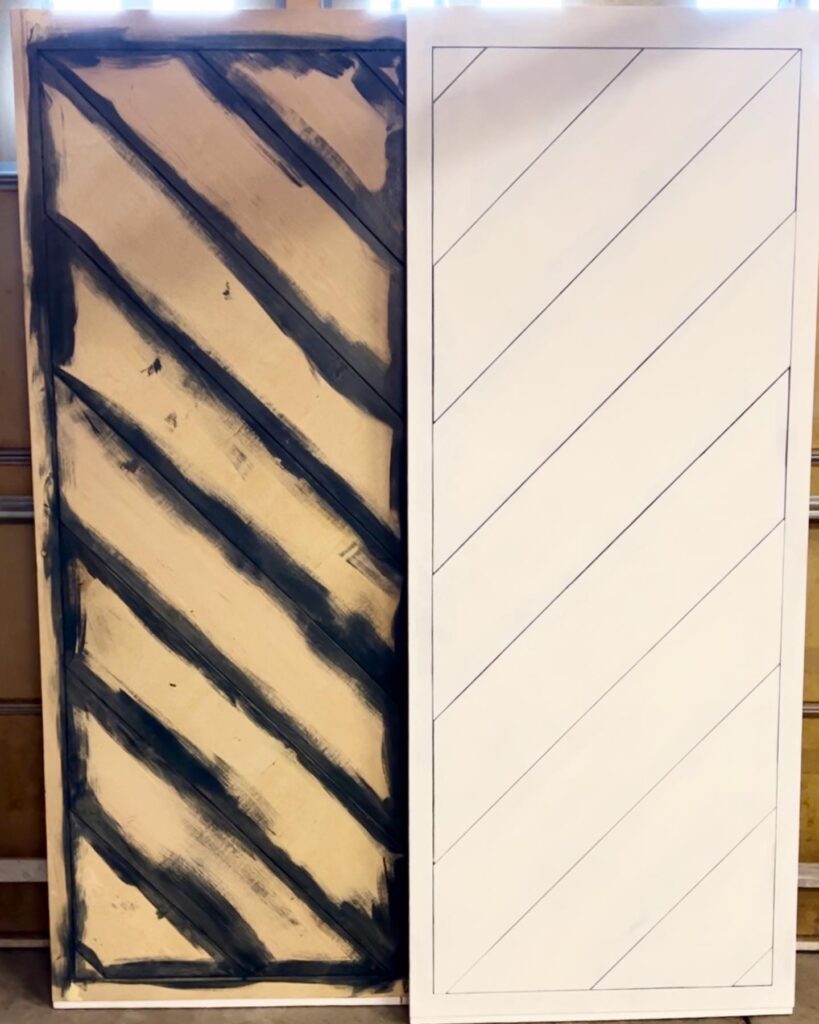
Once the color was decided, I made a photoshop mockup of my design options and again included my followers in the voting process. I was contemplating a horizontal design, a chevron design and a herringbone design, but ultimately I decided on the classic chevron design.

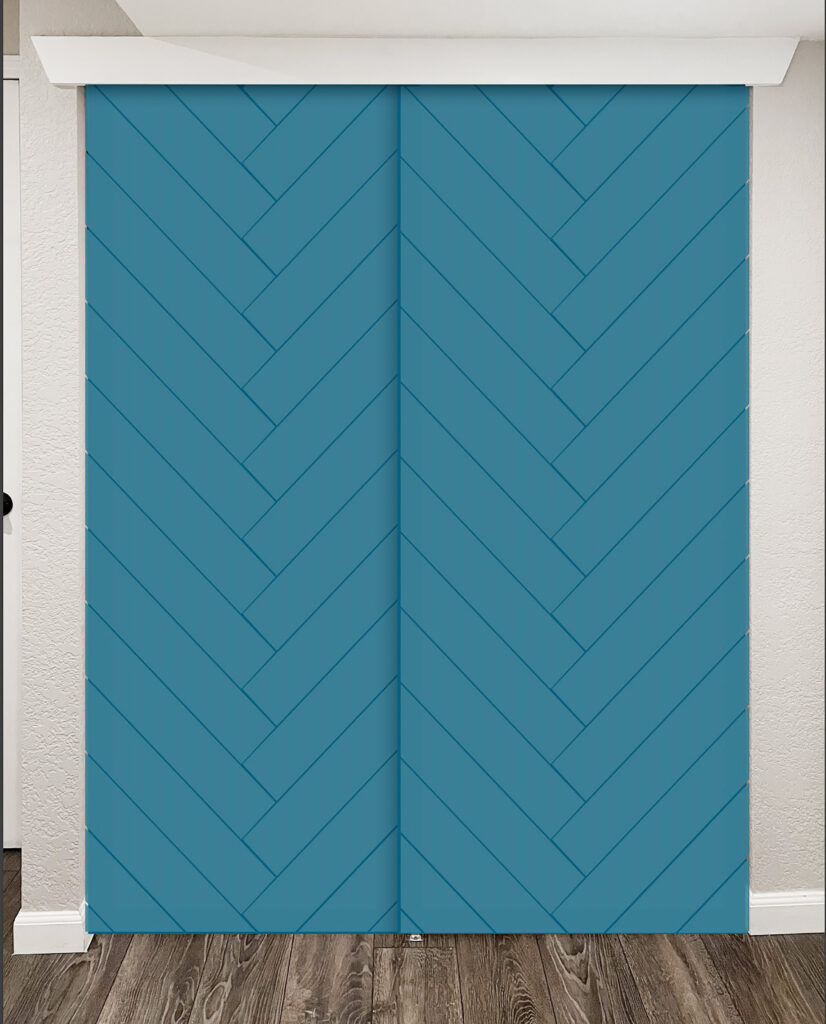
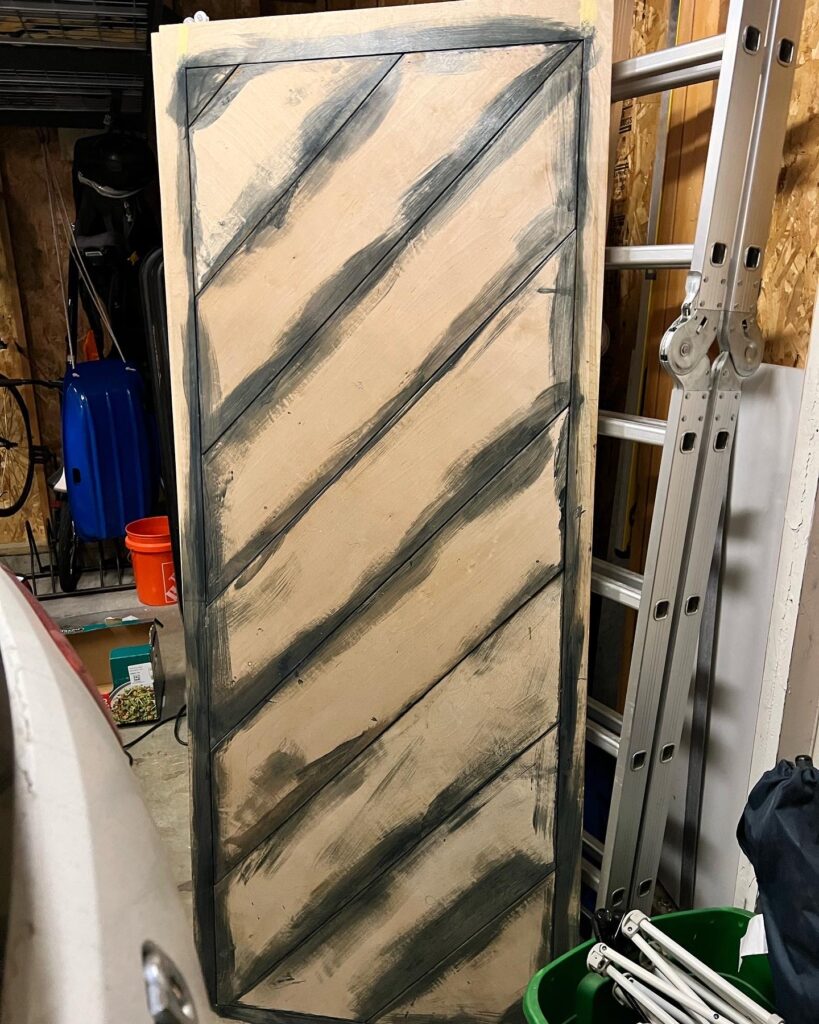
The next process was deciding on the thickness of the chevron angles, 6″, 9″ or 12″ thick. The 9″ thickness was the most popular vote. But after calculating a 1/4″ x 4’x8′ sheet of plywood, 8″ actually made the most sense to get an equal amount of cuts with no waste! Also calculating the 1/8″ blade thickness, the true thickness ended up being 7 3/16″.
Last was deciding on a border or no border, I had a 1 1/2″ border option and a 3″ border option, this was the hardest decision by far. Ultimately I brought my husband in for his opinion as the poll was not helping me and we decided on the small border! I ended up going with 1 3/4″, just a touch bigger than 1 1/2″. This ended up being the smartest decision, after I ripped down my plywood and placed them on a 45˚ angle they were about 1″ too short if I chose the no border option. Therefore it made my decision much easier and I’m very happy with the result!
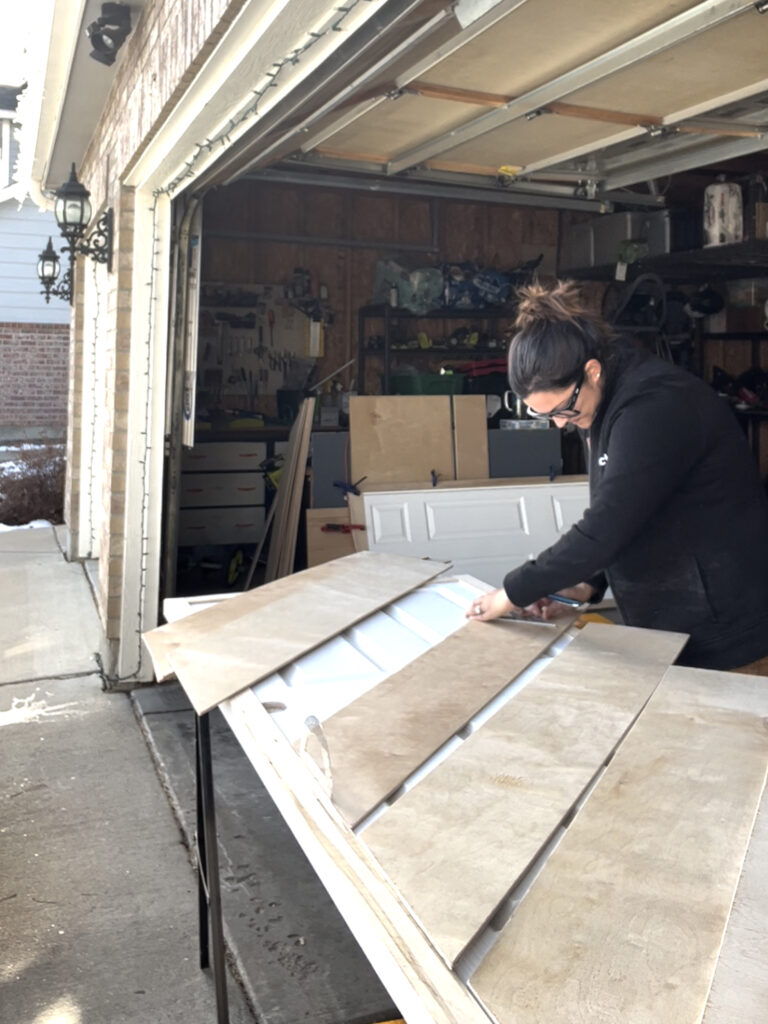
So now we have a game plan, let’s get to the fun part! Sometimes I have Home Depot rip down my boards for me, they usually are nice enough to, but I’ve found they aren’t the most accurate, so I had them rip them down enough to fit in my car, took them home and did the rest myself with my table saw. then I cut the 45˚ angle with my miter saw on just one side, then I laid the boards on the door. Before I started the border I had to take into account the track on the bottom of the door, I drew a line across the bottom to know how high to play the bottom border.

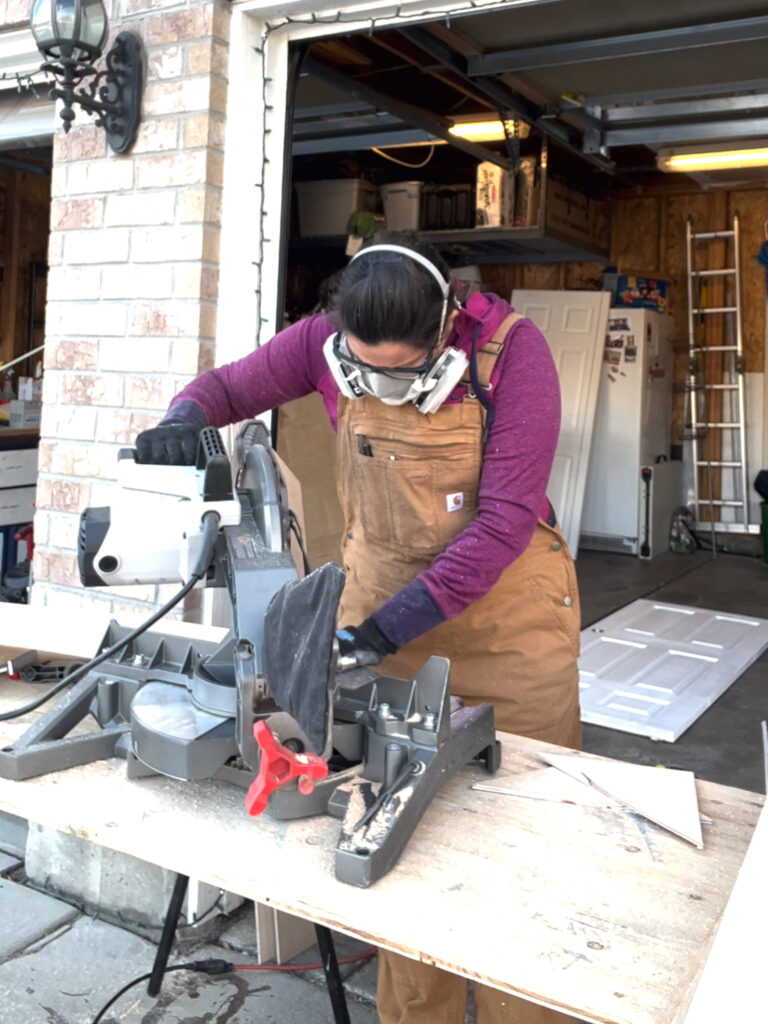
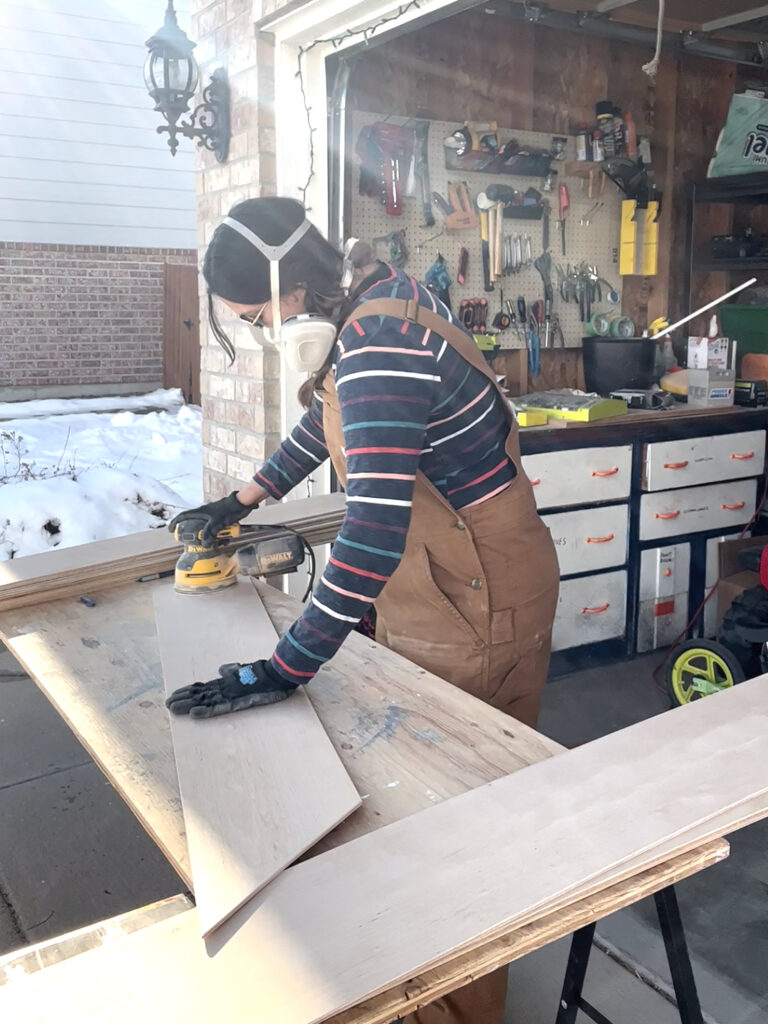
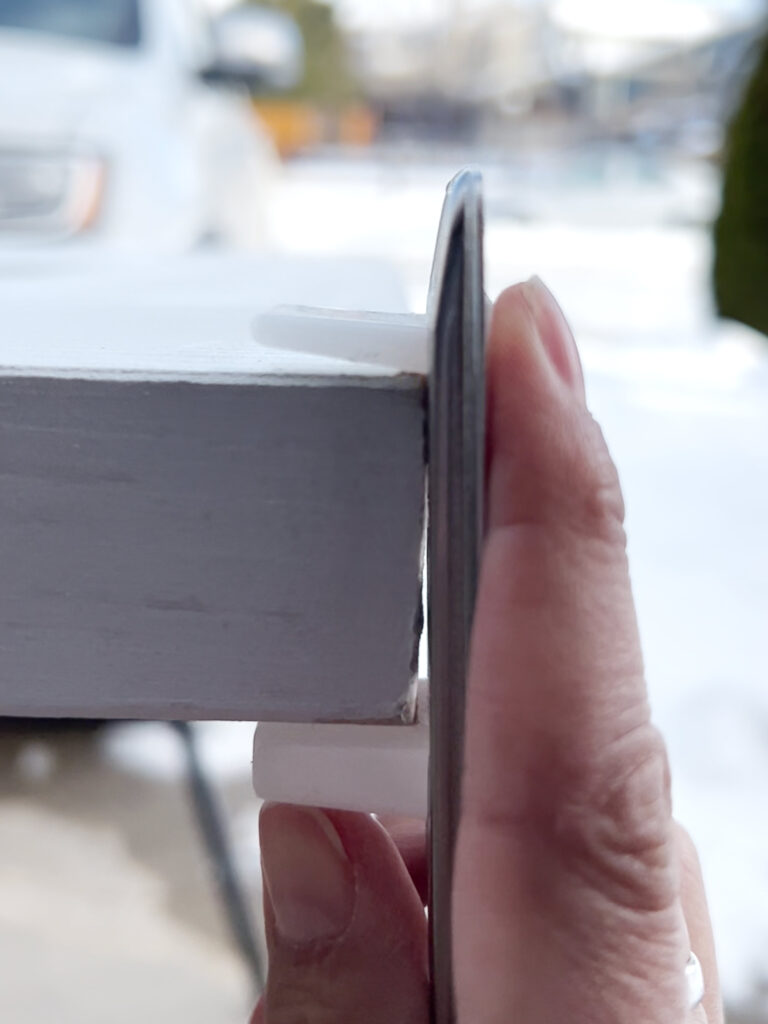
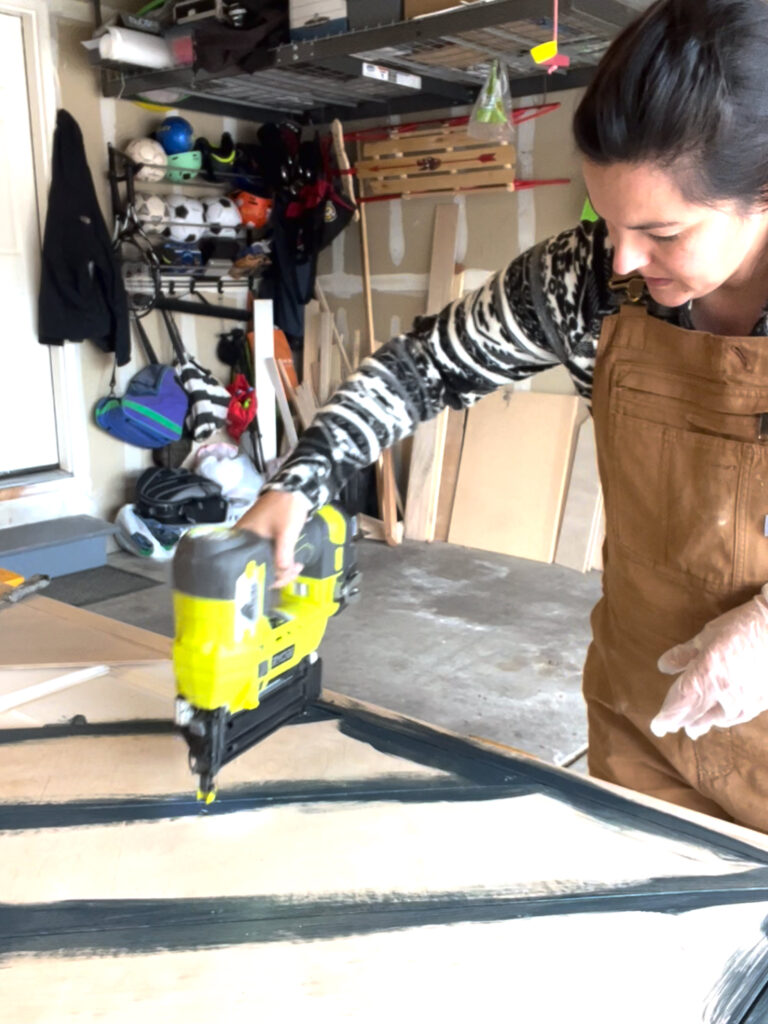
I used clamps to hold the border in place while it dried. I then used a protractor for spacing and a speed square to get the perfect 45˚line to cut these boards. After that, I simply laid out all the boards on the door marked my cuts, and got them placed!


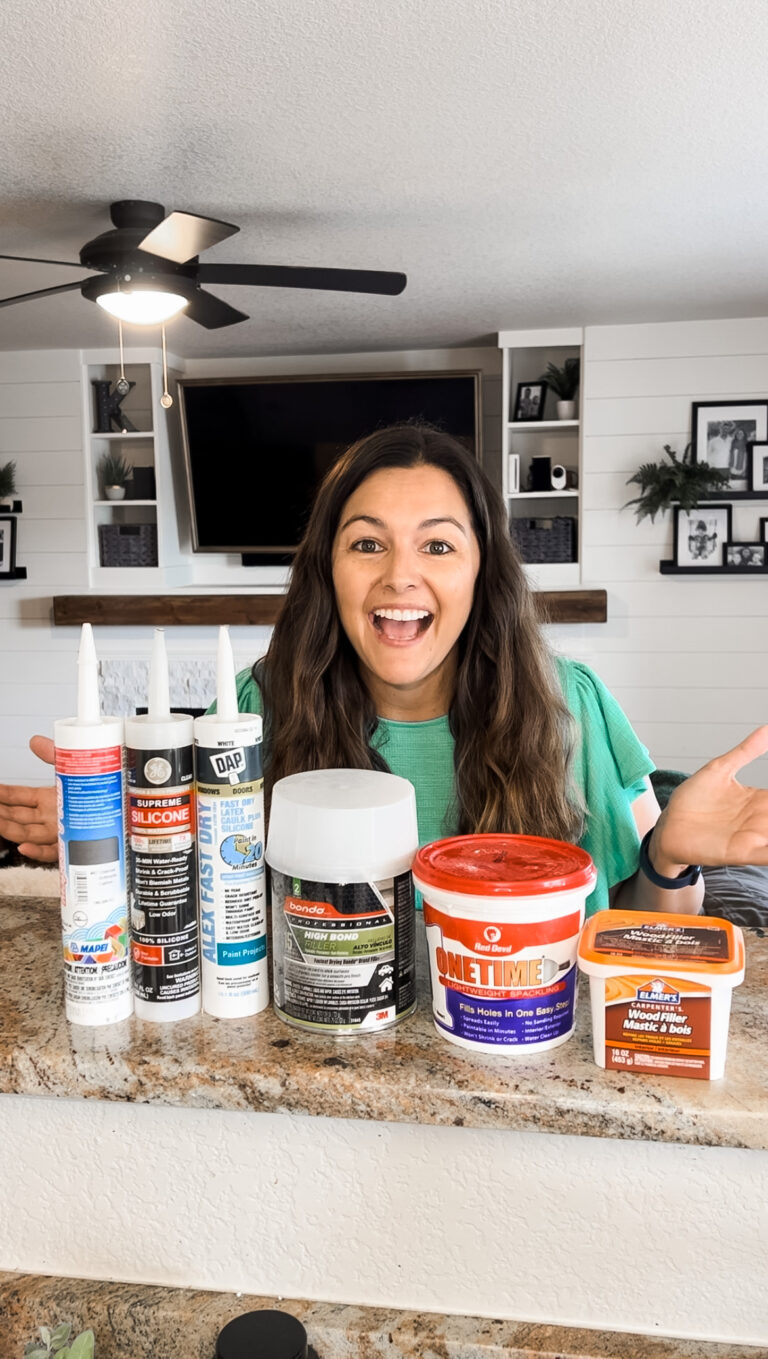
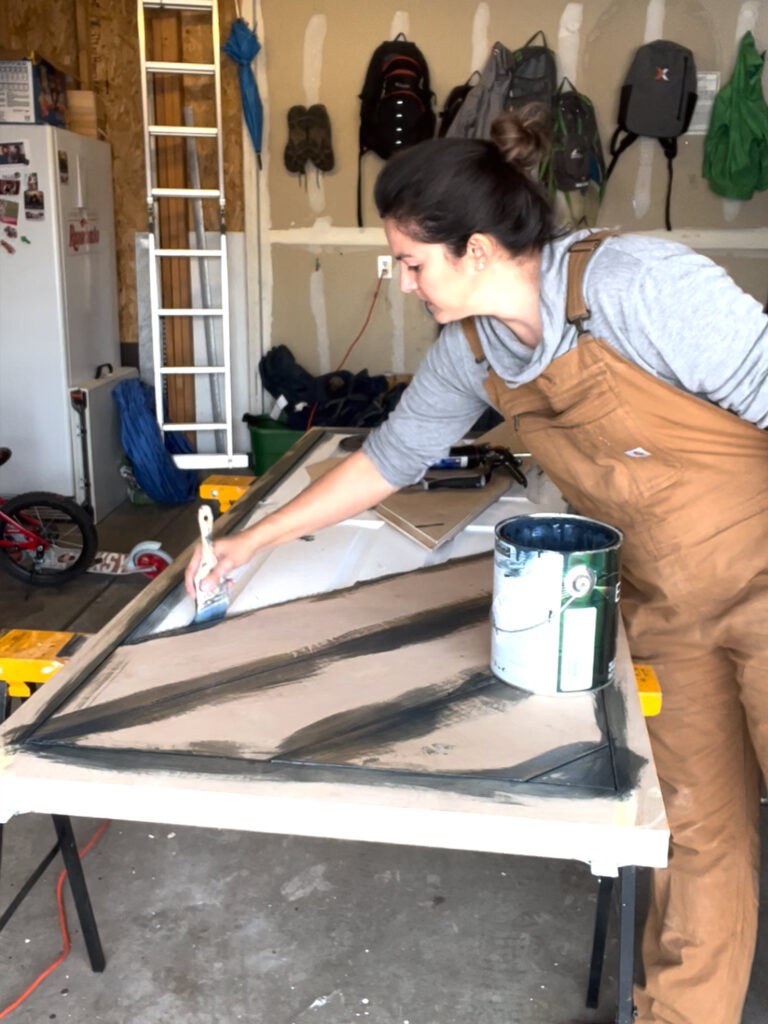
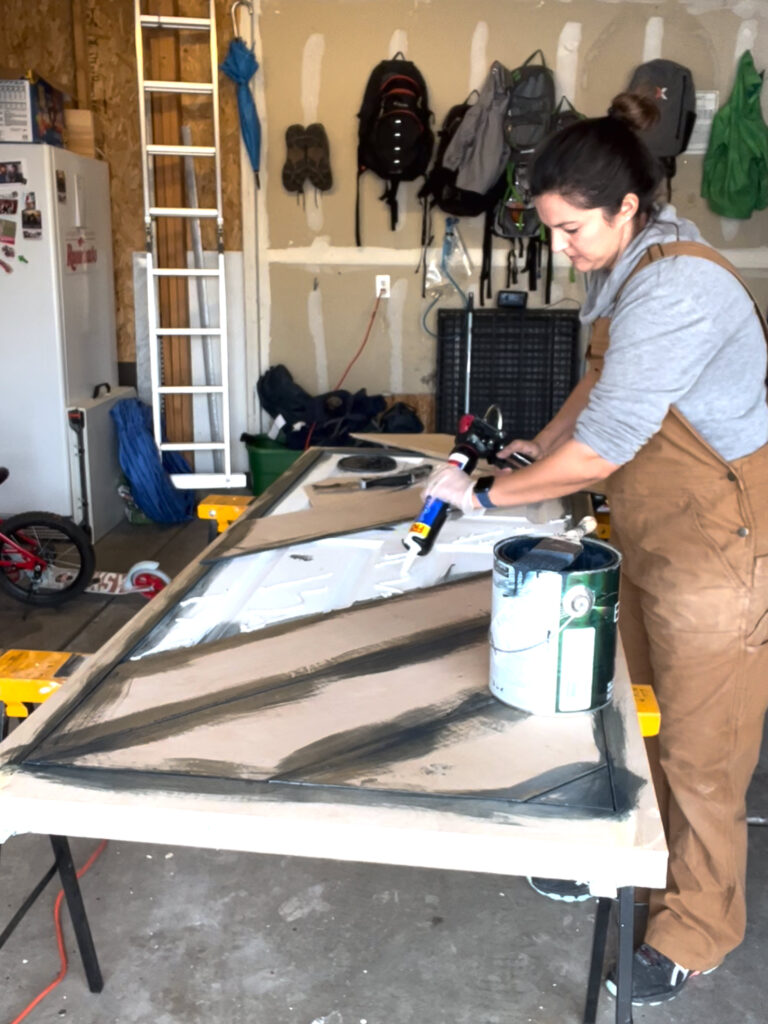
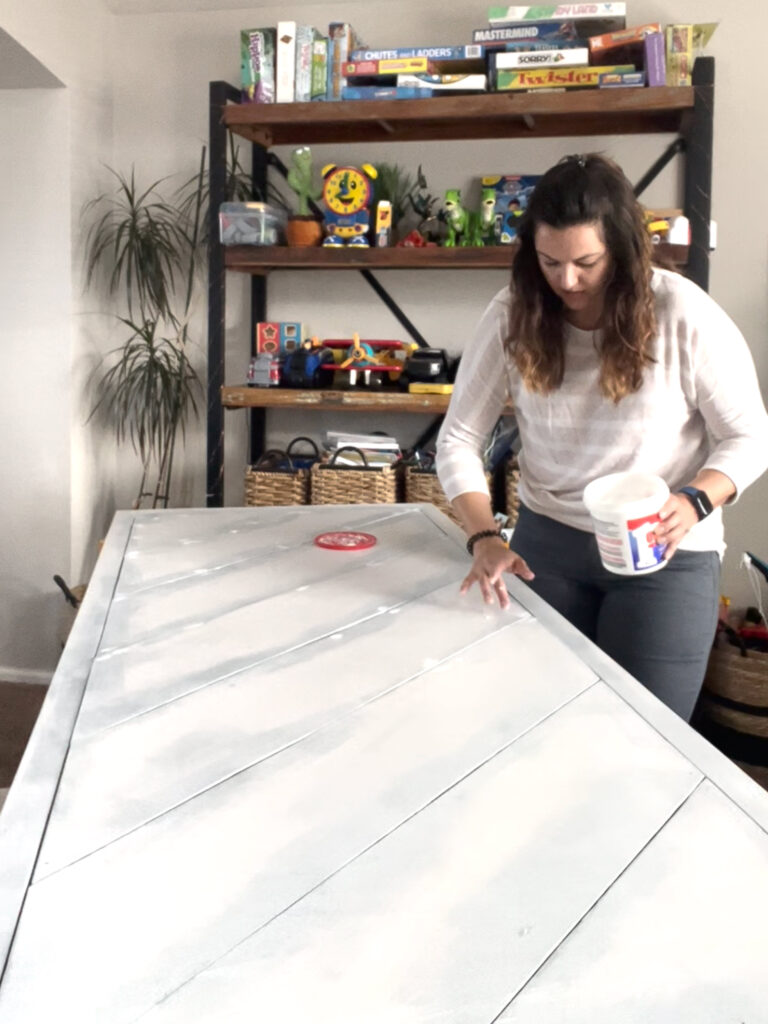
Before I adhered the plywood to the door, I wood-filled the creases on the border and then painted all the edges and the creases against the door so the white wouldn’t show through when I was finished. Next, I started using Loctite glue, I’ve heard great things about this product, unfortunately, I think it was too cold in my garage (50˚) and the glue just wasn’t working so I went to my trusty nail gun, and filled in the holes with spackle and primed the doors.
Repeat all the above on the second door and then it was time to paint!

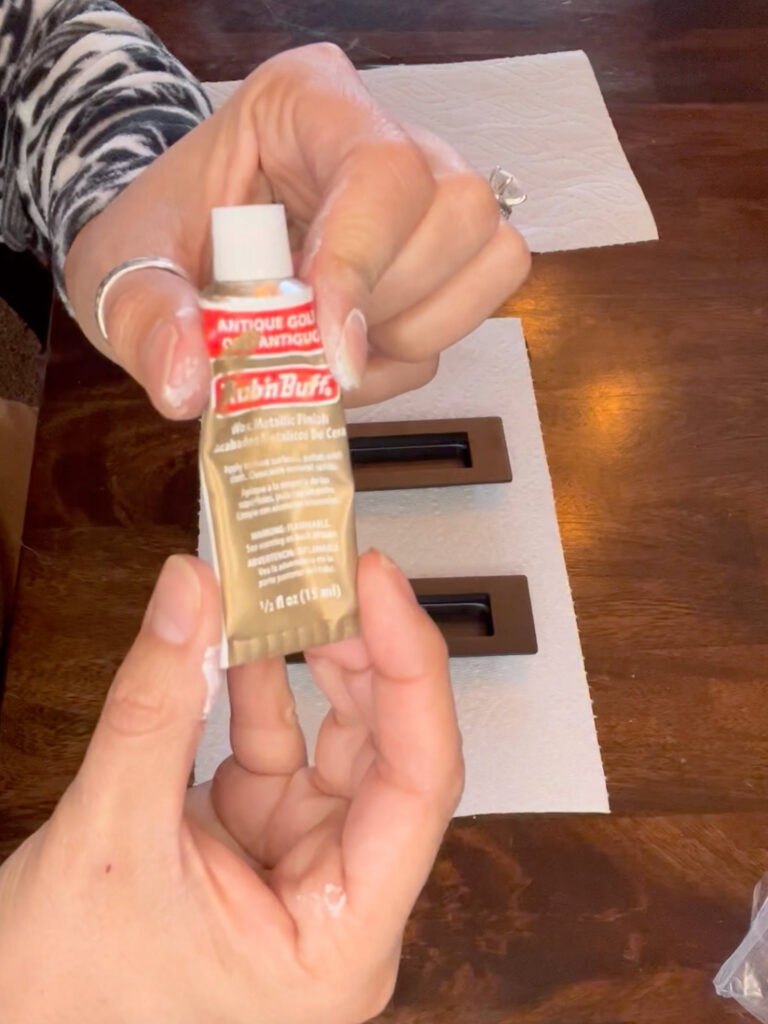
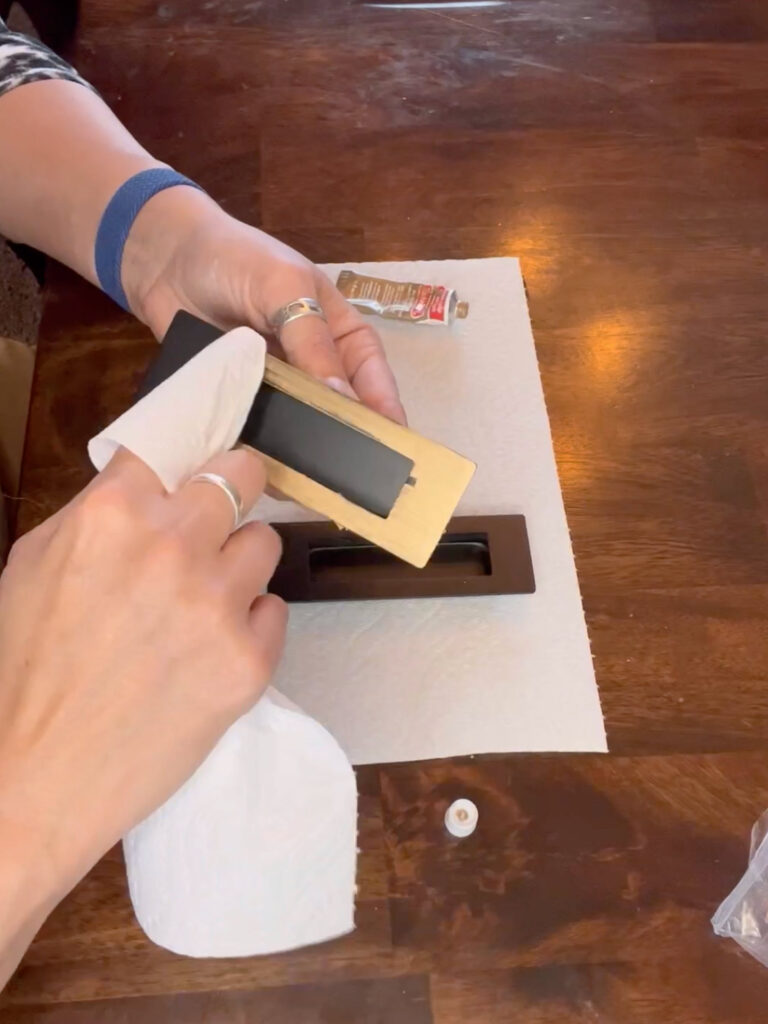
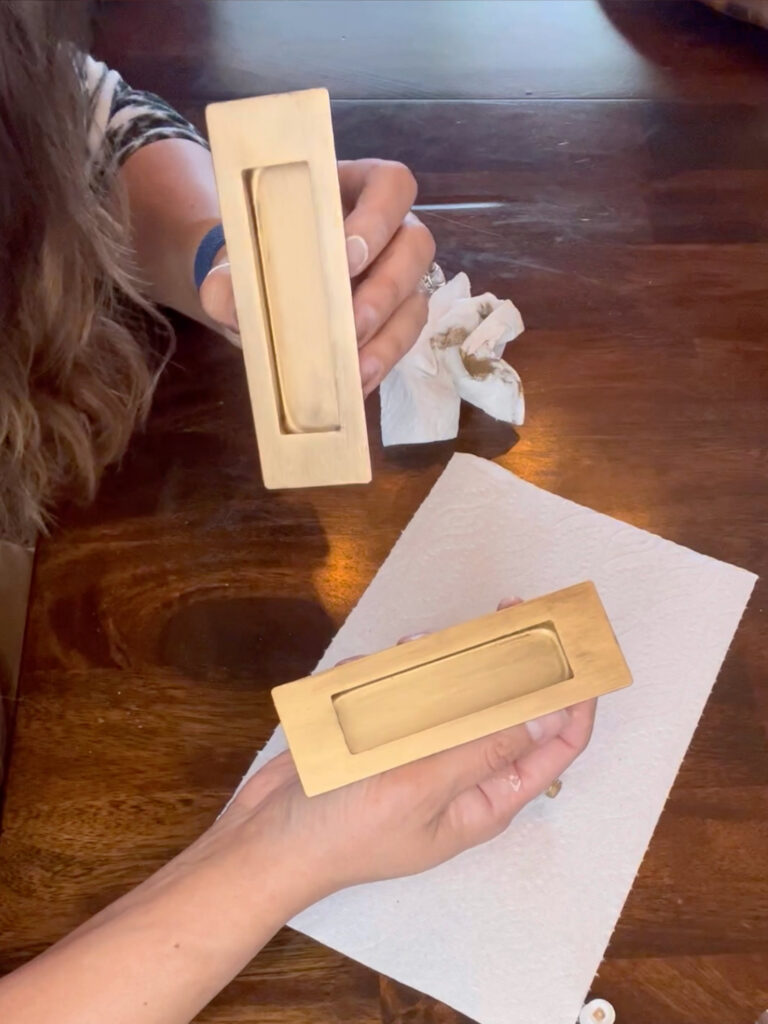
Are you still with me? We’re so close to being done! Next was rub n buffing the new model door handles, I couldn’t find the exact style/size/color I wanted so what did I do? I DIYed them, obviously! I used these black door handles and then antique gold rub n’ buff.

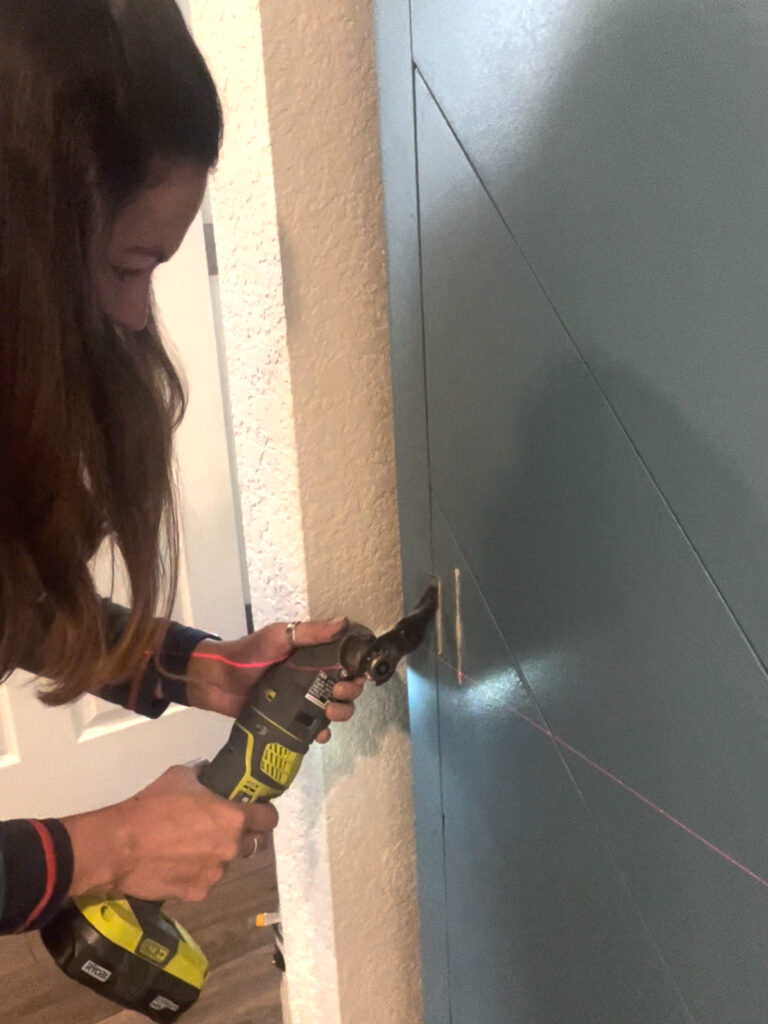
And the last step, install the door handles and the doors! I first installed the doors, then used my laser level and multi-tool to make sure the handles were level when I installed them.


Watch Videos on this project: Phase 1, Phase 2, Reveal, Cost Breakdown, How-To Details, Paint color
Cliff Notes:
• I used 1/4(5mm) Plywood, and cut it into a little less than 8” strips, to get an exact even amount out of my sheet of plywood
•I cut the angles at 45˚to not over complicate things
•I did add a border, not necessary but also the 4’ plywood at a 45˚ angle wasn’t long enough and the border made up for that
• I wood-filled the edges and cracks and painted the edges so the white from the door wouldn’t show through
•I used Loctite glue, but it wasn’t working, the boards peeled right off, might have been too cold outside, not sure, so I ended up using my nail gun on everything
•I primed, then spackled, then sanded, then primed again
•I used Deep Dive by Clare Paint
•I rub n buffed my new door handles to antique gold
• Installed my doors, used my laser level and multi-tool to install the handles
And that’s it! Such an easy budget-friendly upgrade! If you still have more questions, hit me up in the comments!
All Materials needed for this project:
• Deep Dive By Clare Paint (Obviously you can choose any color you desire!)
• 1/4″ x 4’x8′ sheet of plywood
•Safety Gloves, Protective Eyewear, Ear muffs, Face Mask
•Table Saw, Miter Saw, Clamps, Protractor, Speed square
•Loctite Glue, Nail Gun, Spackle
•Black Door Handles, Antique Gold Rub n’ Buff, Laser Level and Multi-Tool
•For your convenience, all the links in one place: Here!