How to Convert Cabinet Shelves into Pull-Out Drawers – A Step-by-Step Guide
*This post contains affiliate links. I will receive a commission for items purchased through these links at no extra cost to you. I appreciate your support. Please read all labels and follow all manufacturer safety recommendations when working with any tools or equipment recommended.
All My Favorite Tools Can Be Found Here
Watch a video tutorial Here!
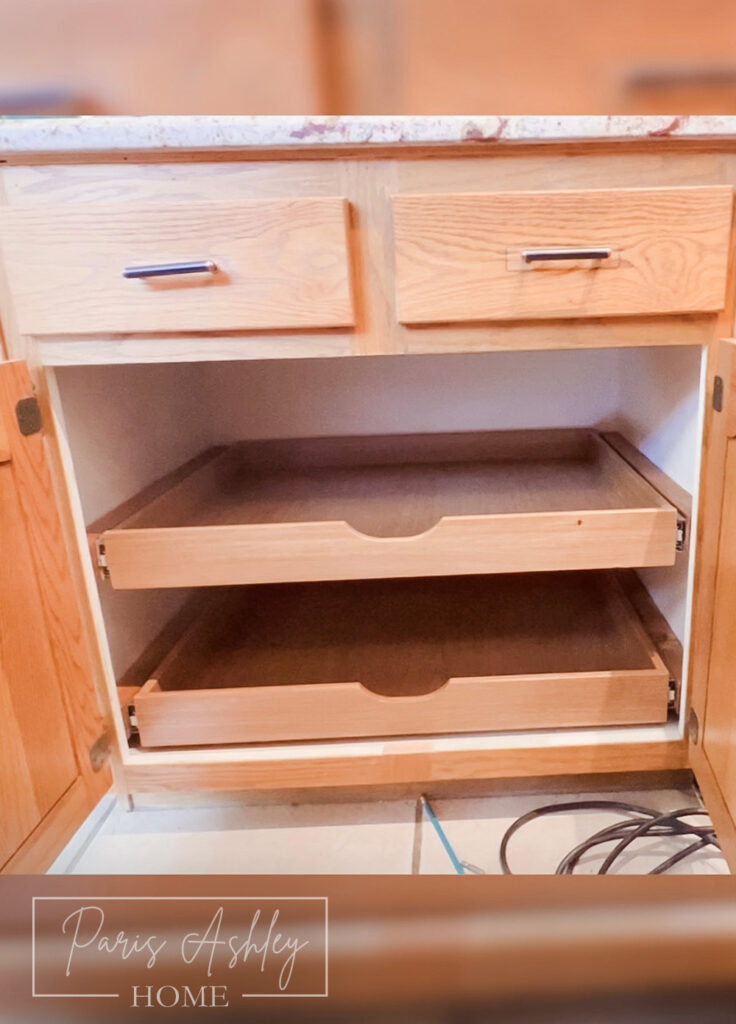
Are you tired of rummaging through your kitchen cabinets to find that elusive pot or pan? Converting cabinet shelves into pull-out drawers can help you maximize storage and make your kitchen more organized. In this step-by-step guide, I’ll walk you through the process of transforming your cabinet shelves into convenient pull-out drawers.
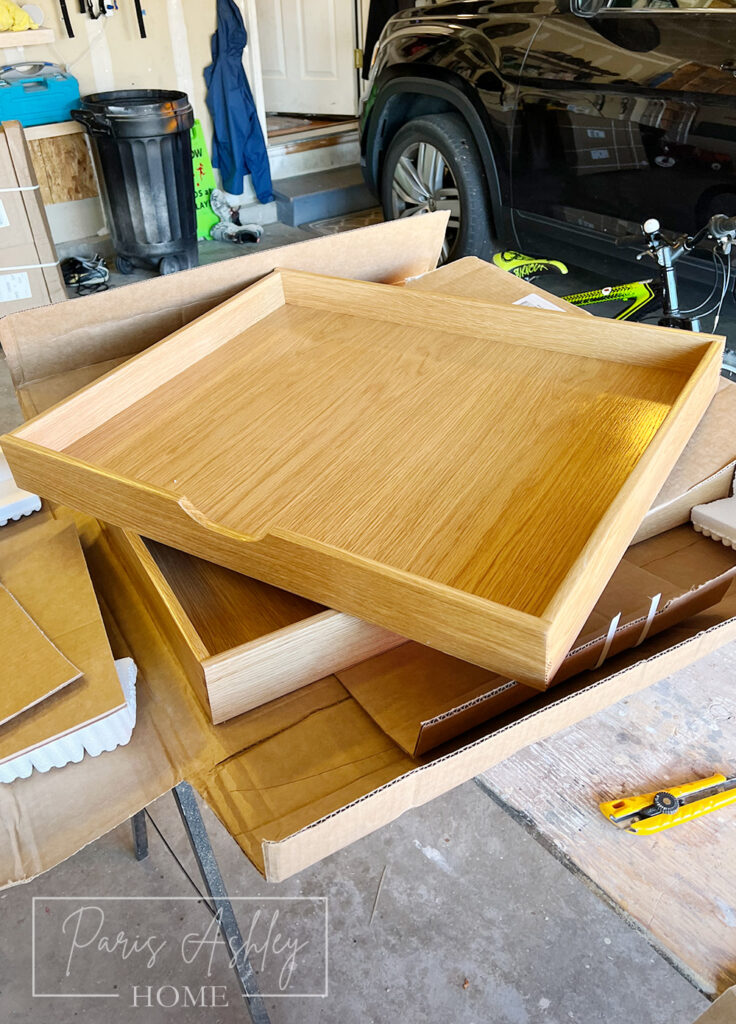
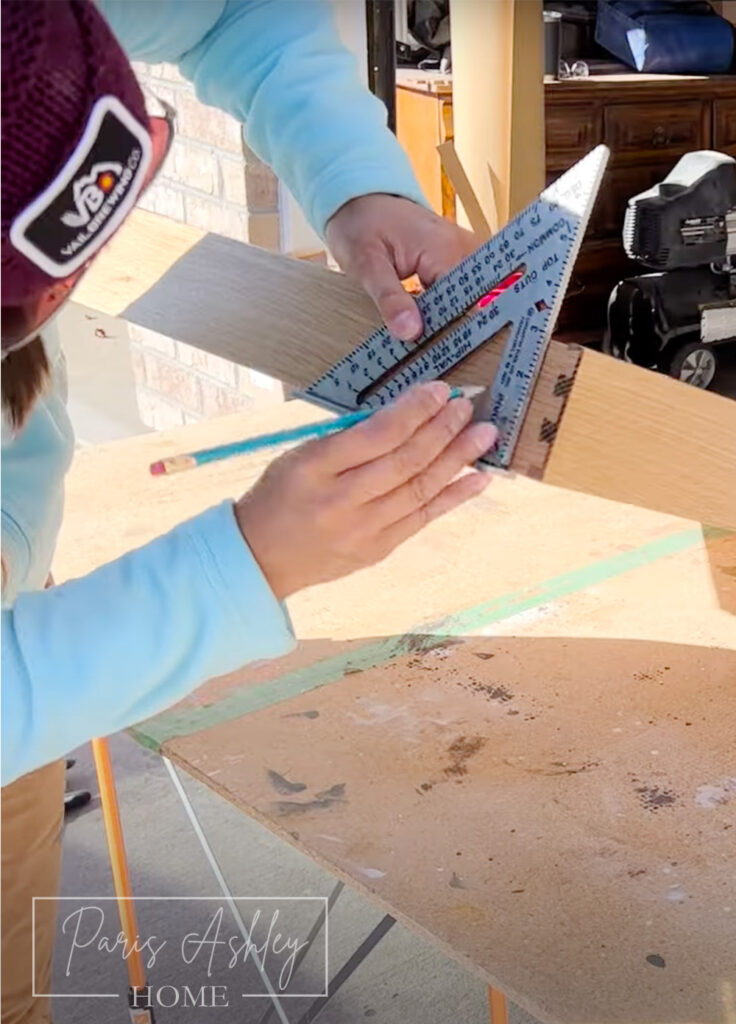
1. Measure Your Cabinet
Before you start, you need to measure the inside of your cabinet. Keep in mind that the new drawer should fit within the constraints of the cabinet’s face frame. Measure the depth of the cabinet behind the face frame and subtract half an inch for padding. With these measurements in hand, you can either build your own drawers or order them. You can find ready-made options from suppliers like FastCabinetDoors.
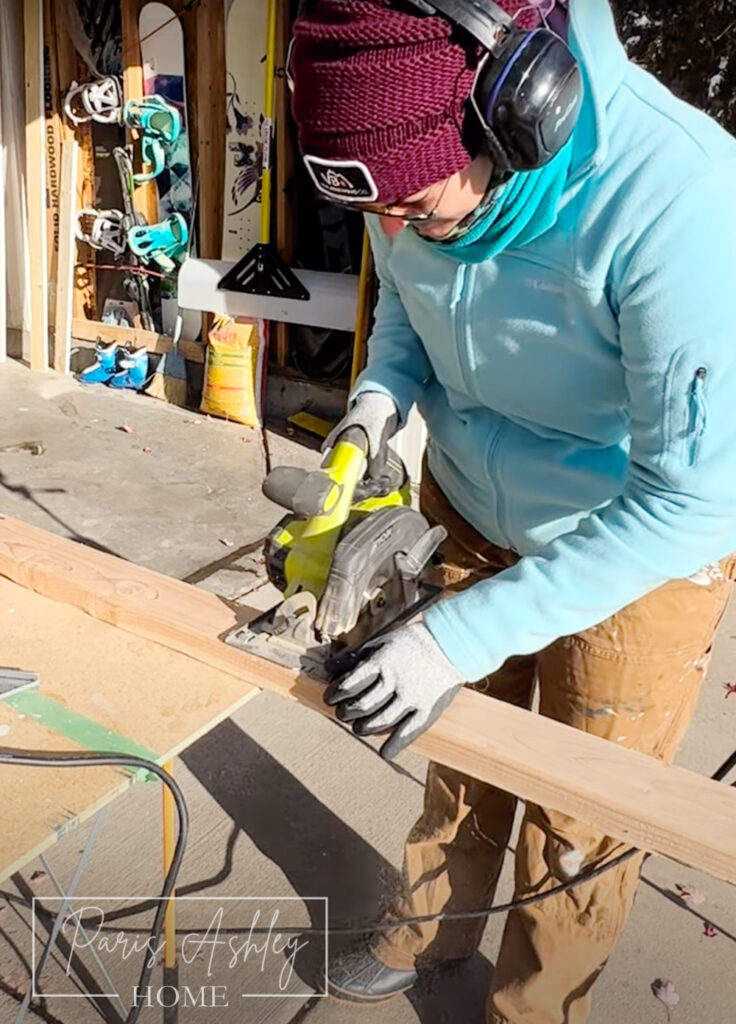
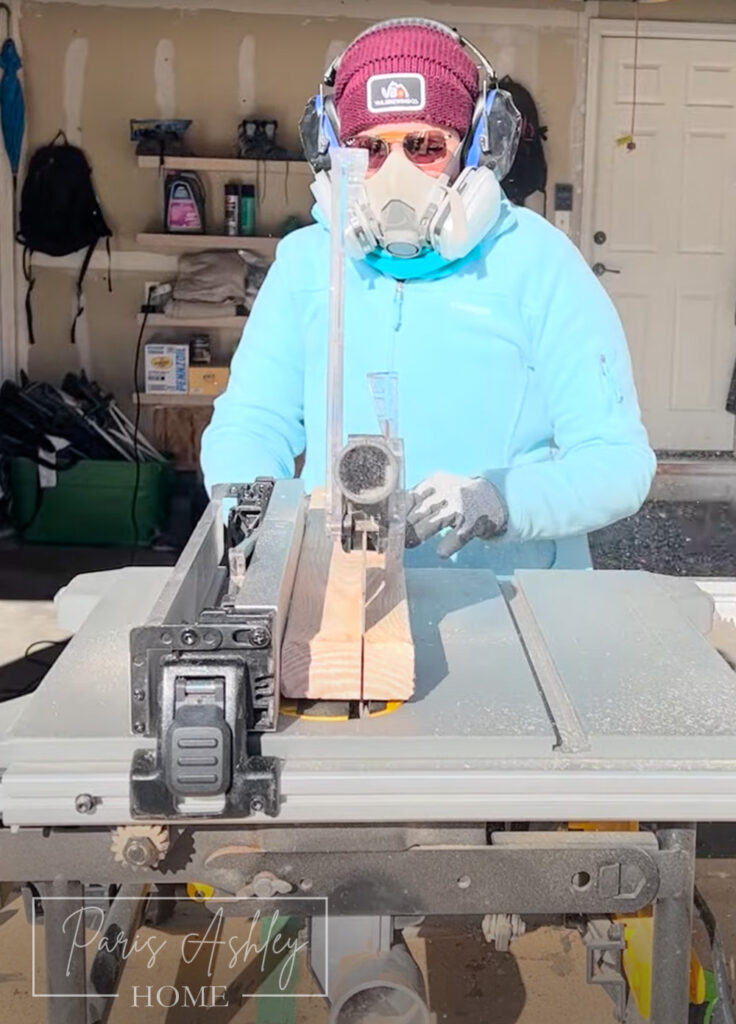
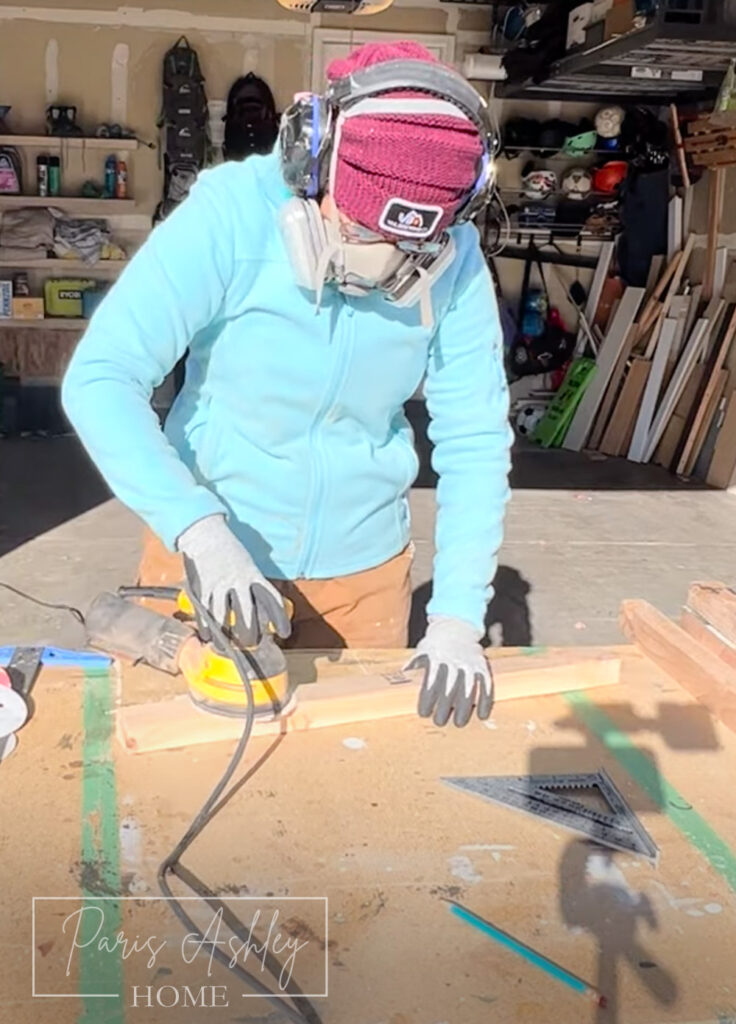
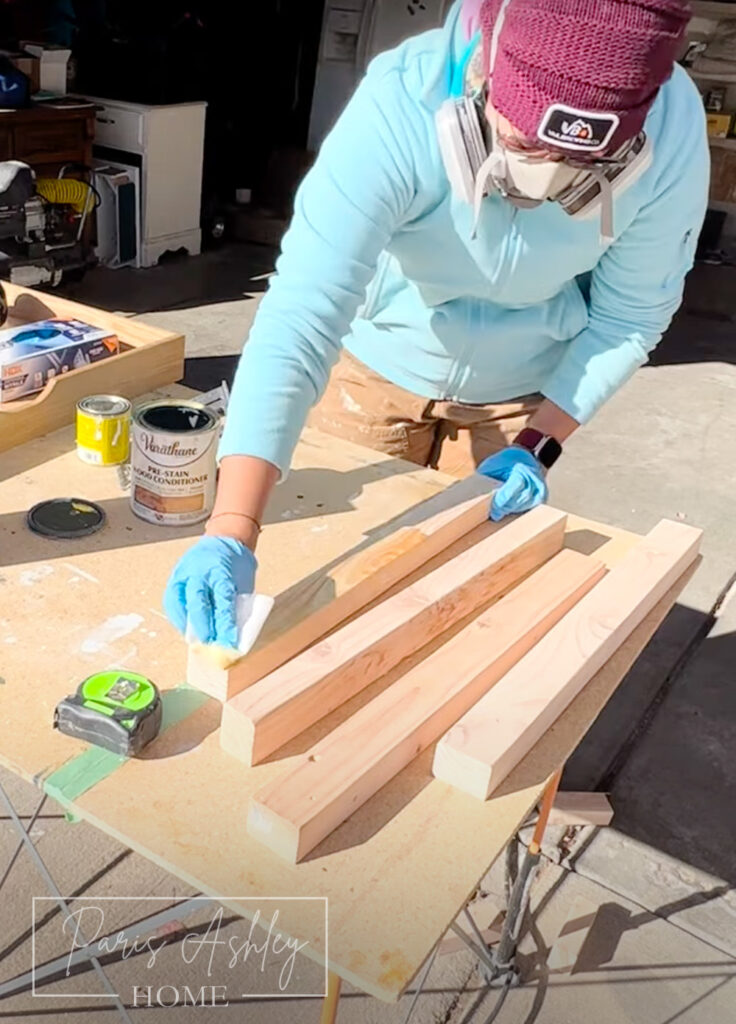
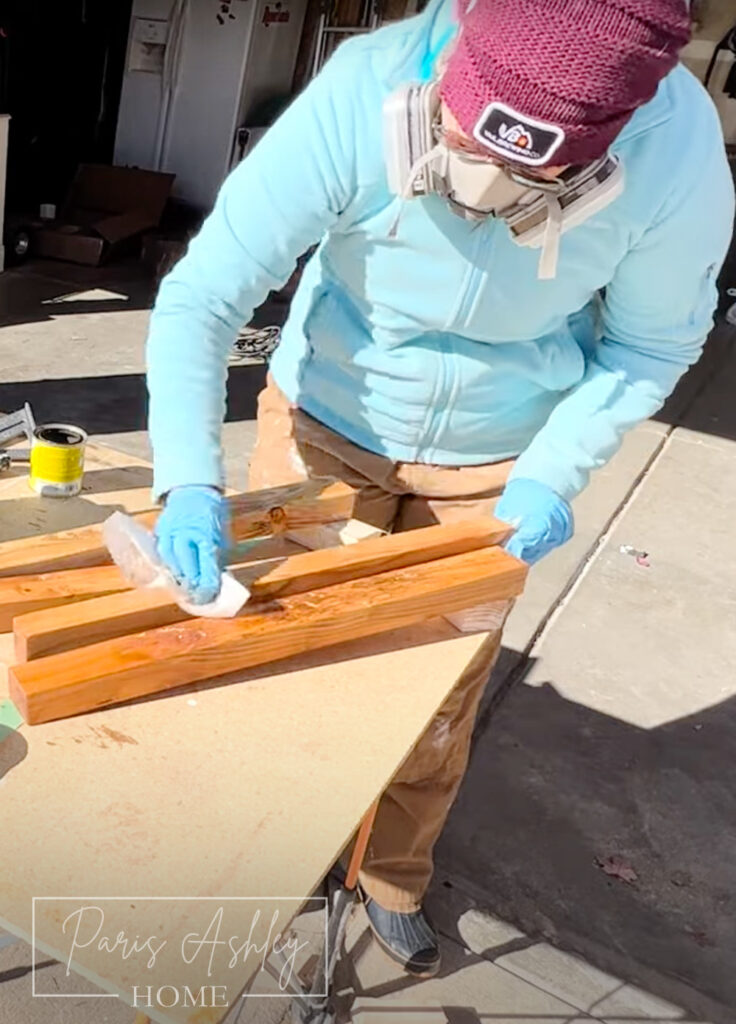
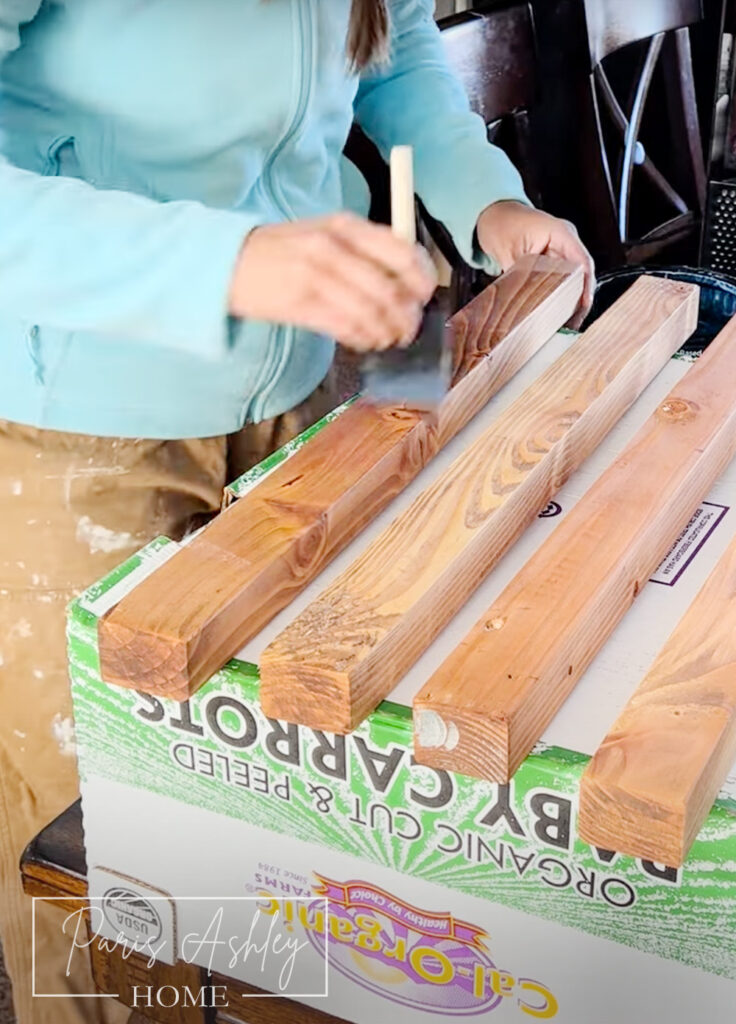
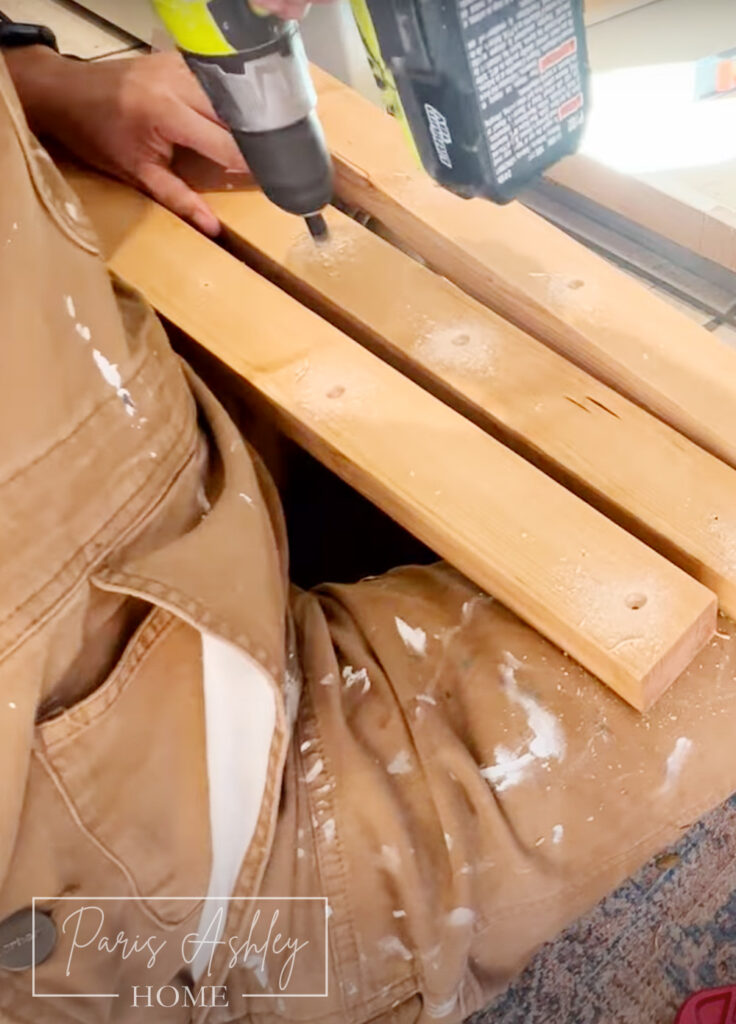
2. Prepare Support Pieces
To provide structural support for your pull-out drawers, you’ll need side support pieces. These can be created by ripping down a 2×4 to match the depth of your cabinet, my pieces measured 1.5 inches thick and 2 inches in height. Sand and stain these pieces to match your drawers, and seal them with a satin Polycrylic finish.
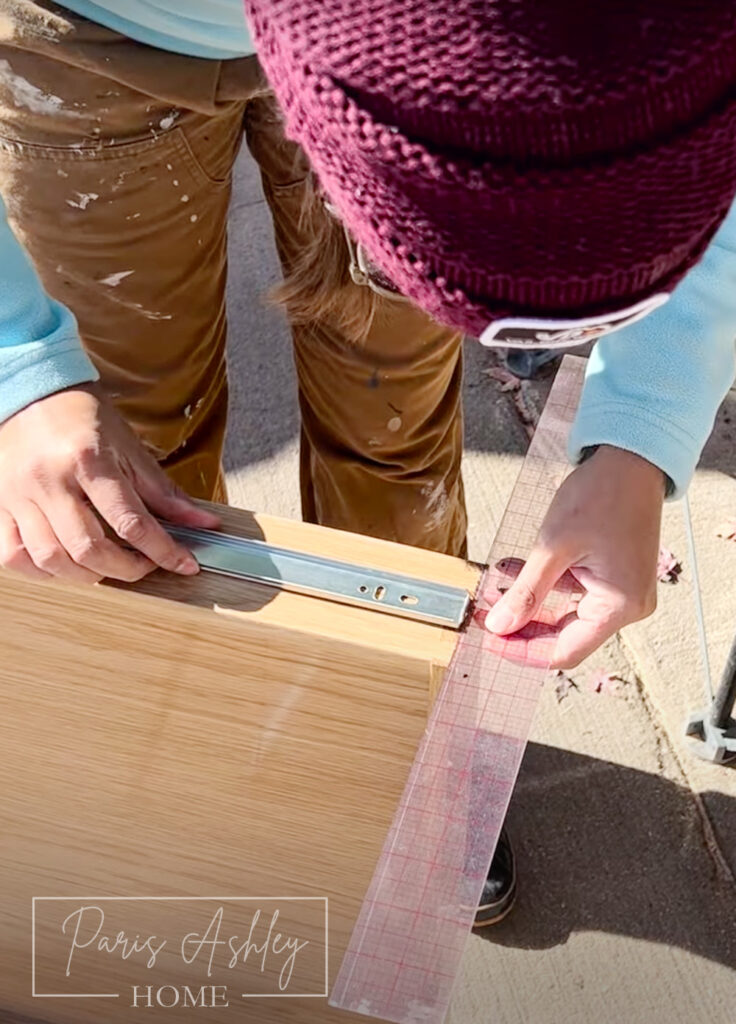
3. Attach Drawer Slides
Attach the drawer slides to the center of all your drawers, positioning them 1/8 inch back from the front of the drawer.
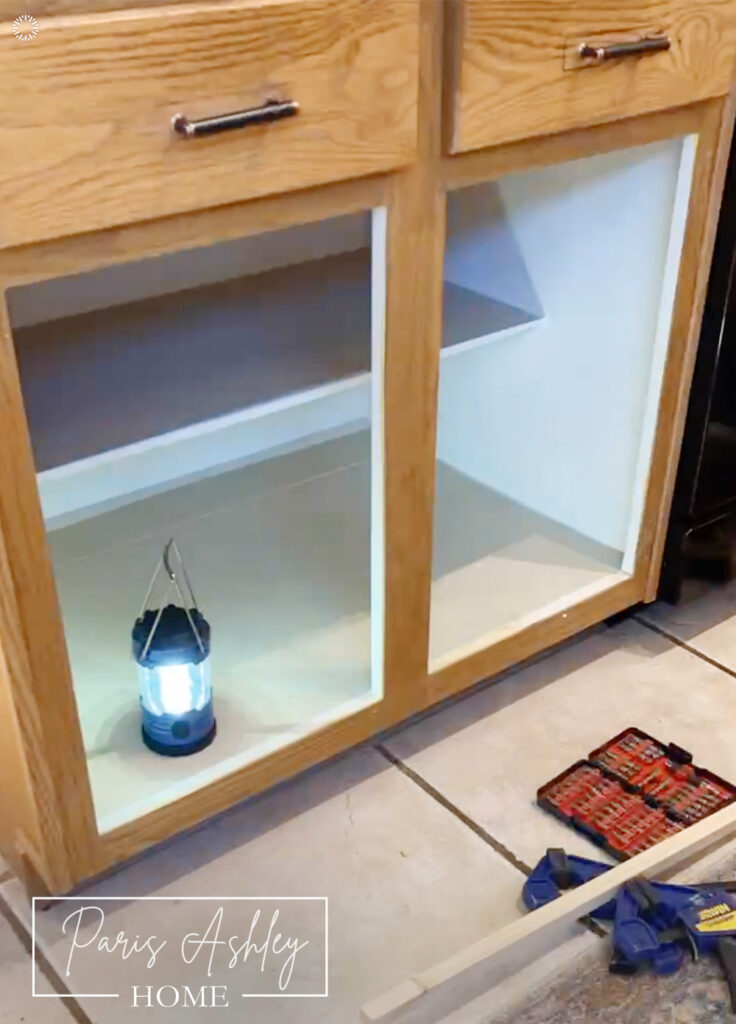
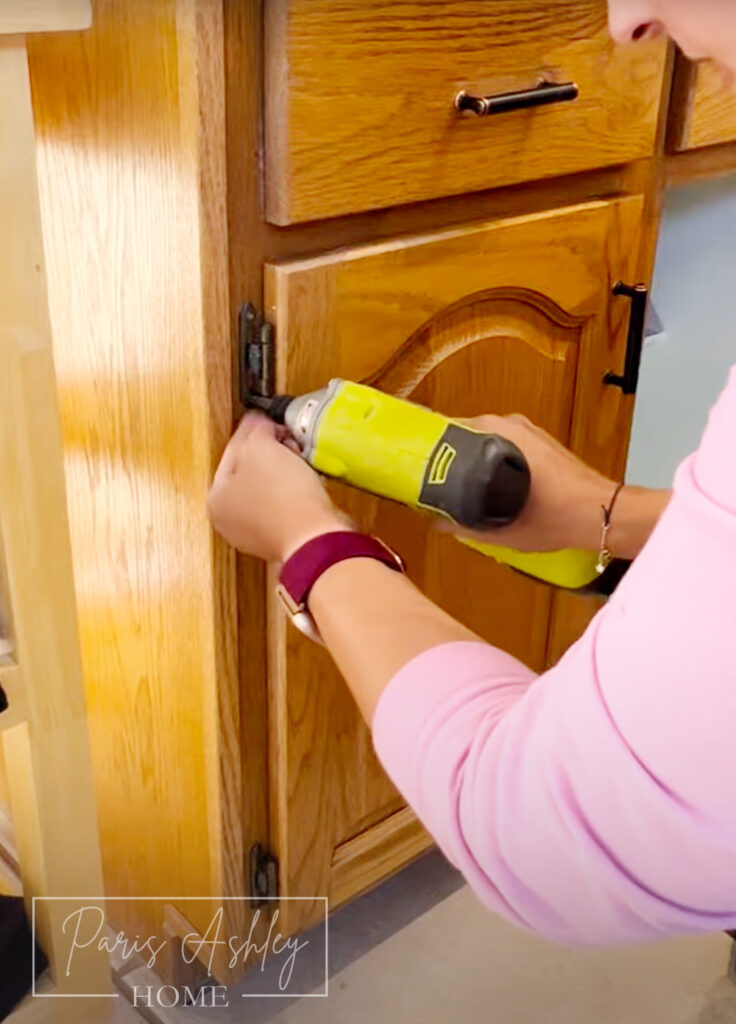
4. Cabinet Preparation
Start by removing the cabinet doors. Mark a line down the left door where the middle panel lines up to serve as a guide for reattachment. Use a piece of wood and clamps as a guide for your circular saw to cut out the center of the cabinet. Using painter’s tape can help prevent splintering.
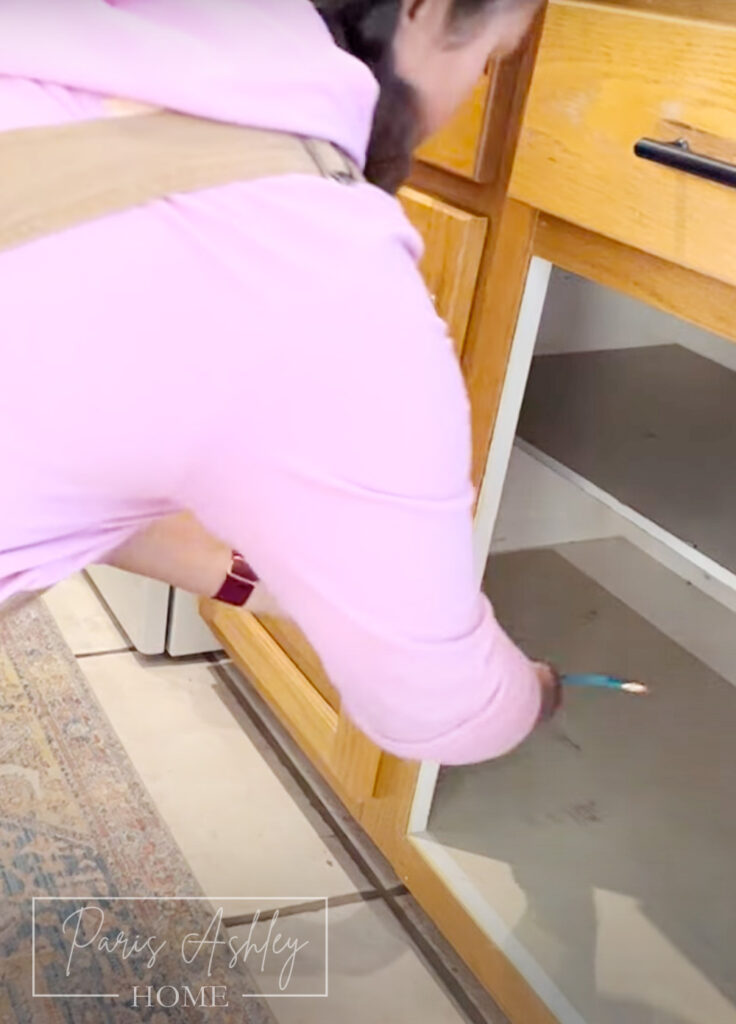
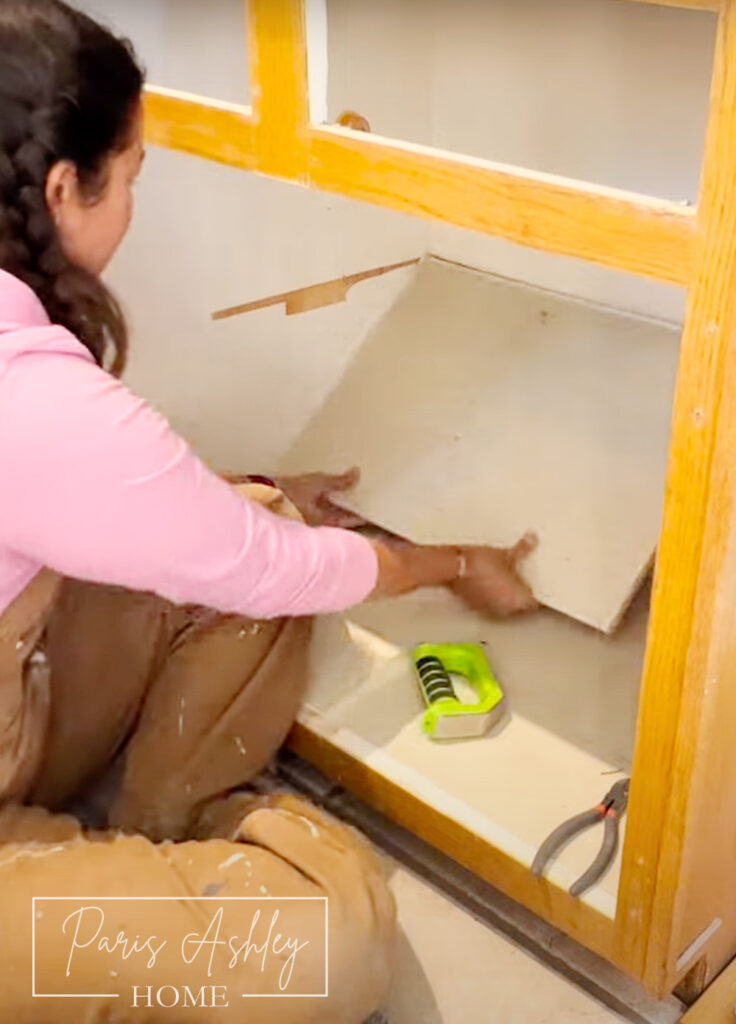
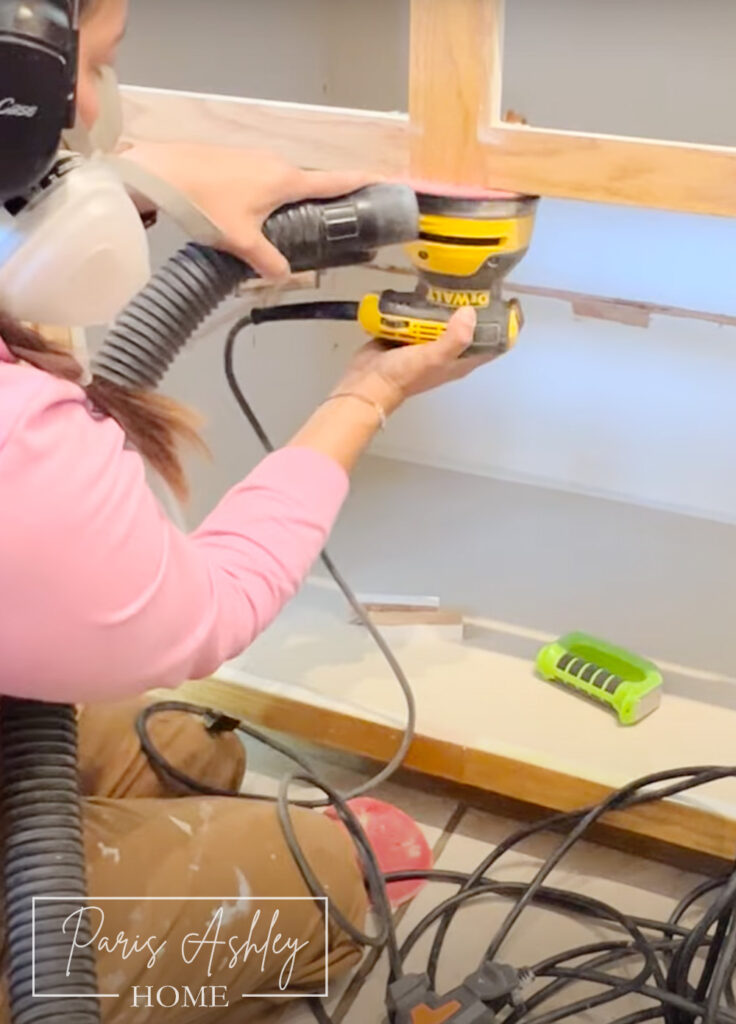
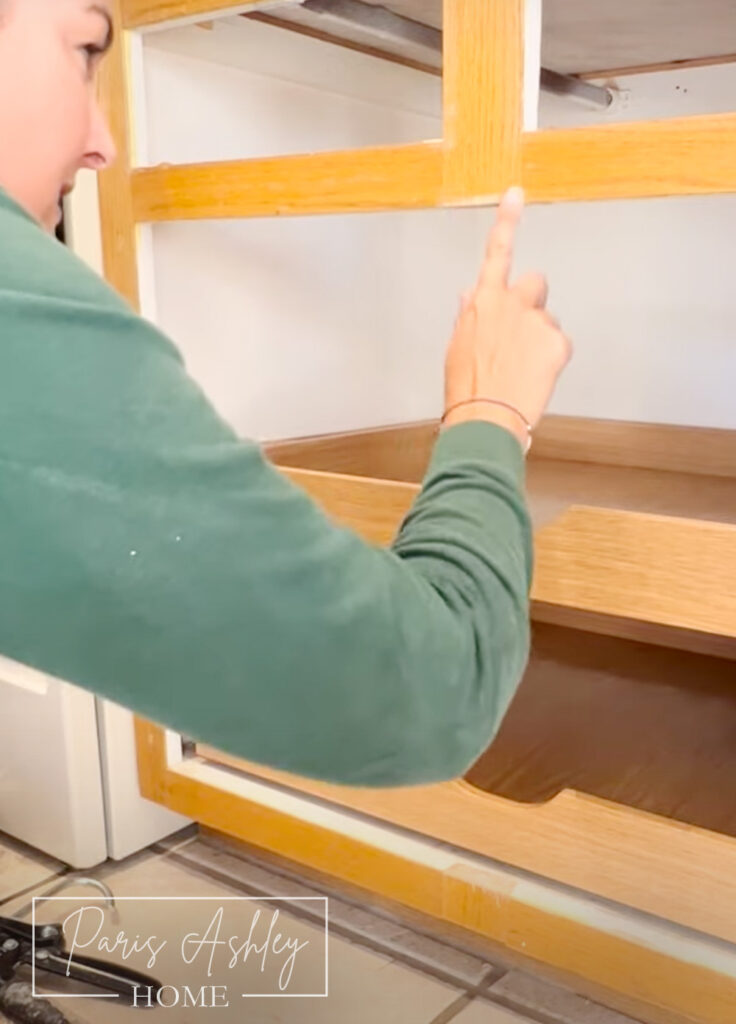
5. Remove Cabinet Shelves
Remove the cabinet shelves. If they are attached with brad nails, you can use a hammer to remove them. Sand any rough spots left behind from cutting and removing the shelf.
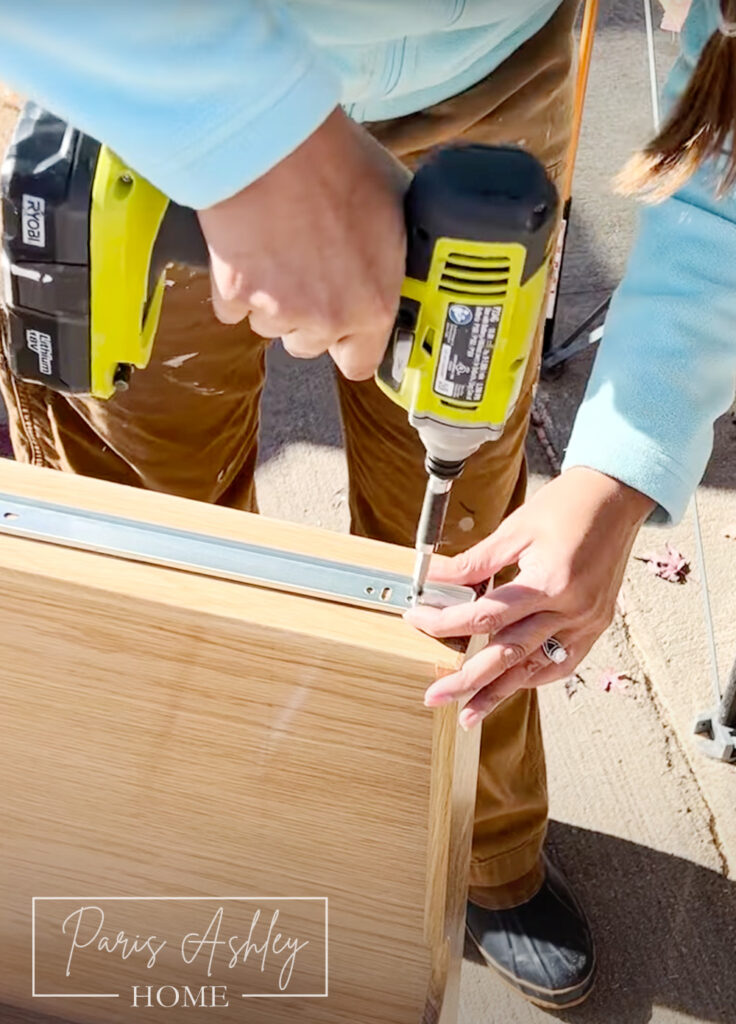
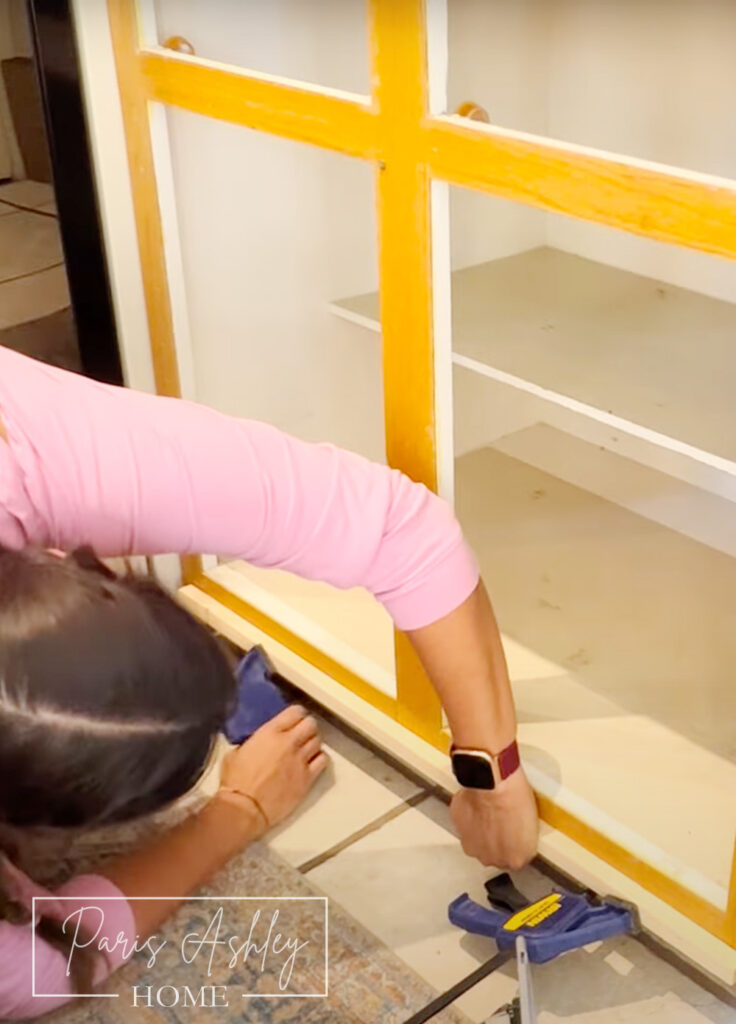
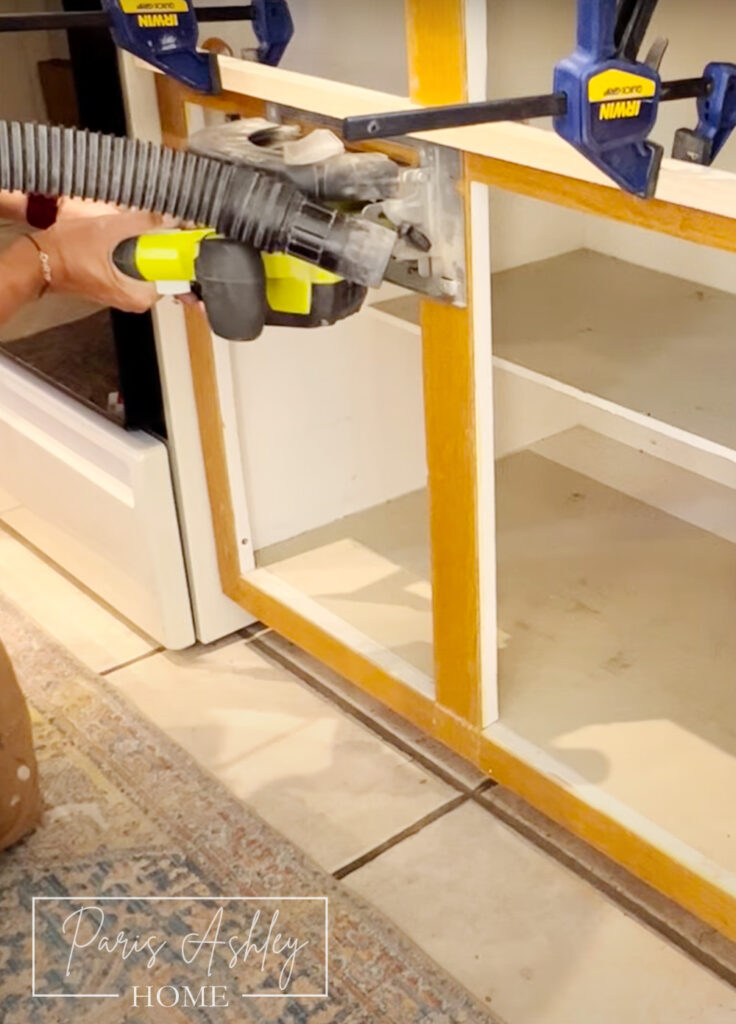
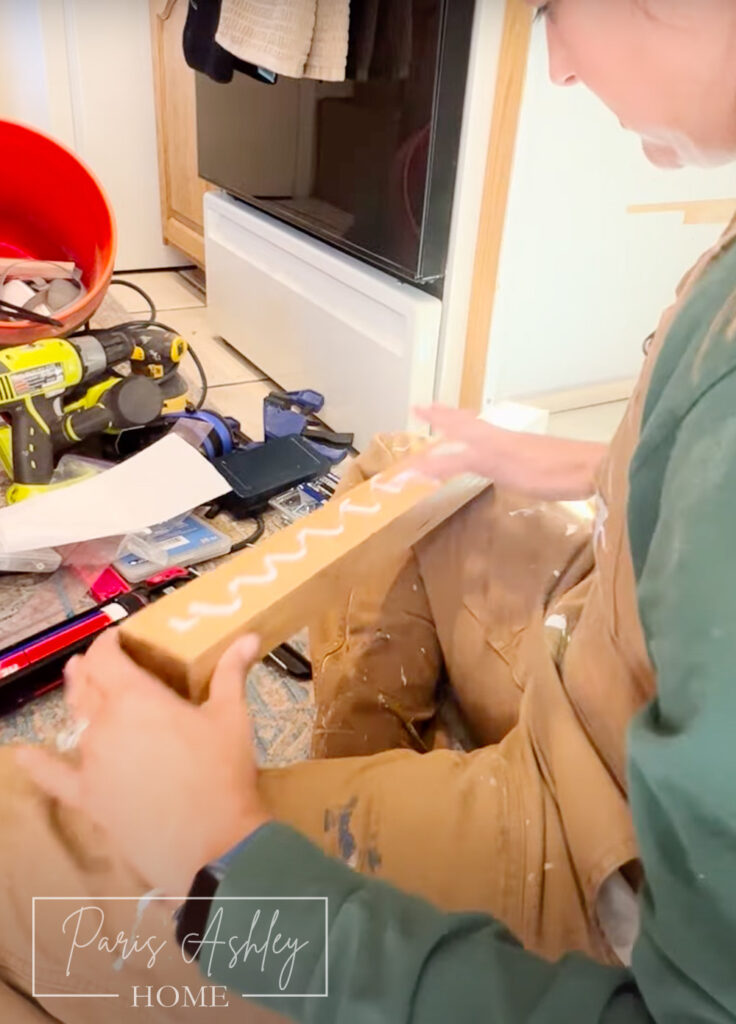
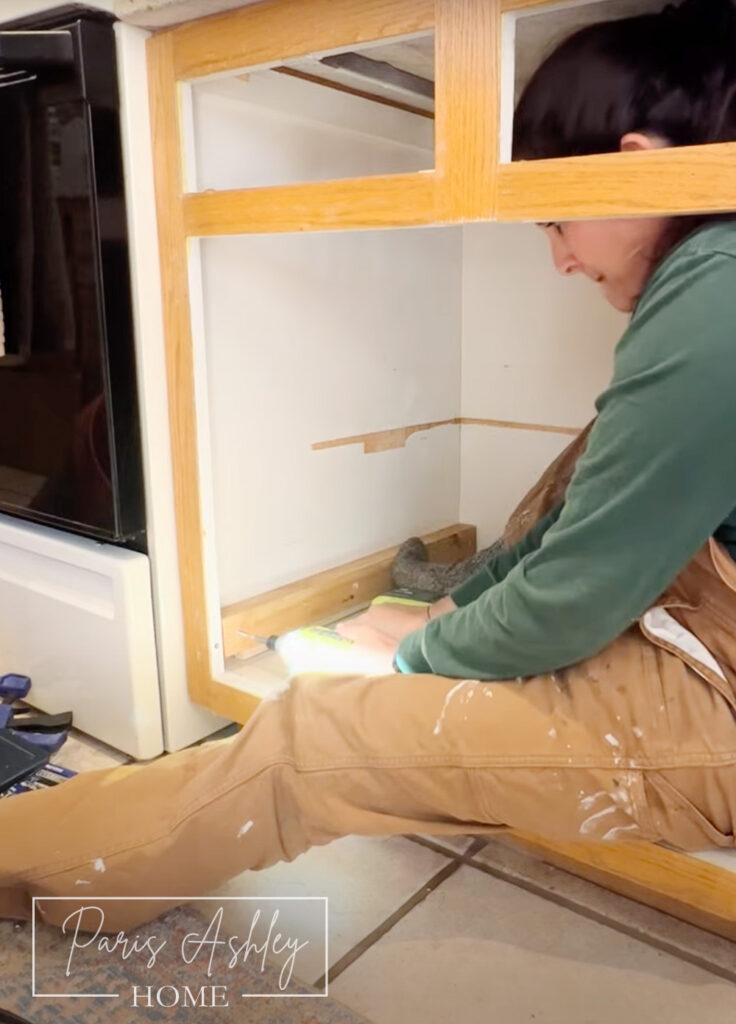
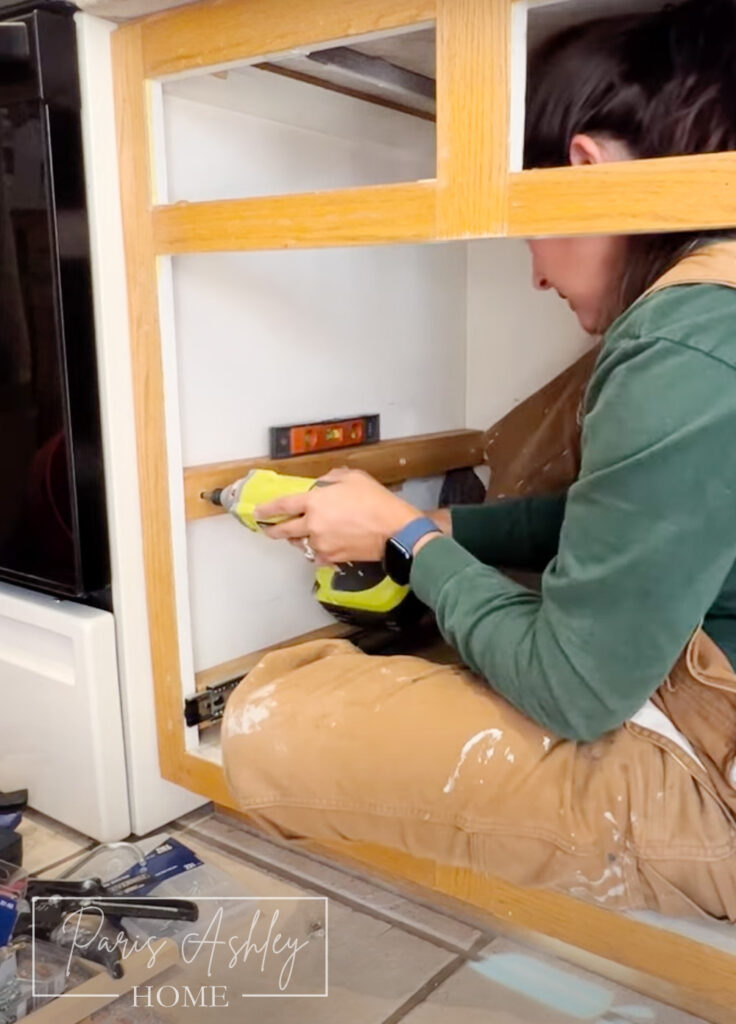
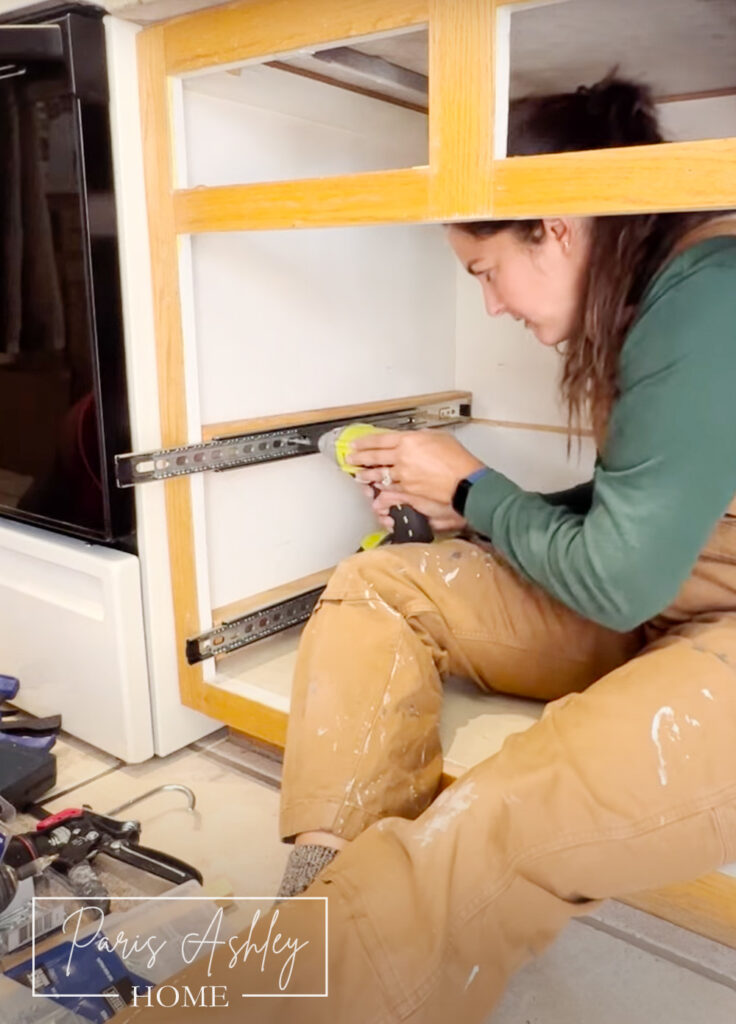
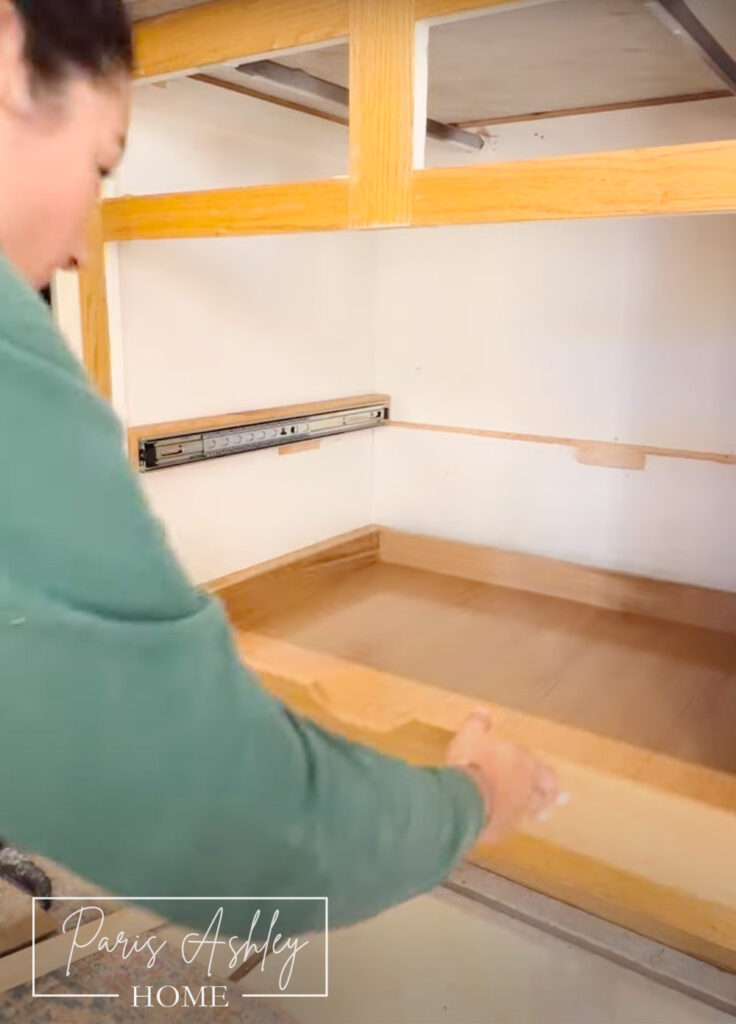
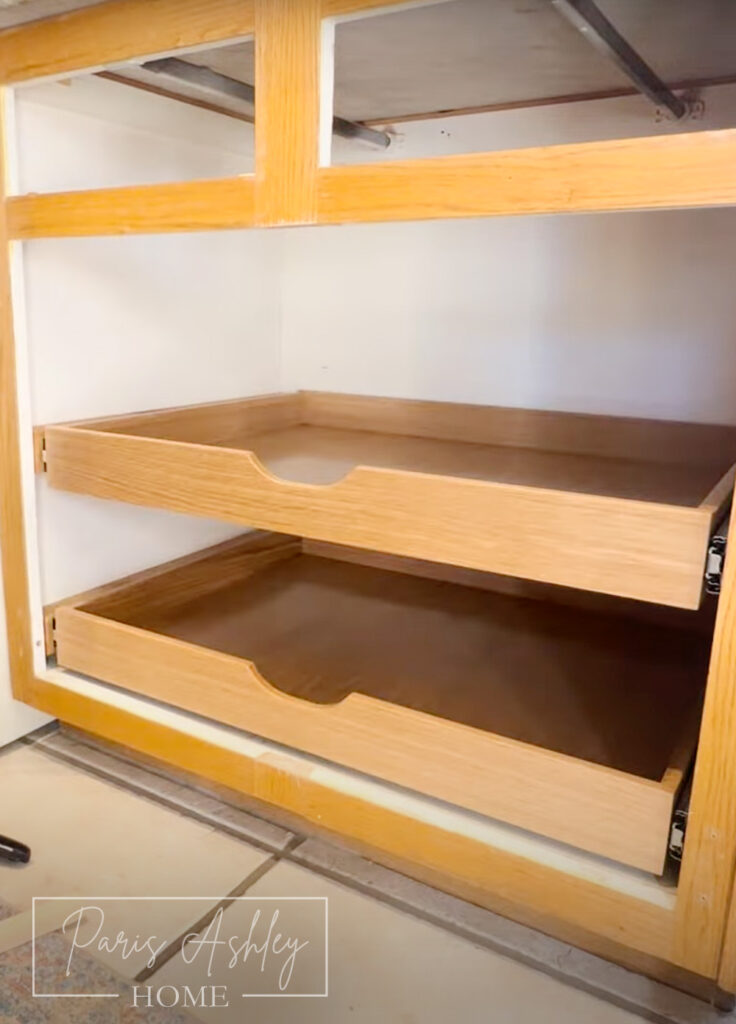
6. Install Support Pieces and Drawer Slides
Use a 3/4-inch piece of wood to elevate the bottom support piece, ensuring the bottom drawer will have enough clearance to slide out. Apply Loctite glue, predrill holes for drawer slides in the side pieces, and create holes for screws into the cabinet. Use a countersink bit to ensure the screw heads are flush with the wood, allowing the drawer slide to sit flush against the support piece. Install the drawer slides, ensuring they are level and properly aligned. No shims should be needed if your measurements were accurate.
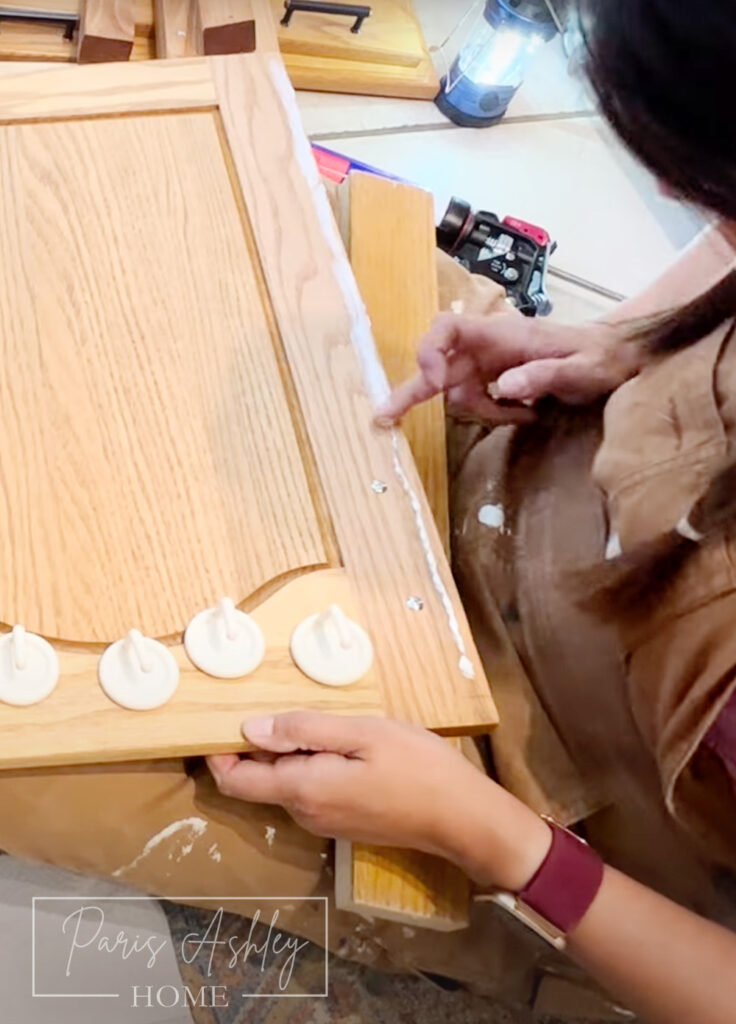
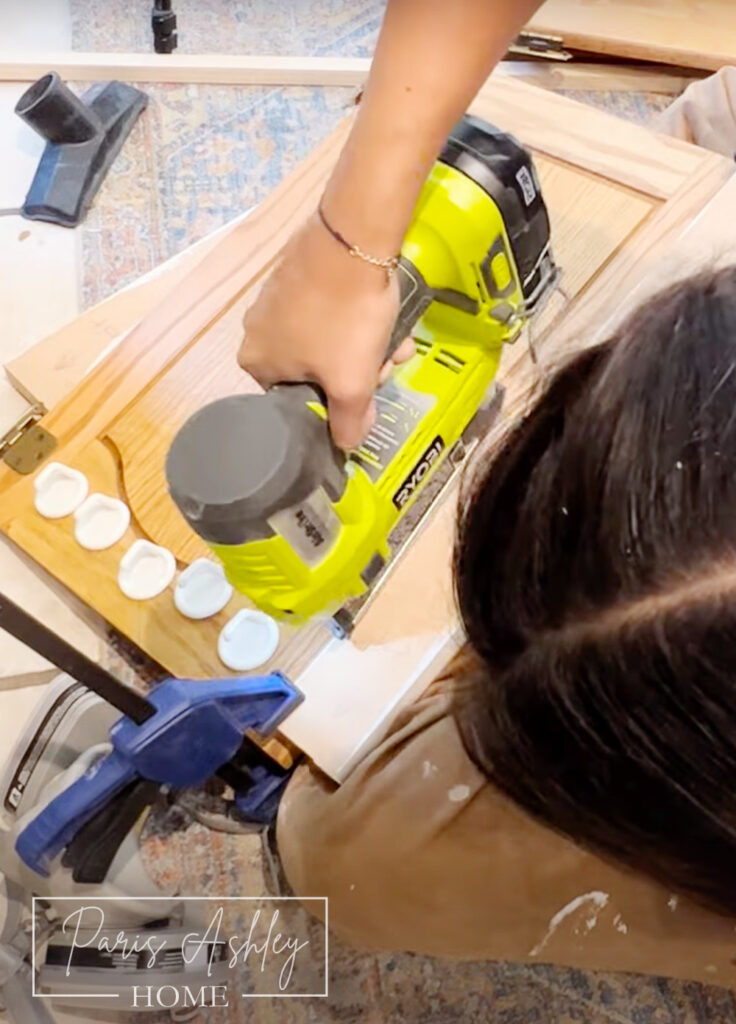
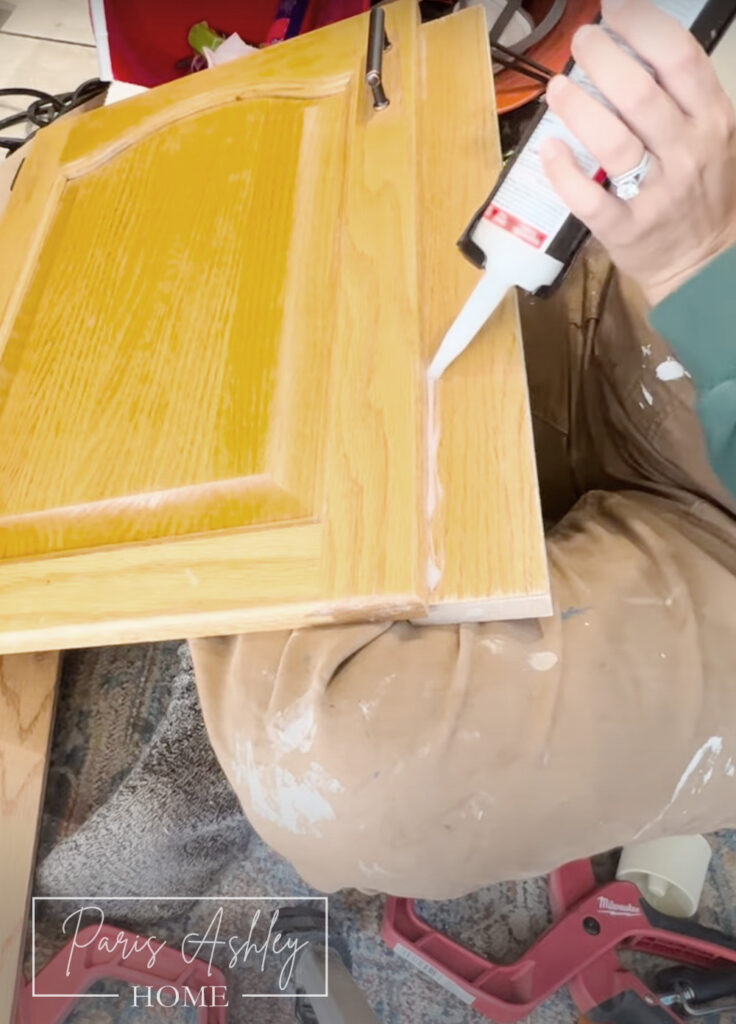
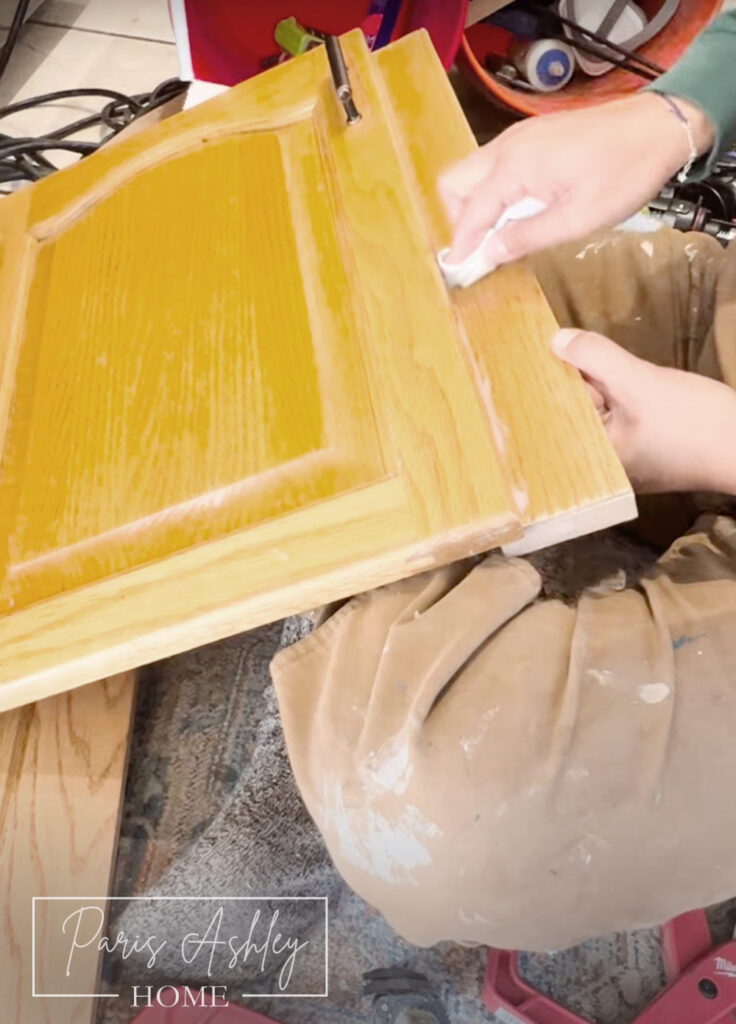
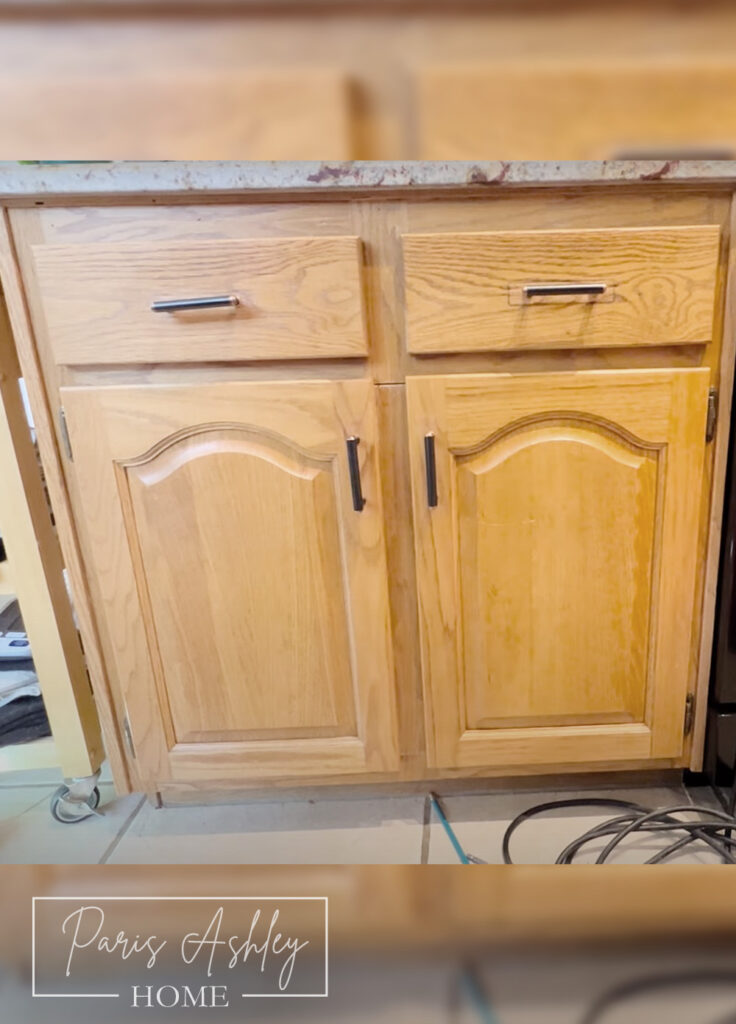
7. Attach Cabinet Frame to the Door
Using the marks you made on the inside of the door, apply Loctite glue and attach the center piece of the cabinet frame to the door. Secure it with a pin nailer, and for added security, use brad nails and silicone caulk on the seams. Reattach your cabinet doors.

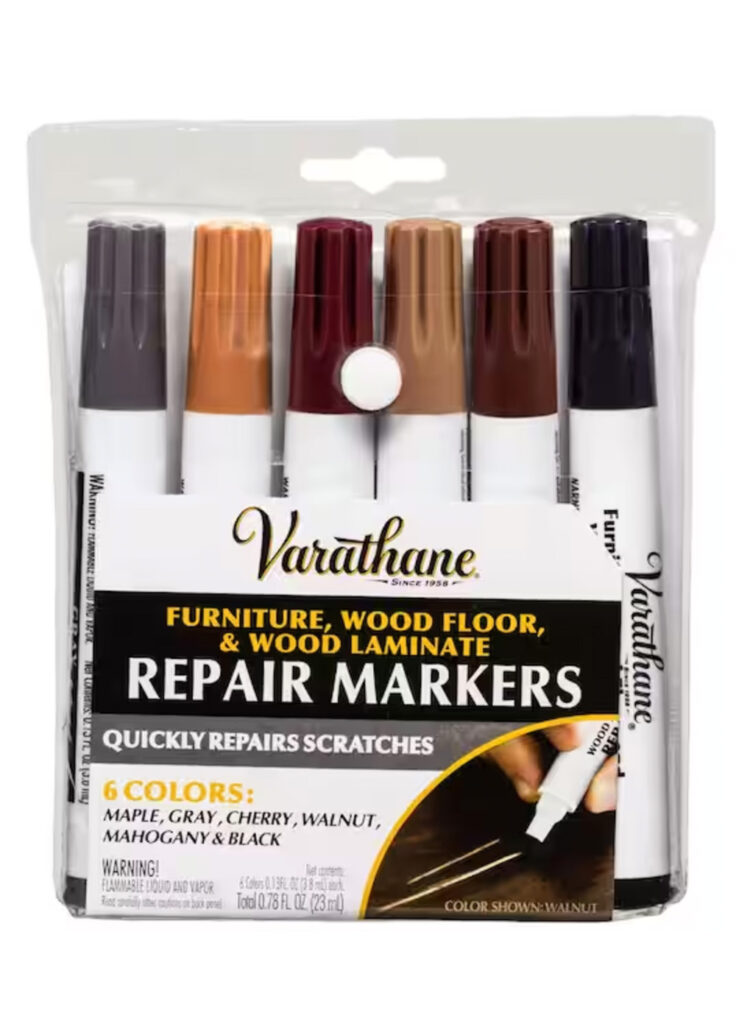
8. Touch Up Splintering
Finally, use a little wood filler and wood pens to fill in any splintering that may have happened when cutting your cabinet center piece. You’ve successfully transformed your cabinet shelves into functional pull-out drawers!
With this DIY project, you can make your kitchen cabinets more organized and efficient. Converting cabinet shelves into pull-out drawers is a practical and cost-effective way to improve your kitchen storage. Follow these steps, and you’ll enjoy the convenience of pull-out drawers in no time. Congratulations on a job well done!
Watch a video tutorial Here!
Follow ParisAshleyHome on social for more DIY Tutorials!
Follow on Instagram, Subscribe on YouTube, Pin on Pinterest, Follow on Facebook, Follow on TikTok, Shop on LTK!
Hi
Thanks for the tutorial. It helped me alot.
I have a question with regard the upper drawers, can you cut off the still and make one big drawer instead of 2 small ones ?
Would this affect the cabinet structure or stability ? Especially if you have granite countertop
Thanks
Hello!
I’m so glad this tutorial was helpful for you!
so the front of the cabinet is the face frame, it is for asthetic looks only, it has nothing to do with the structure of the cabinet. you could absolutely cut the center of the two drawers and make one big drawer there too!
Good luck!
The face frame has nothing to do with the cabinet structure, it is cosmetic only. so yes you absolutely can do that!
I’m very impressed with your tutorial! By breaking down each step (w/ photo) it simplifies the process for us beginner DIYers & gives us confidence in achieving the same results. Thanks so much!
Oh thank you so much!! I do try to be thorough!