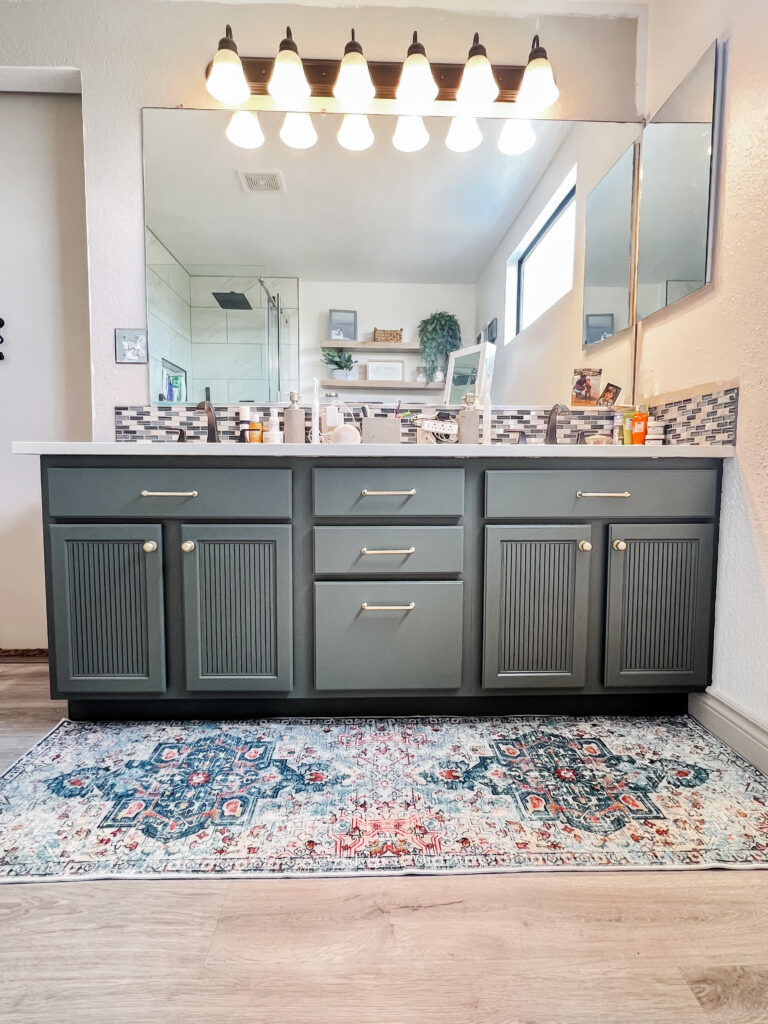
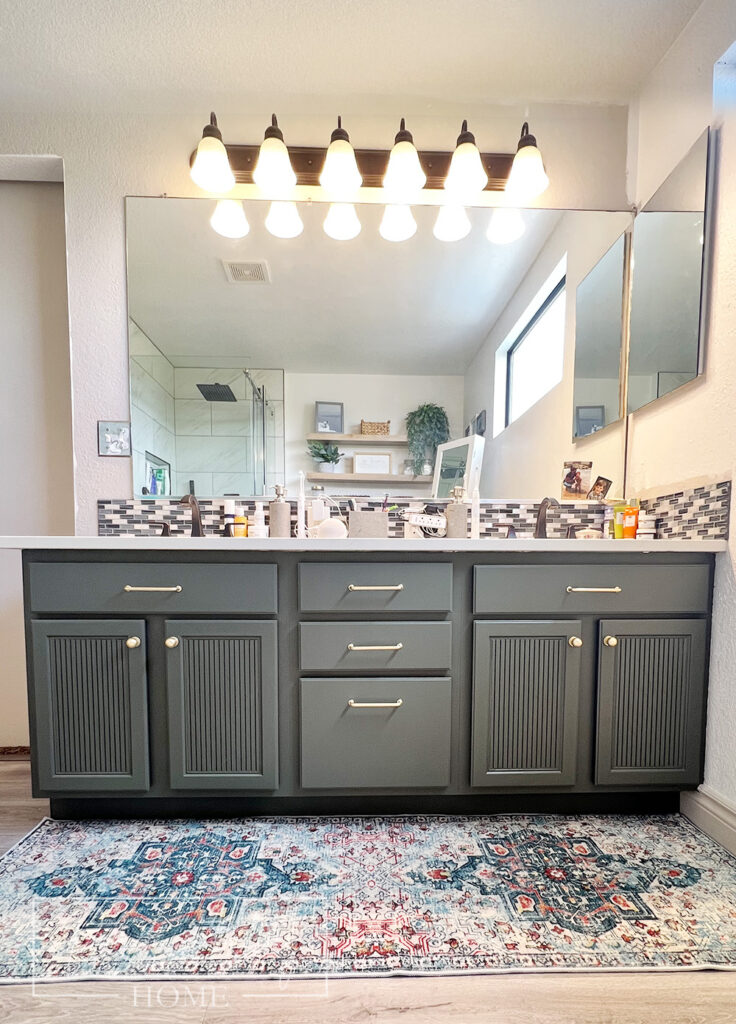
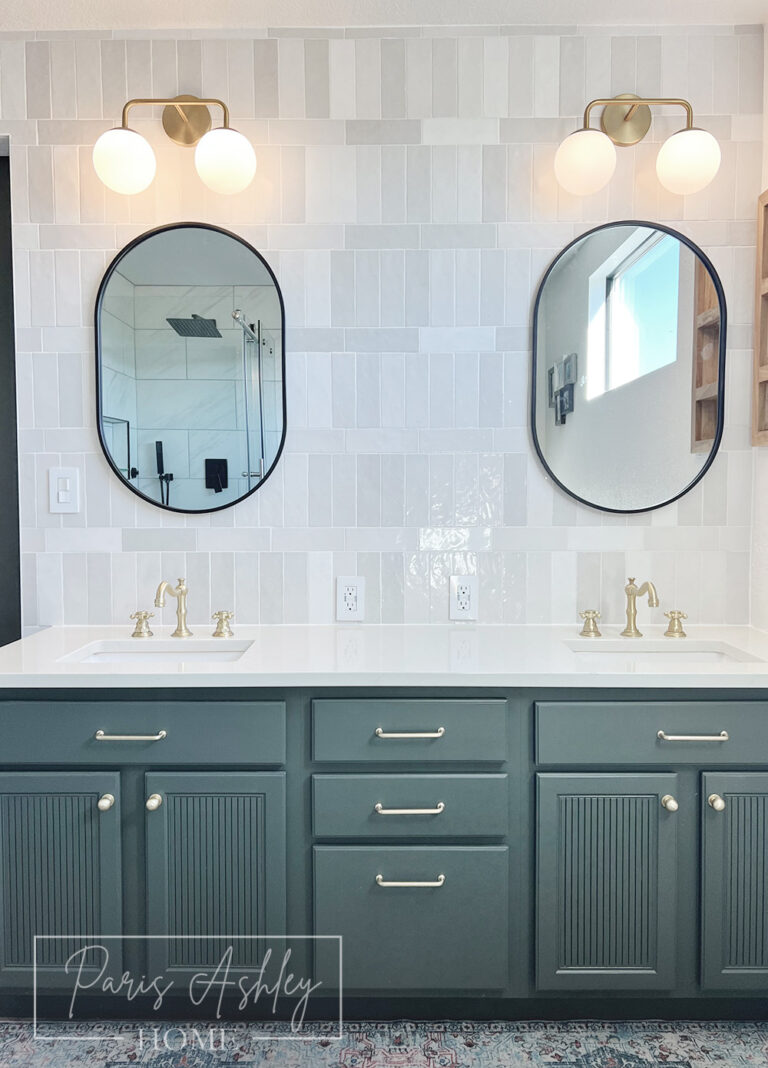
Vanity Makeover Reveal: From DIY Oops to Breathtaking Bathroom Beauty!
*This post contains affiliate links. I will receive a commission for items purchased through these links at no extra cost to you. I appreciate your support. Please read all labels and follow all manufacturer safety recommendations when working with any tools or equipment recommended.
All My Favorite Tools Can Be Found Here
Materials Used In This Project:
Watch a video tutorial Here!
Hello, DIY enthusiasts!
Gather around as I spill the beans on one of my very first, and let’s admit it, slightly mediocre DIY project: my bathroom vanity makeover. Picture this, Four years ago, I was pregnant, and my hubby and I were renovating our bathroom on a tight budget. The fancy vanities were way out of reach, so I had this crazy idea… I can paint it! And guess what? I actually did it! Fast forward to today, and I’ve become a true-blue DIYer. But let me tell you, all I saw when I looked at my old vanity were my beginner’s mistakes. So, it was time for a fix. And now, oh boy, it’s everything I dreamed it would be!
The Magic Ingredients: Pole Wrap, Hardware, and a Fresh Coat of Paint!
Alright, folks, get ready to witness the amazing transformation that took my vanity from ordinary to extraordinary. Here’s what I did to turn that not-so-awesome vanity into a jaw-dropping beauty, and follow along for the rest of the bathroom makeover!

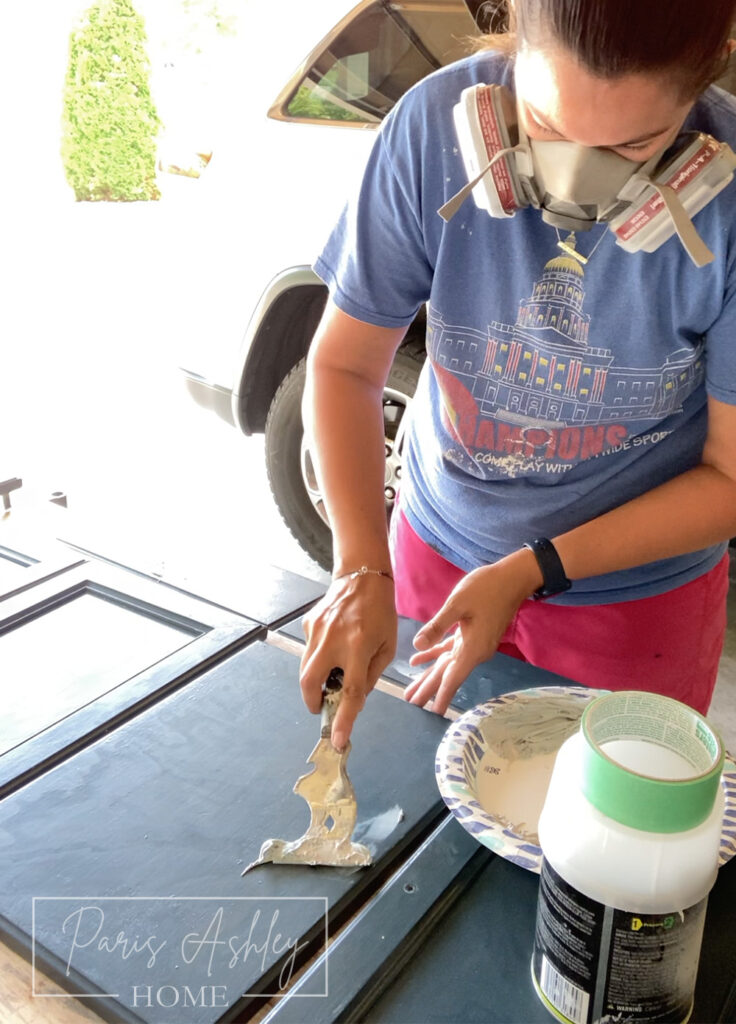
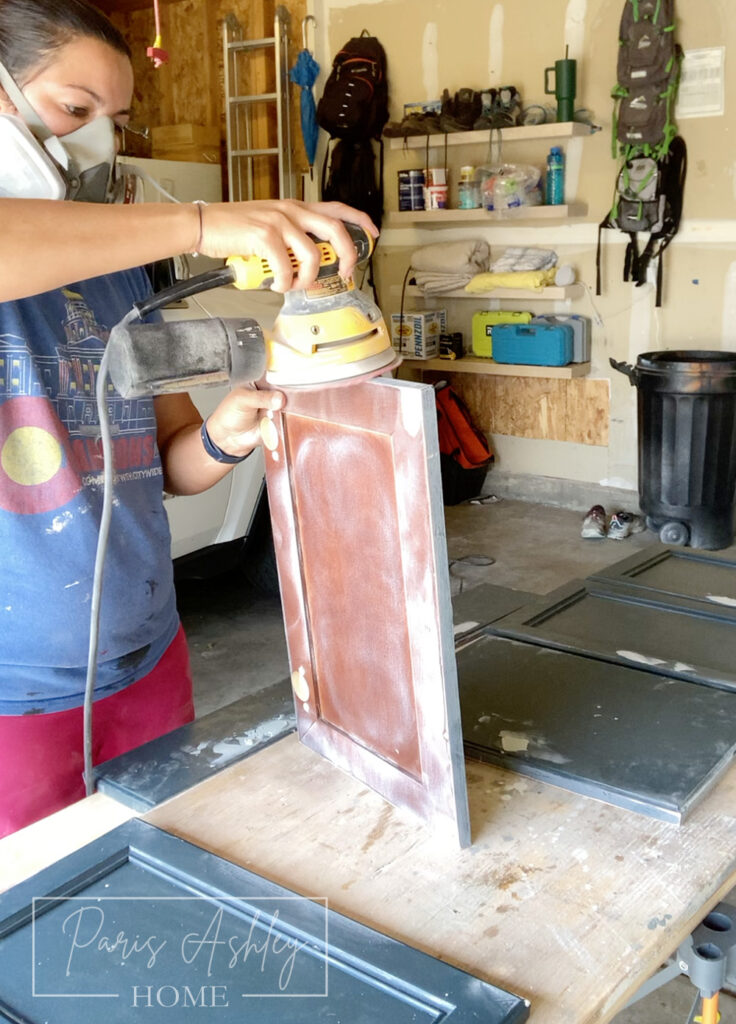
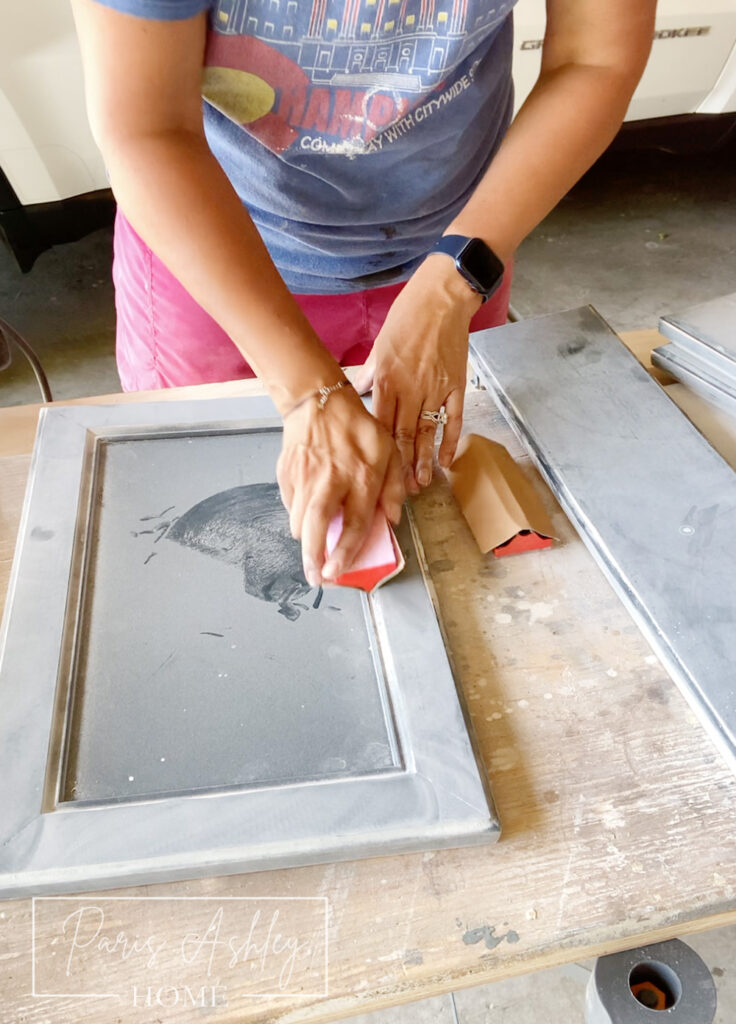
Step 1: Prepping the Vanity
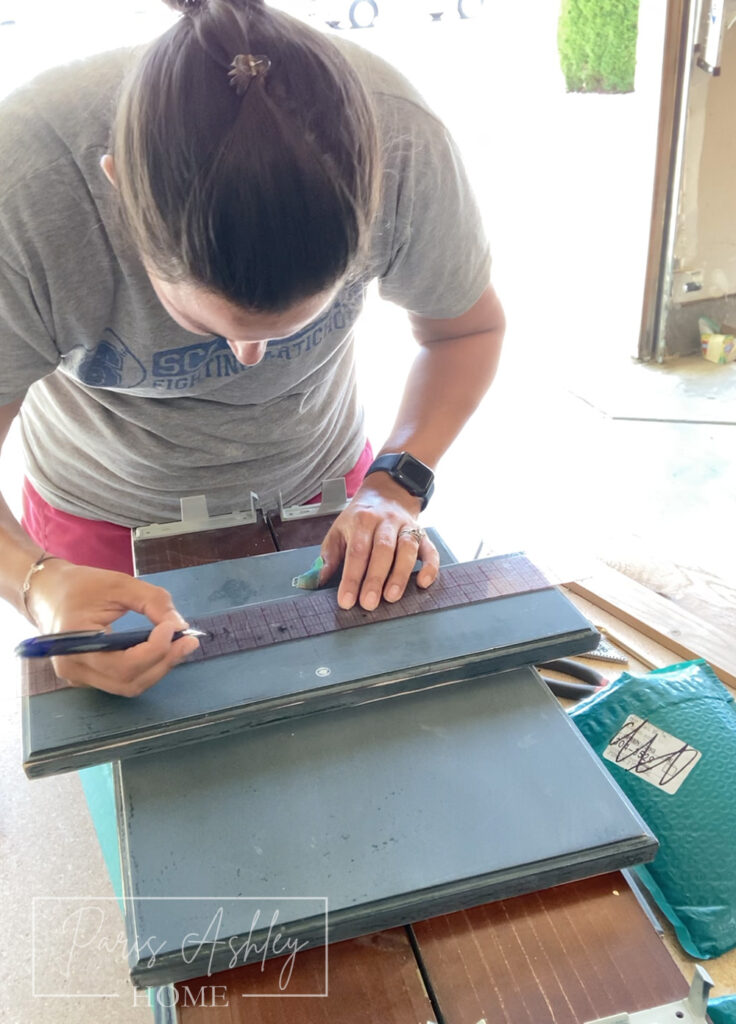
First things first, let’s prep your vanity for a glam transformation. Take off those doors and drawer faces, and don’t forget to remove the hardware – you want a clean canvas to work with. Do you have some old hardware holes to deal with? No problem, fill them up with some Bondo. Then, give everything a good sanding to smooth out any rough spots. Hard to sand areas? Utilize your contour detail sander for those hard-to-get places.

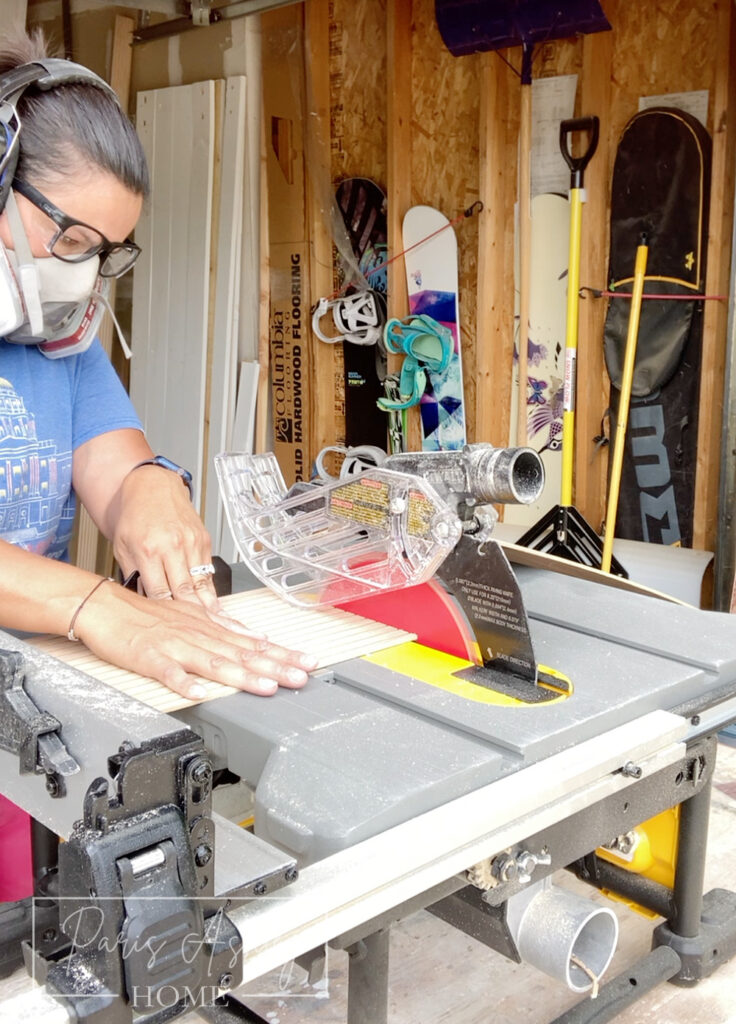
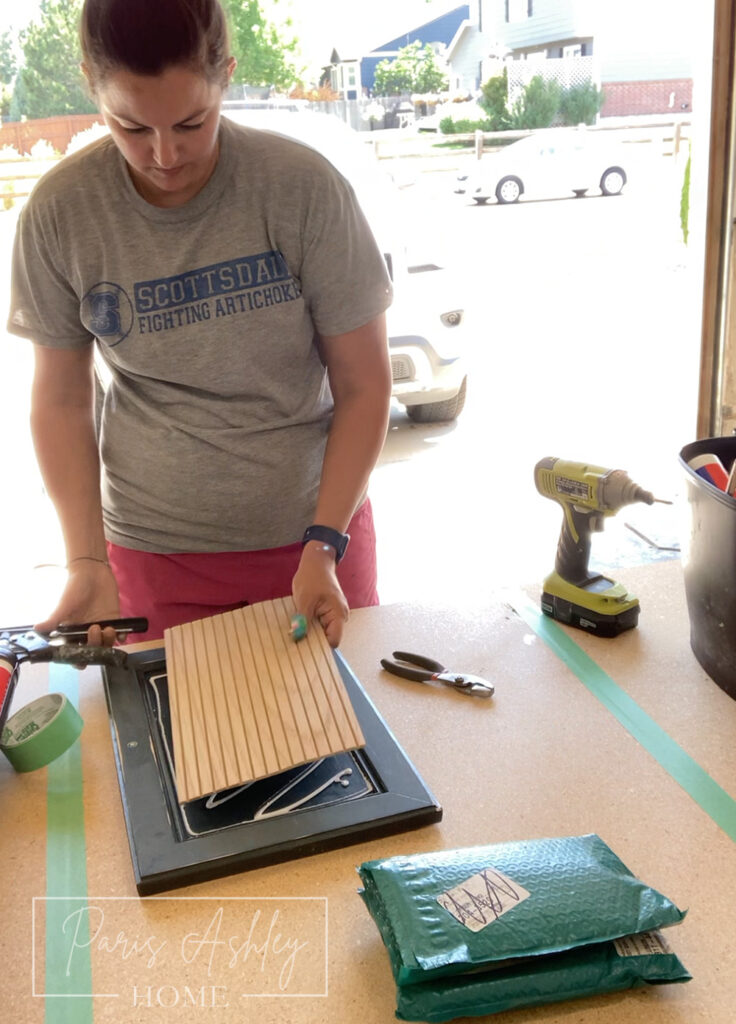
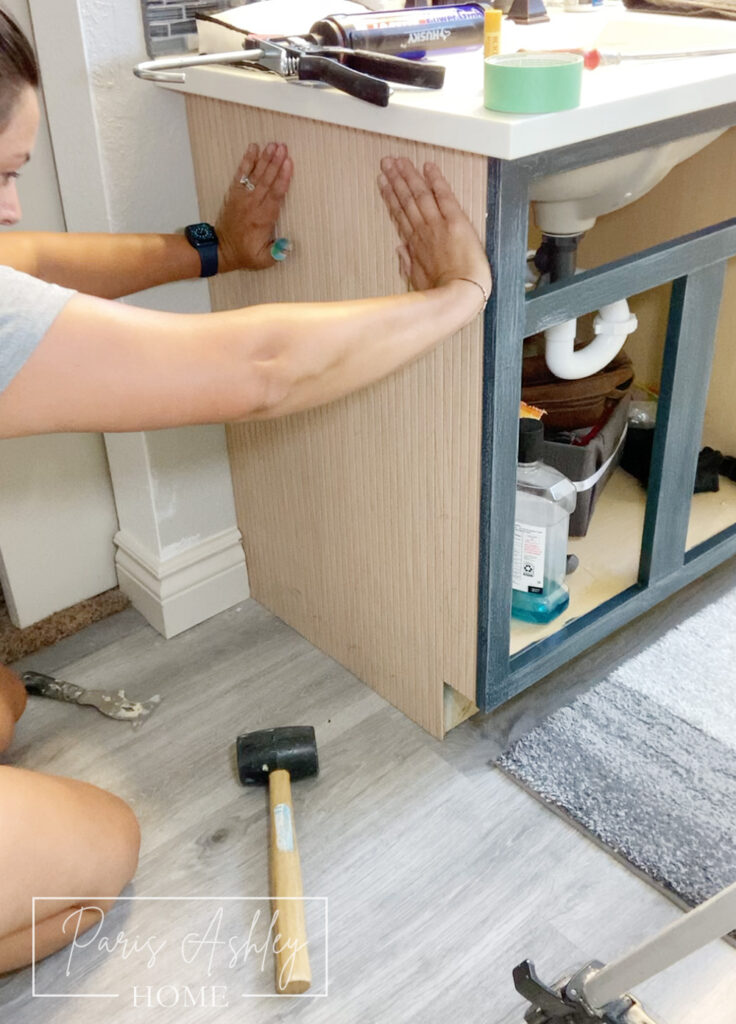
Step 2: Pole Wrap
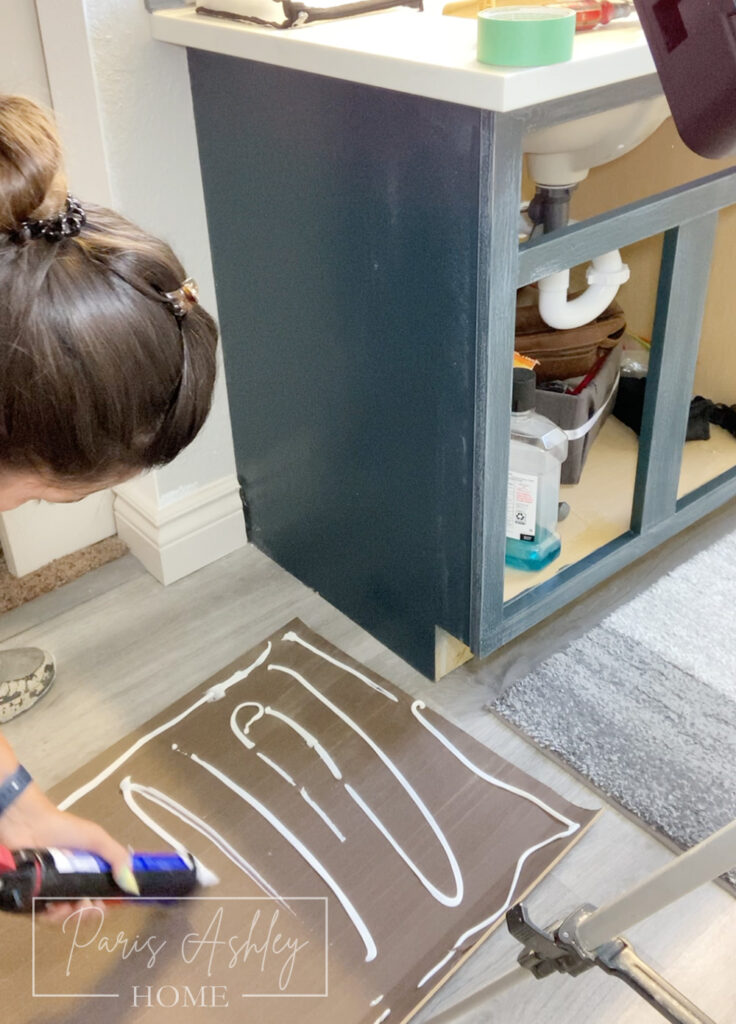
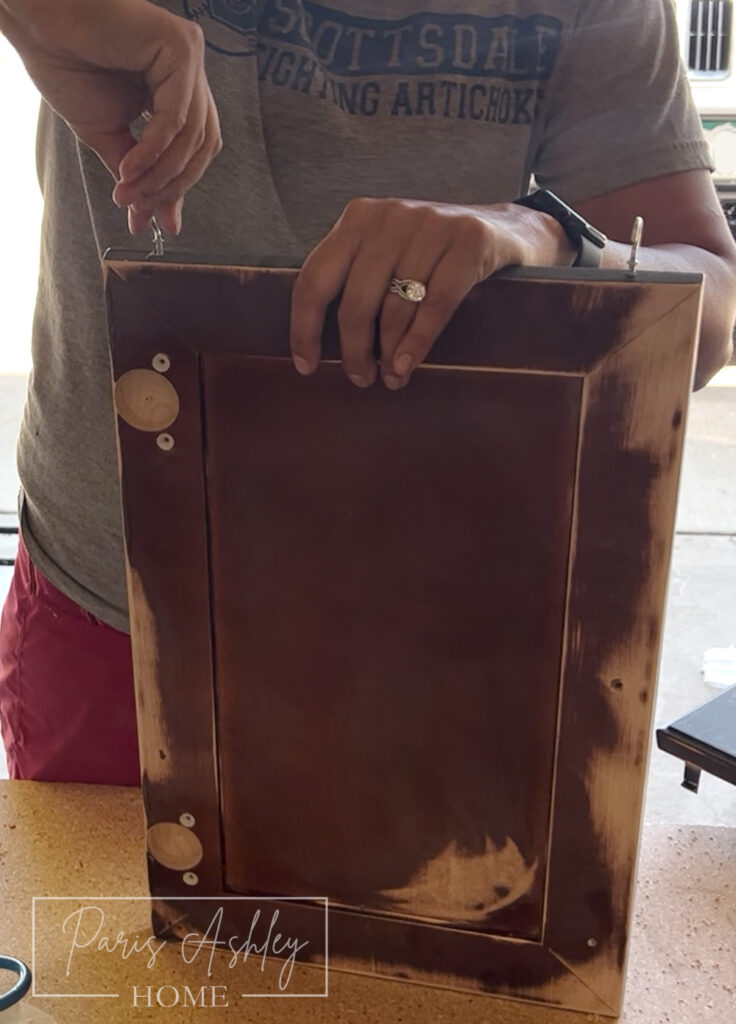
Time to add some pizzazz to those doors. Cut some pole wrap to fit the inner face of your doors. Stick it on with Loctite glue and add some weight on top while it dries for that extra secure hold. Extend that wrap to the side of the vanity, glue it down, and secure it with a few pin nails.
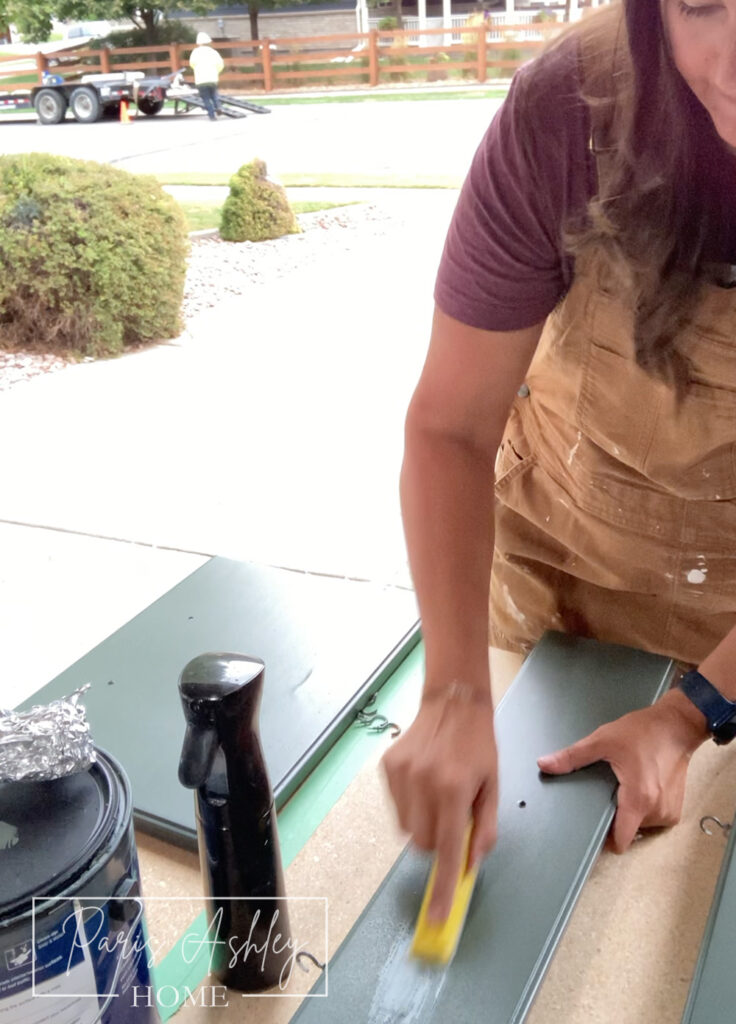
Step 3: Prep for Paint
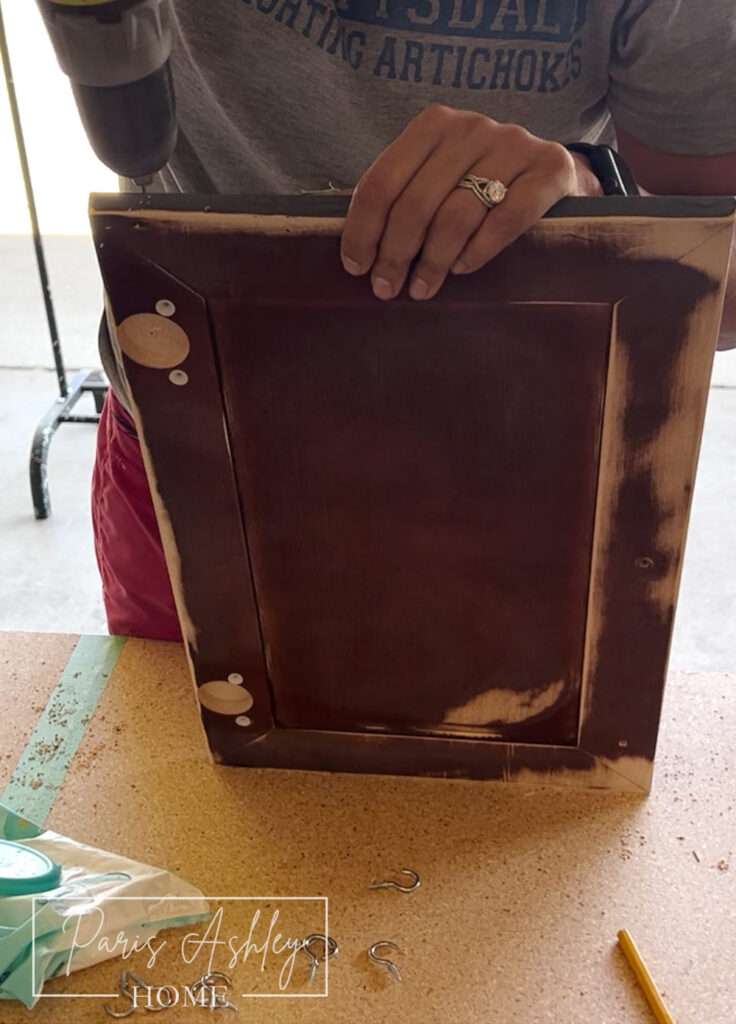
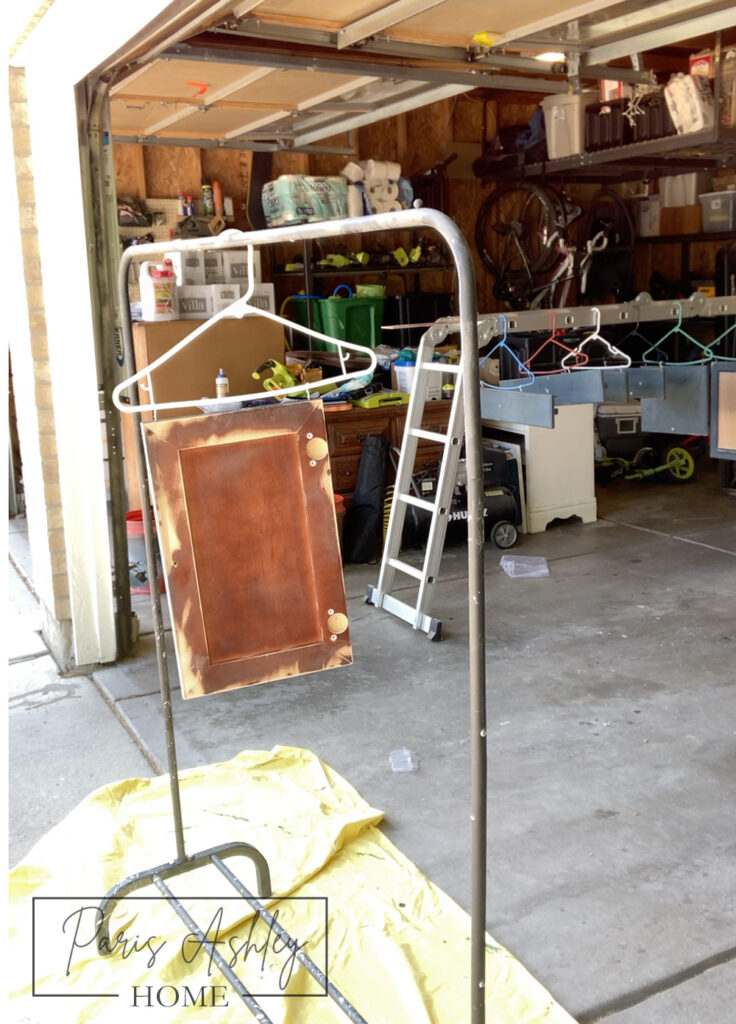
Let’s get those surfaces ready for a fresh coat of paint. Wipe away all that dust with a damp rag or a tack cloth. Now, here’s a pro tip – pre-drill holes for your new hardware so you don’t mess up that gorgeous paint job later on. Attach cup hooks to the bottom of your doors and drawer faces, use a hanger to hang on a clothes rack (or whatever you have to hang things on) and hang them up somewhere to dry (a scaffolding ladder will do).

Step 4: Prime and Paint
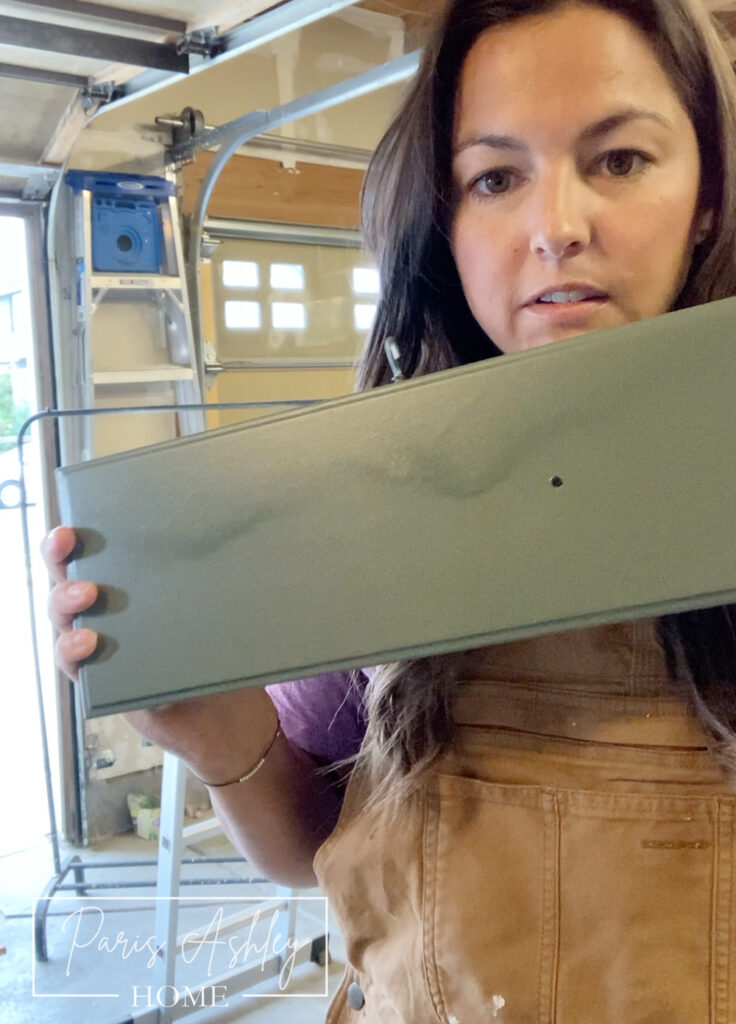
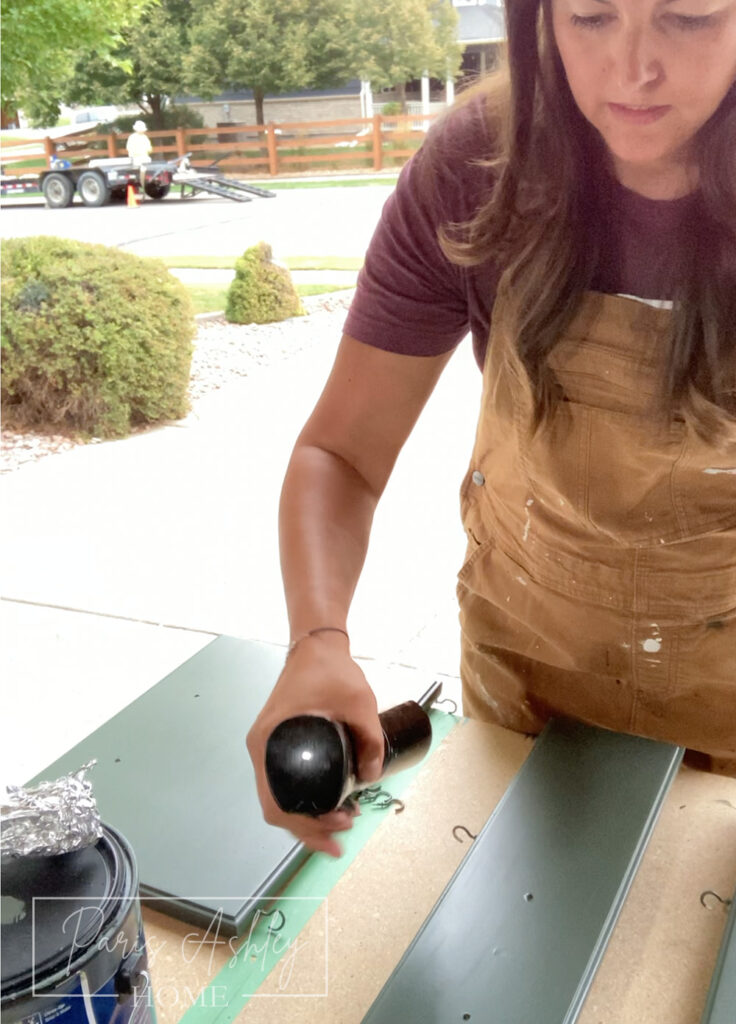
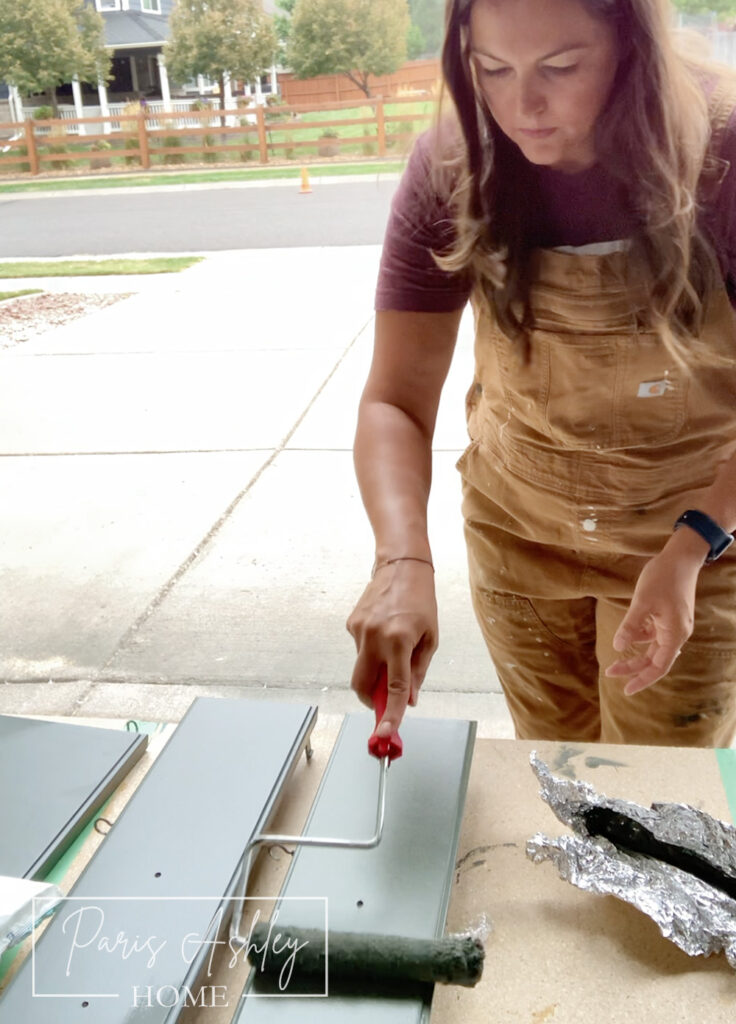
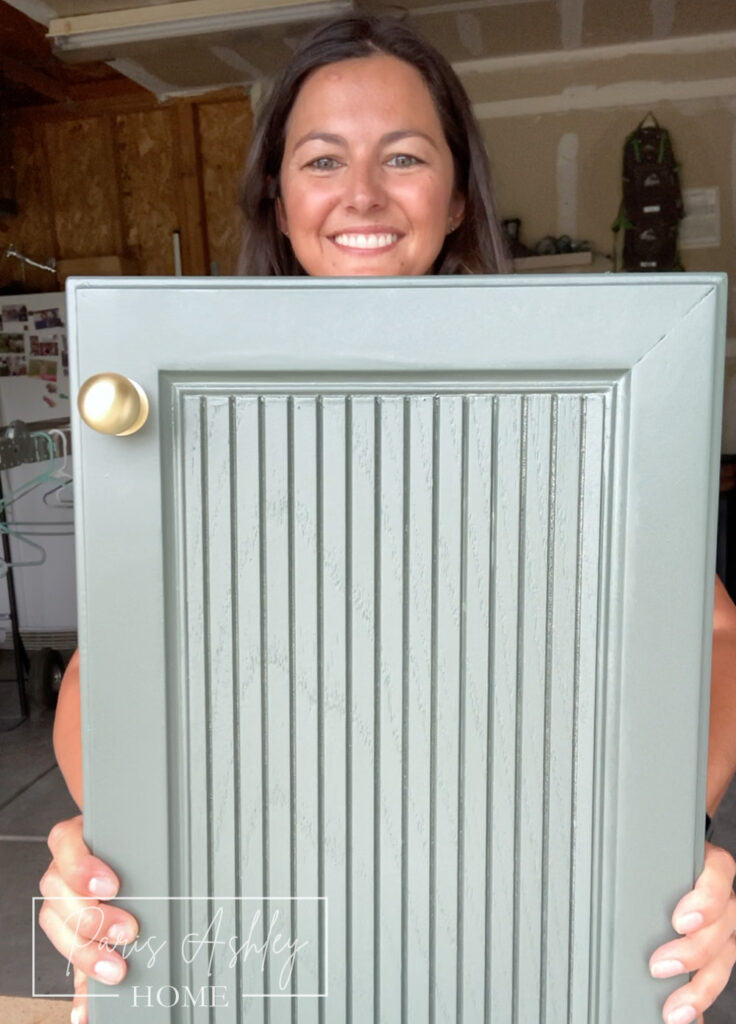
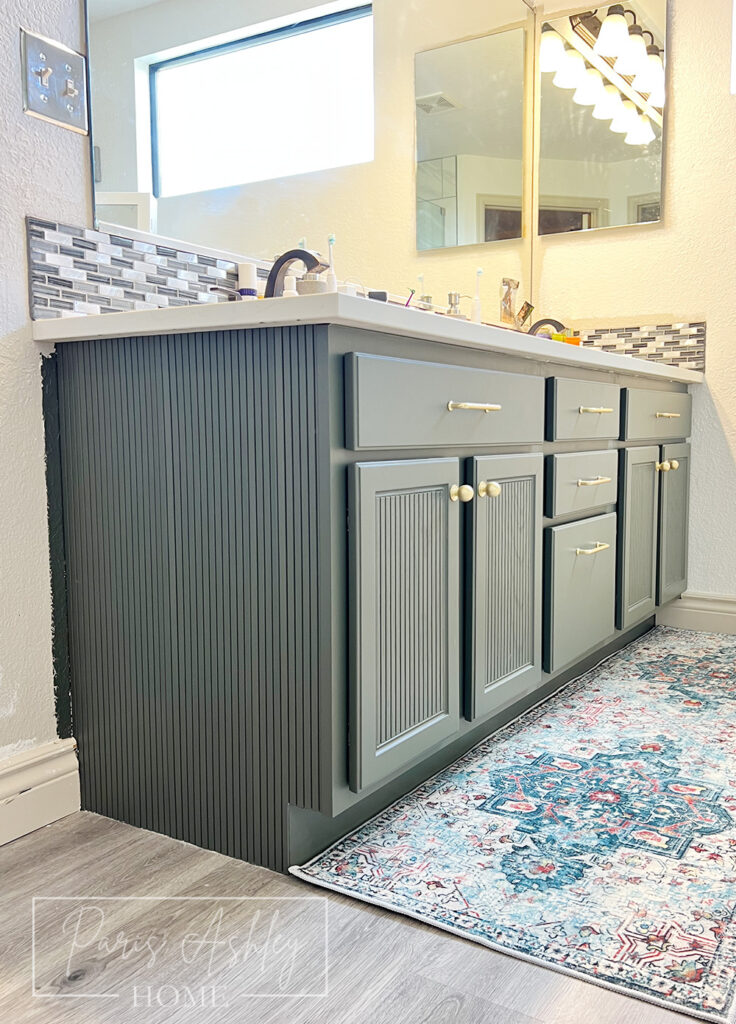
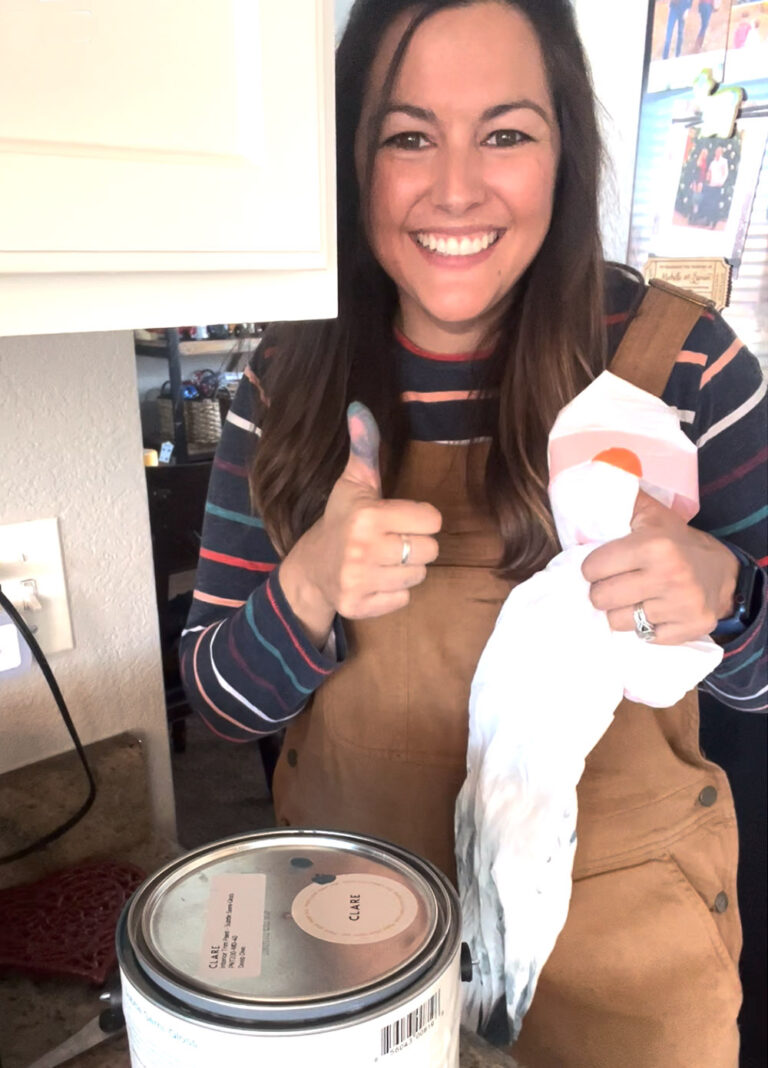
Time to make that vanity pop! Start with a BIN Shellac primer, especially if your doors and drawers get a lot of action (I would NOT recommend using it in your paint sprayer, lesson learned, I think my paint sprayer is going to be okay thankfully, I would roll on with a microfiber roller). I went with Pewter Green by Sherwin Williams, color matched with Behr in their Urethane Enamel. Urethane paints dry rock hard after 30 days of curring, so you don’t have to use a poly top coat, this is the top of the line paint and I highly recommend it for furniture.
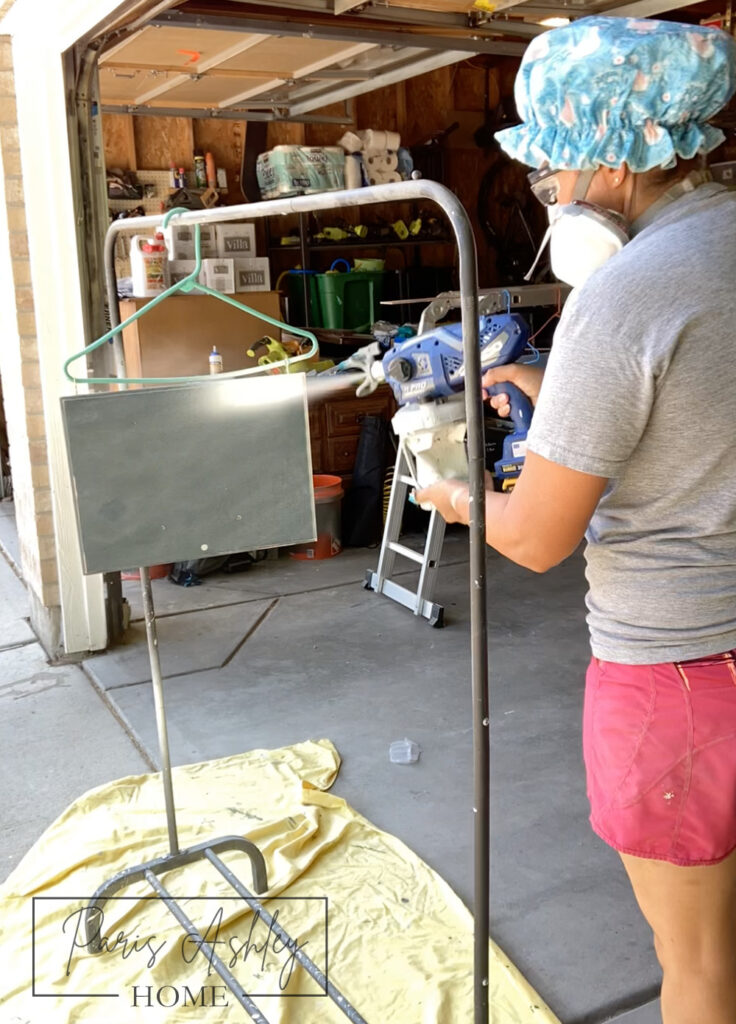
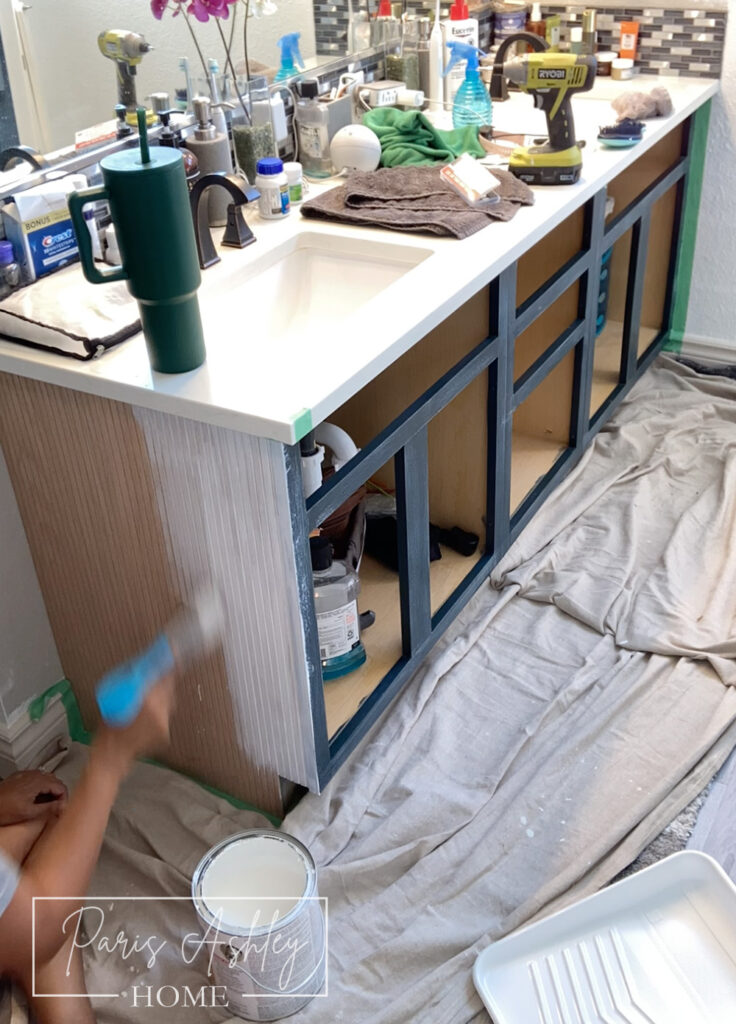
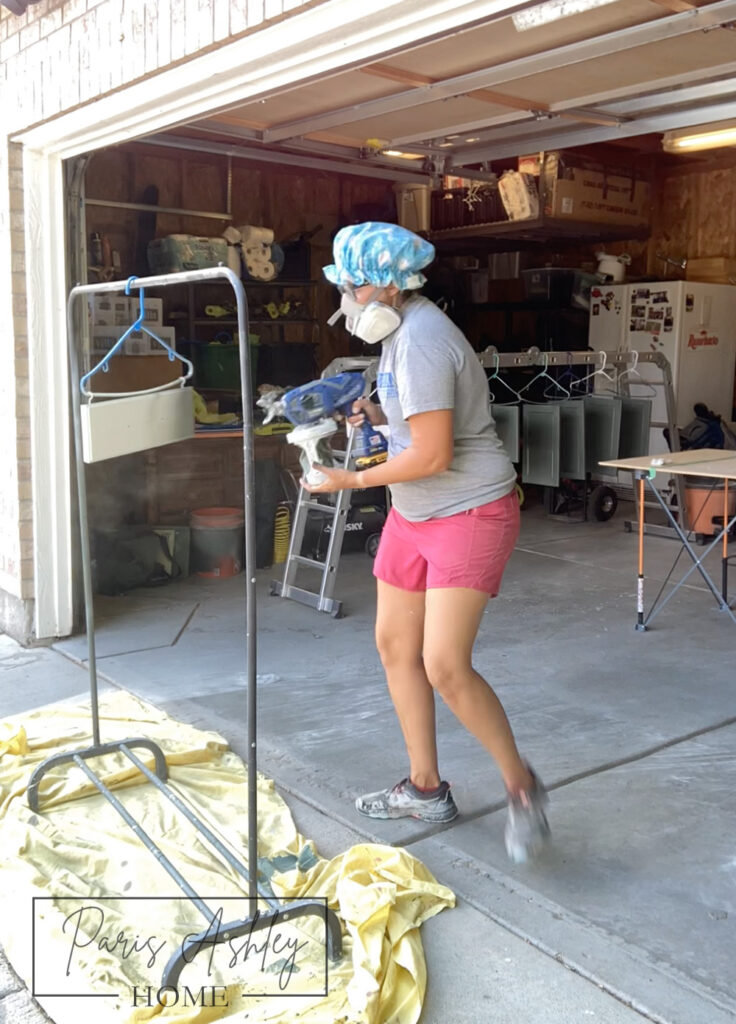
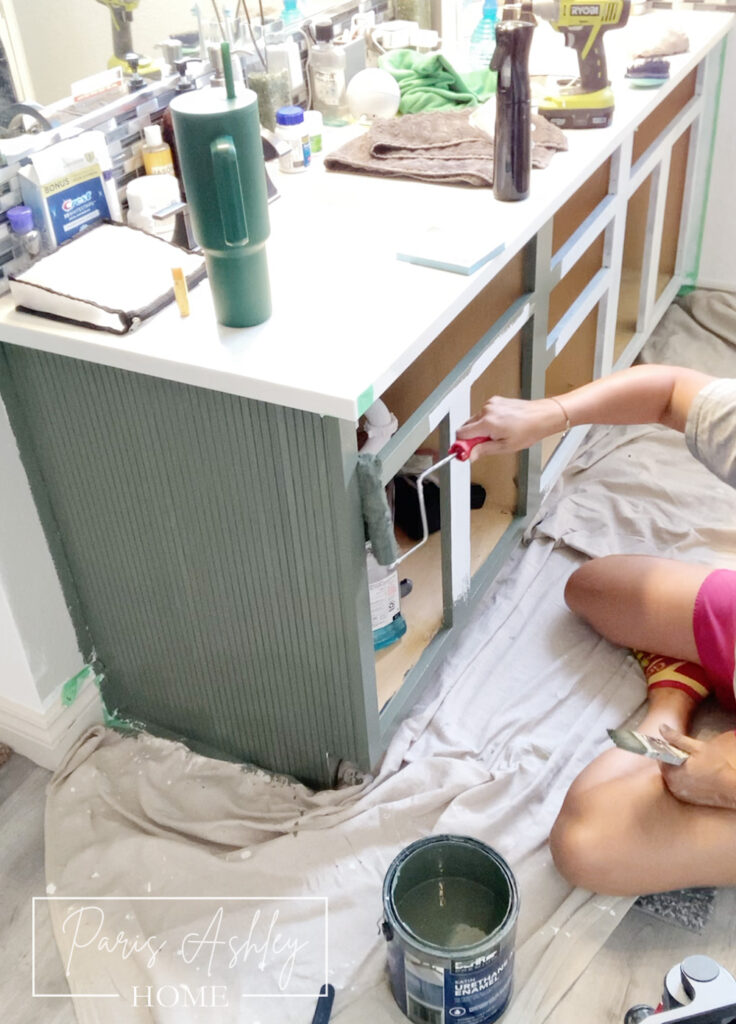
Apply a coat of primer, followed by a coat of paint using a sprayer, and finish it off with two coats rolled onto the vanity. If you spot any drips, no worries – grab your mister and detail sander, wet sand those drips away, and touch up with a microfiber roller.
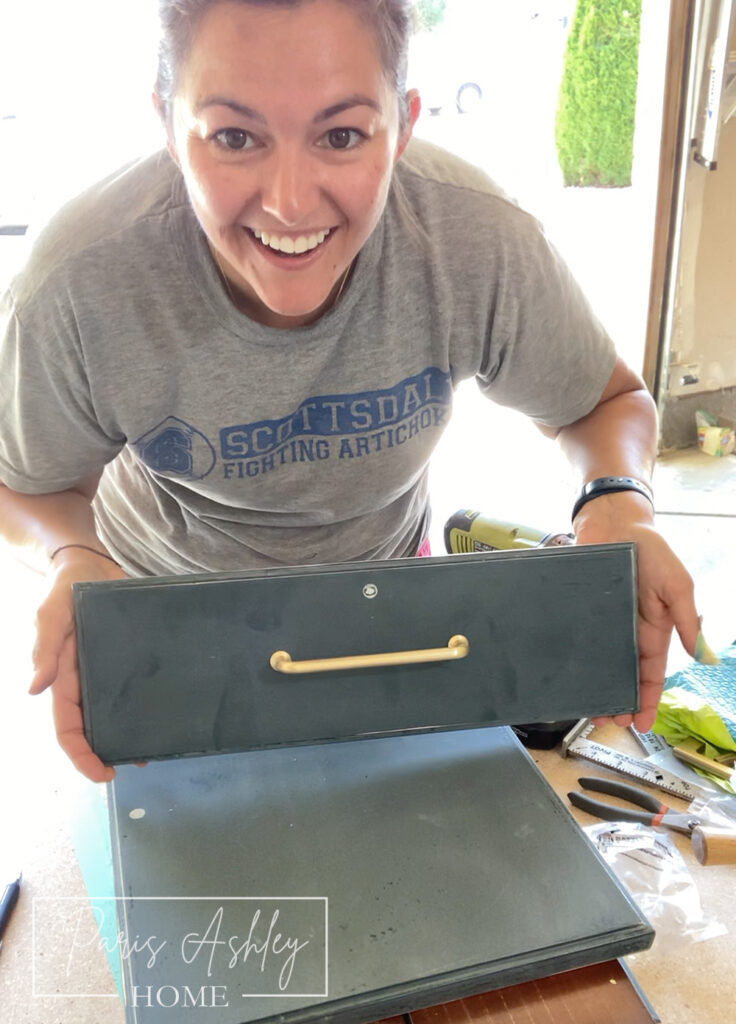
Step 5: Hardware and Hinges
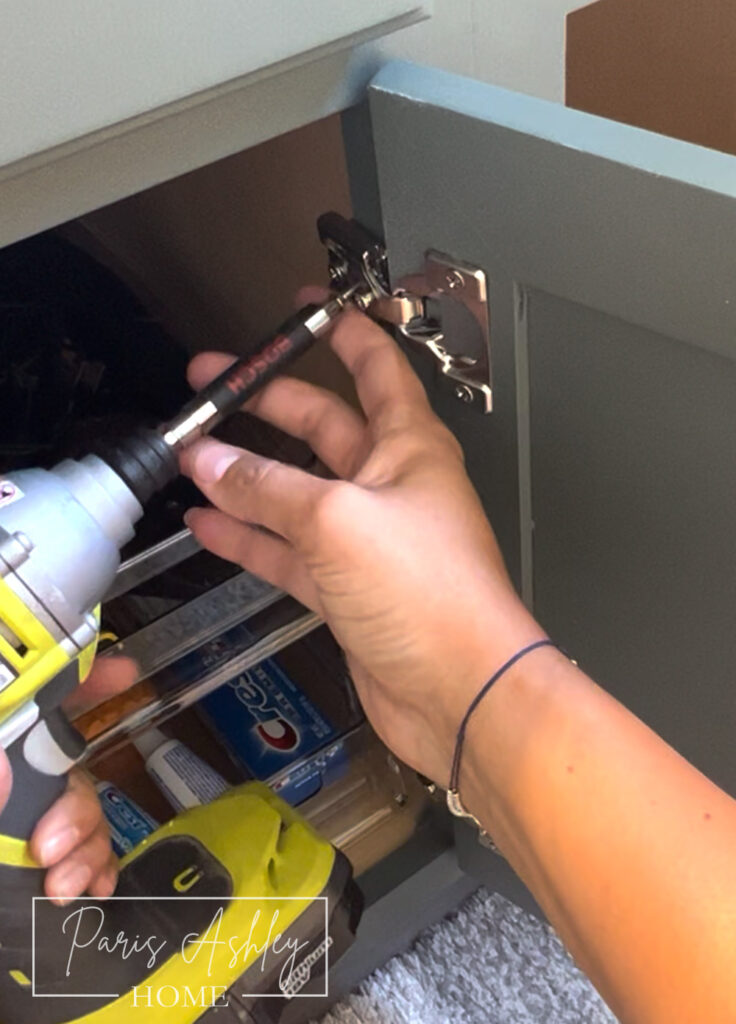
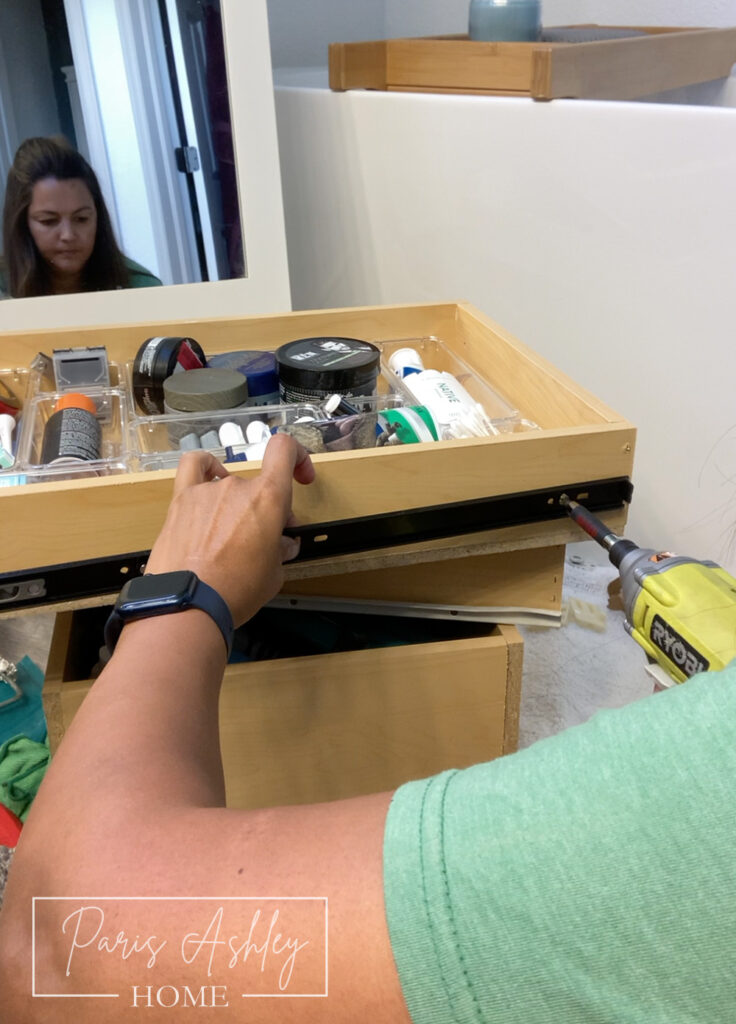
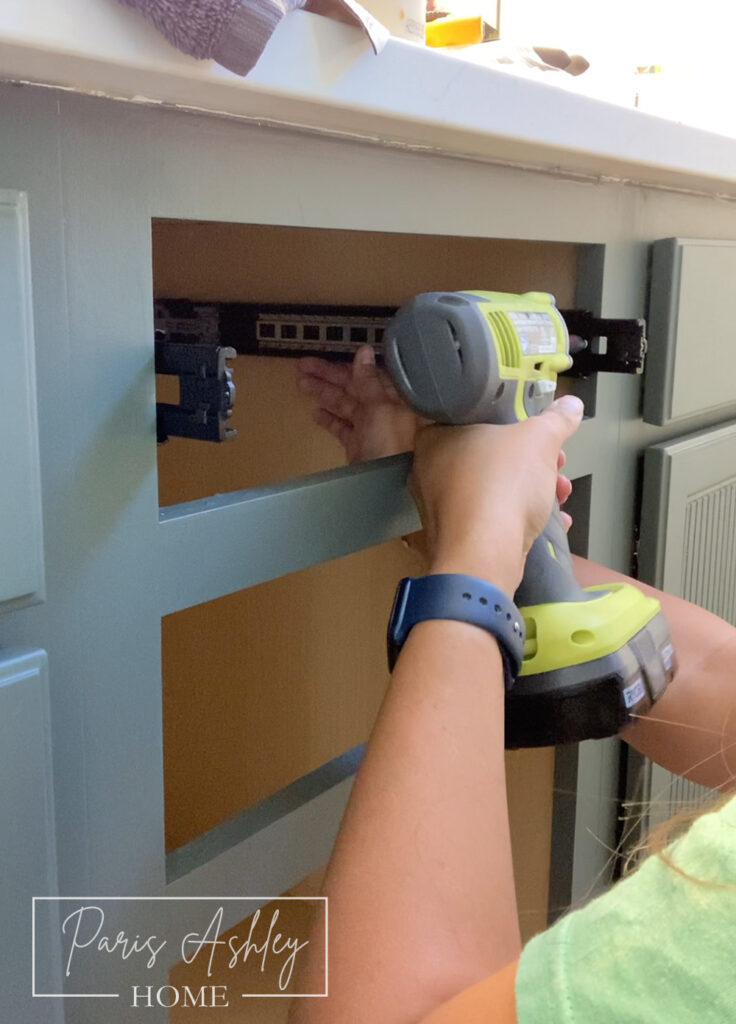
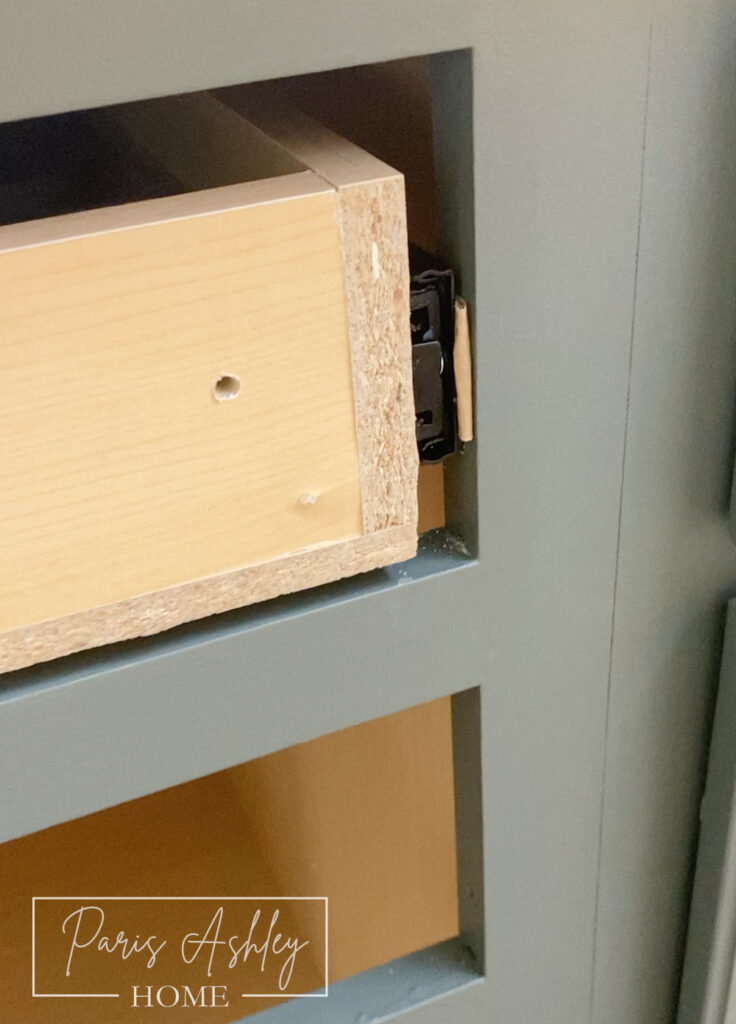
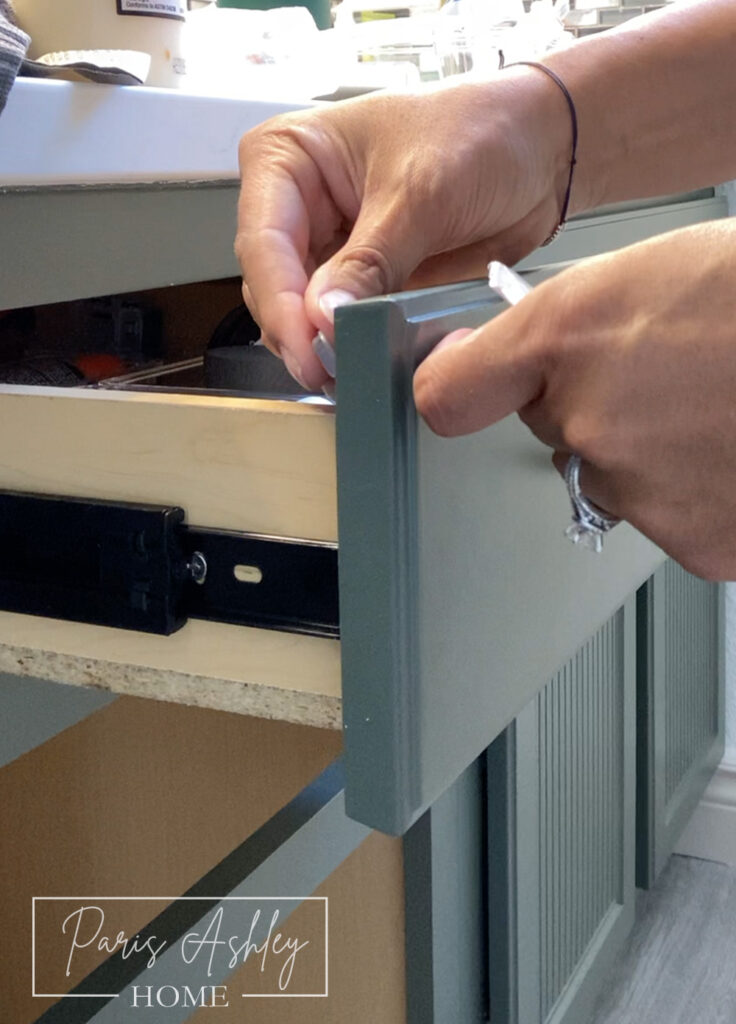
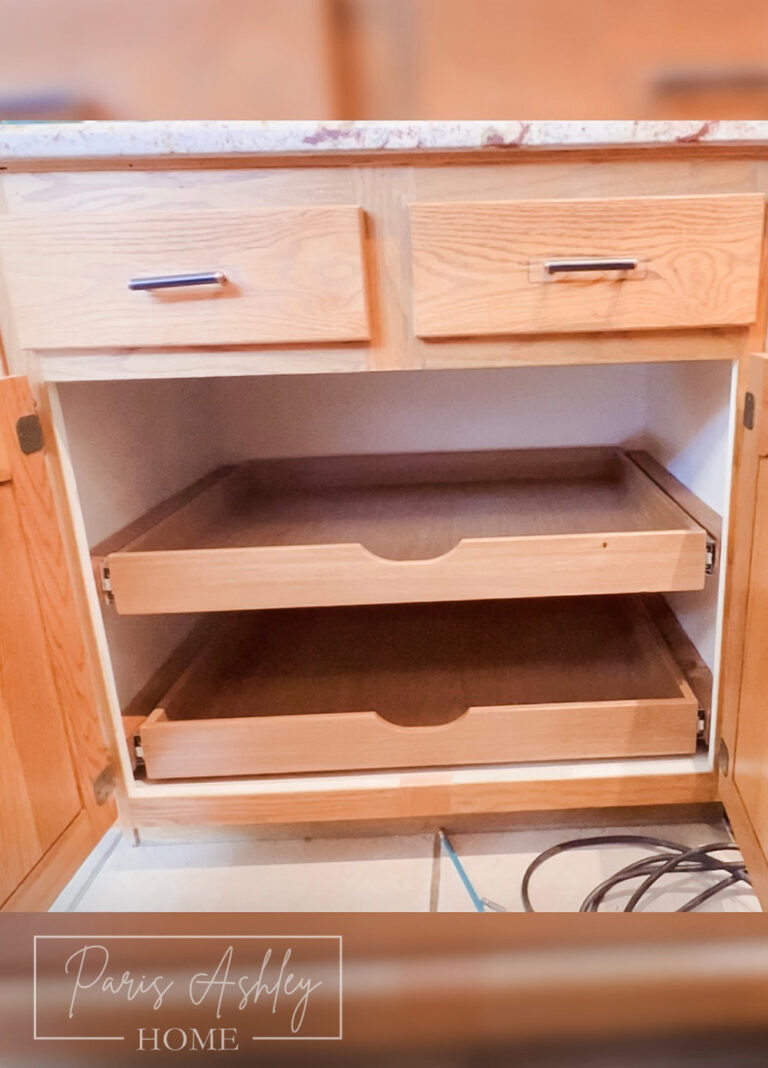
Once your pieces are dry to the touch (give them 30 days to cure fully), it’s time for some new hardware. Get yourself some gorgeous new hardware – Paris Bar Pull 5in (128mm) & Paris Ball Knob from BattleCreek Hardware is a good choice (use code: “Paris” for a 15% discount). Don’t forget to upgrade to those soft-close hinges and drawer slides for that extra touch of luxury. Hinges are easy; they usually fit right where the old ones were. Drawer slides might need a little finesse, so follow the instructions that come with them based on your cabinet. I needed back wall attachments, and a small shim to fit my drawers, yours may not!

Step 6: Finishing Touches
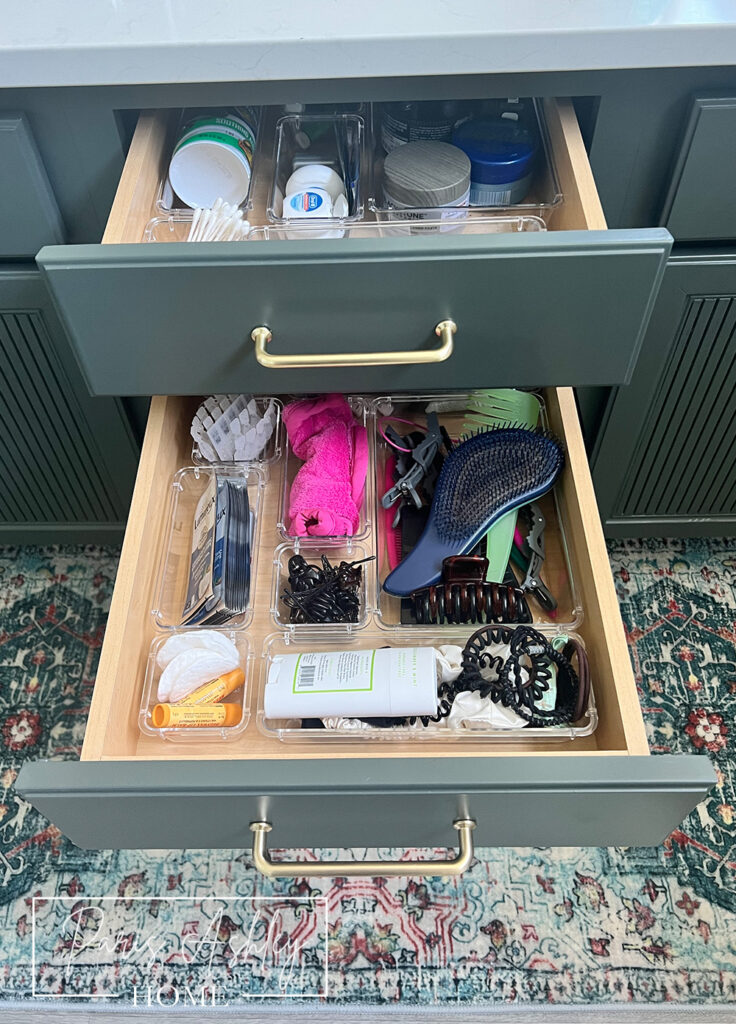
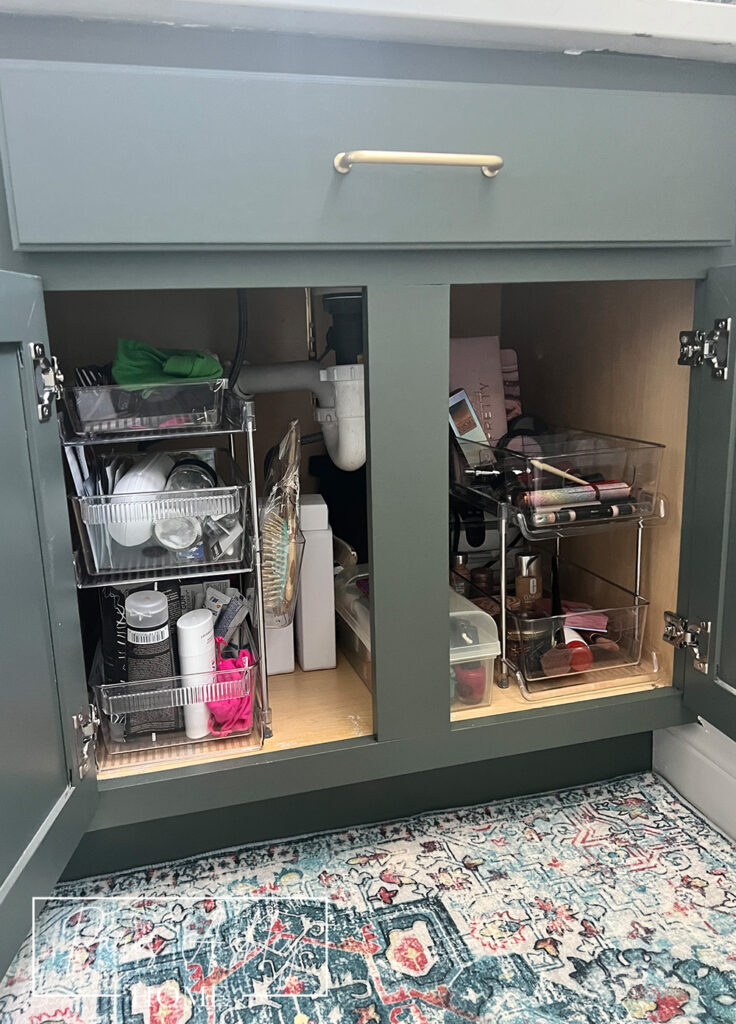
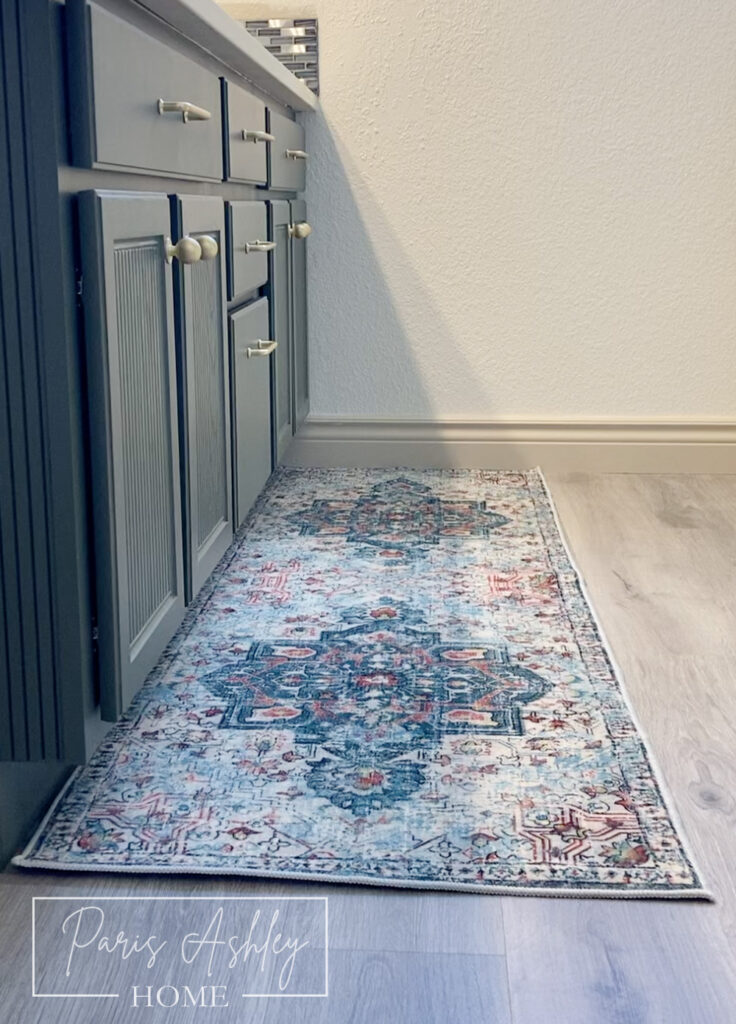
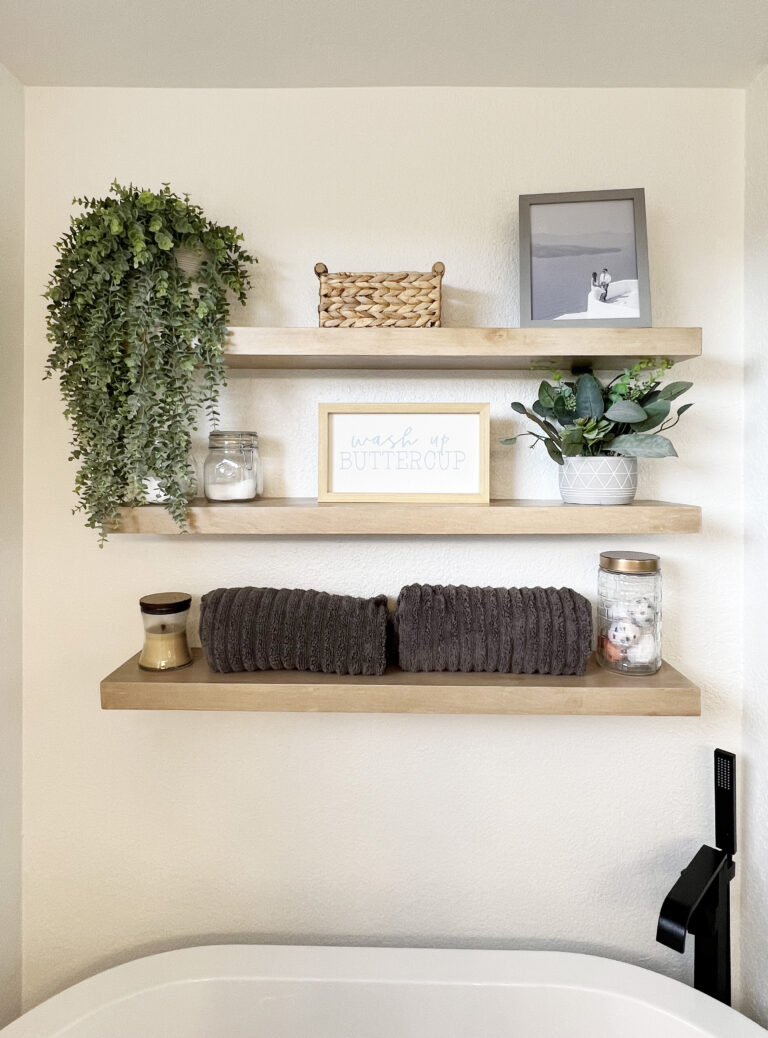
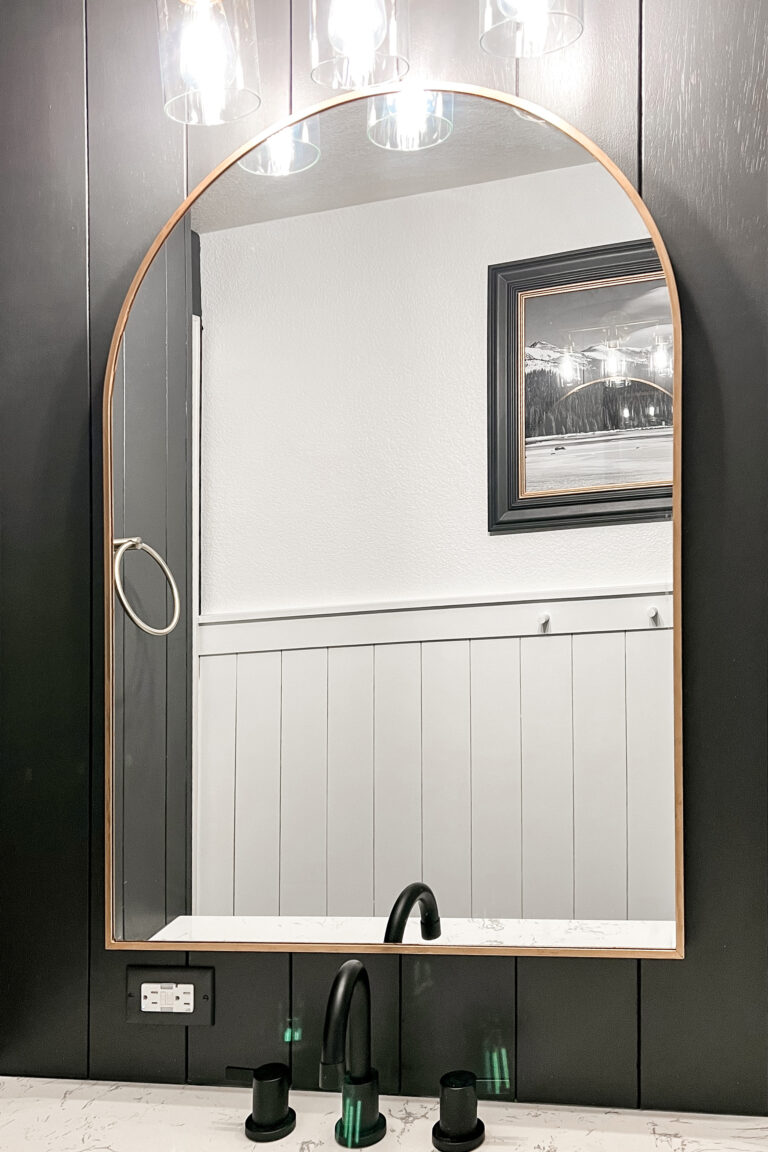
To wrap up this makeover, add some new bumpers to the backside of the drawers and doors. Consider adding some drawer and cabinet organizers to make the most of your new vanity. And why stop there? Grab a stylish rug to complete the look. Alright, drumroll, please! It’s time for the grand finale – the big reveal of my breathtaking vanity makeover!
And there you have it, my friends – the story of my first and now, most recent vanity makeover. From my DIY pregnancy days to my present-day DIY expertise, this vanity makeover was one for the books. Trust me, if I can do it, so can you! Remember, all it takes is a little creativity, some fabulous additions like pole wrap and new hardware, a fresh coat of paint, and the magic of soft close hinges and drawer slides.
Want even more inspiration and behind-the-scenes action? Follow me on Instagram @parisashleyhome! I share all my DIY projects, home decor tips, and the latest updates on my journey to creating a beautiful, cozy home. Join me and let’s inspire each other to tackle more DIY adventures.
So go ahead, give your own vanity the love it deserves, and get ready to be blown away by the results. Happy DIYing!
Watch a video tutorial Here!
Follow ParisAshleyHome on social for more DIY Tutorials!
Follow on Instagram, Subscribe on YouTube, Pin on Pinterest, Follow on Facebook, Follow on TikTok, Shop on LTK!
This vanity turned out so great! I love it. We are having to redo ours after some water damage & I would love to do something like this. We just have to get the water damage restoration done first! Thanks for sharing!!!
Oh man that’s rough! Good luck!!
Wow, the vanity makeover turned out absolutely stunning! It’s impressive how you transformed it from a DIY challenge into a beautiful bathroom centerpiece. My husband is a handyman, so I know how tricky these projects can get, but your results are truly inspiring. Thanks for sharing the process and tips—I’m motivated to take on my next project!