How To Build and Install Floating Shelves
*This post contains affiliate links. I will receive a commission for items purchased through these links at no extra cost to you. I appreciate your support. Please read all labels and follow all manufacturer safety recommendations when working with any tools or equipment recommended.
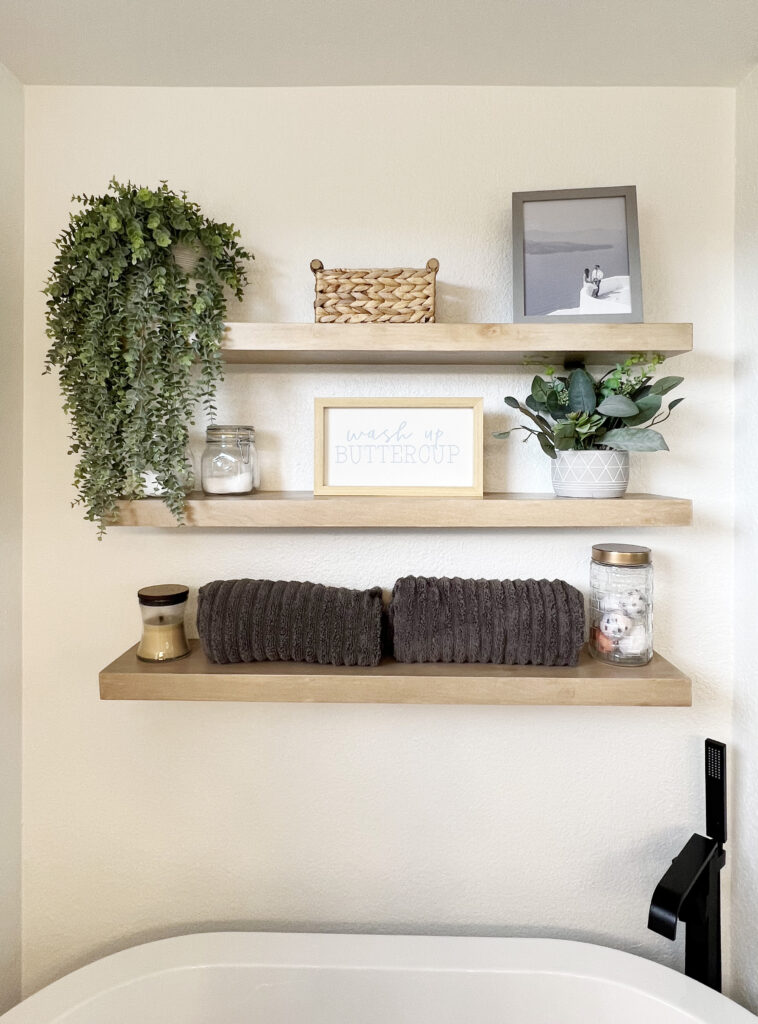
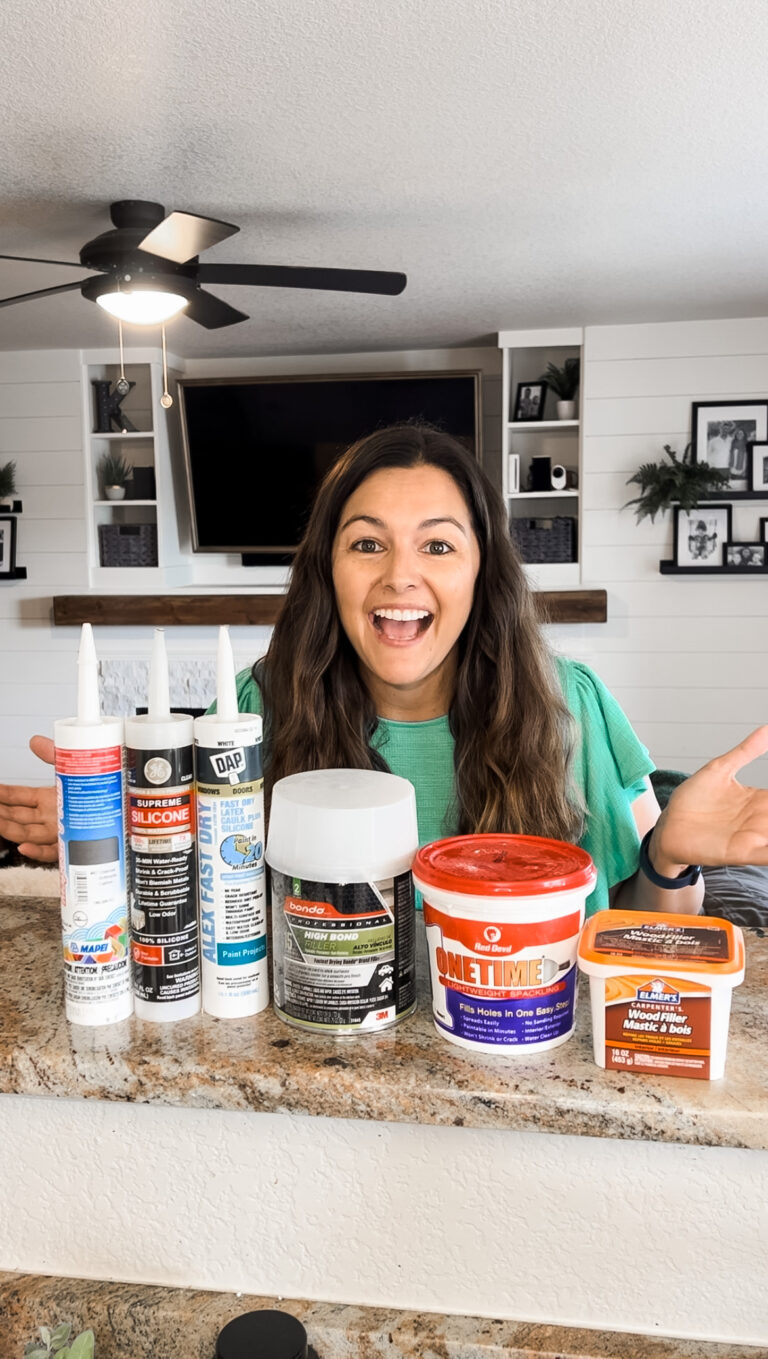
Shop Similar Items In This Image!
Floating shelves are a great addition to any home, providing both storage and visual appeal. In this guide, I’ll walk you through the step-by-step process of building and installing your own floating shelves using birch plywood and some essential tools. Let’s get started!
All My Favorite Tools Can Be Found Here
Materials Needed For this Project:
Watch a video tutorial HERE!
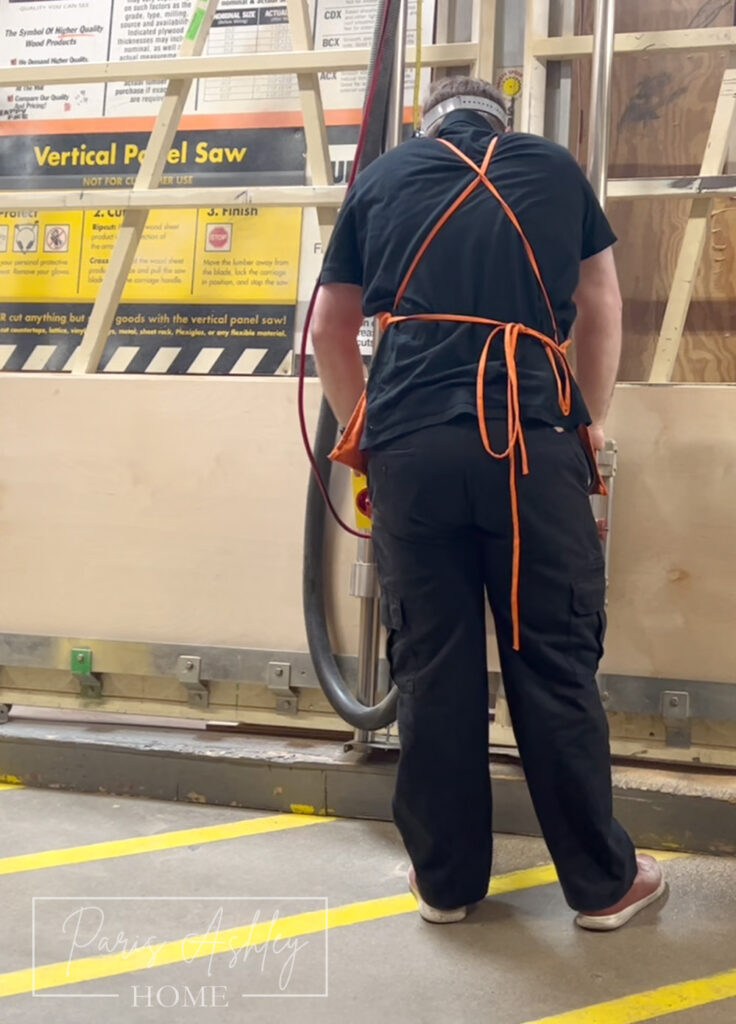
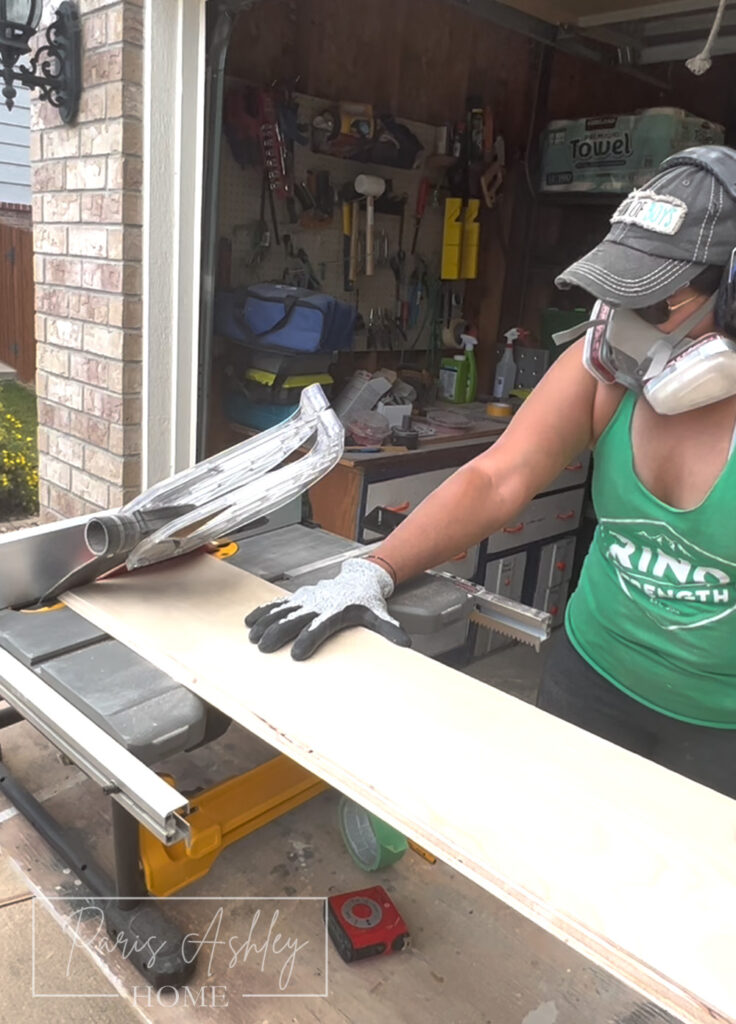
Step 1: Prepare the Plywood
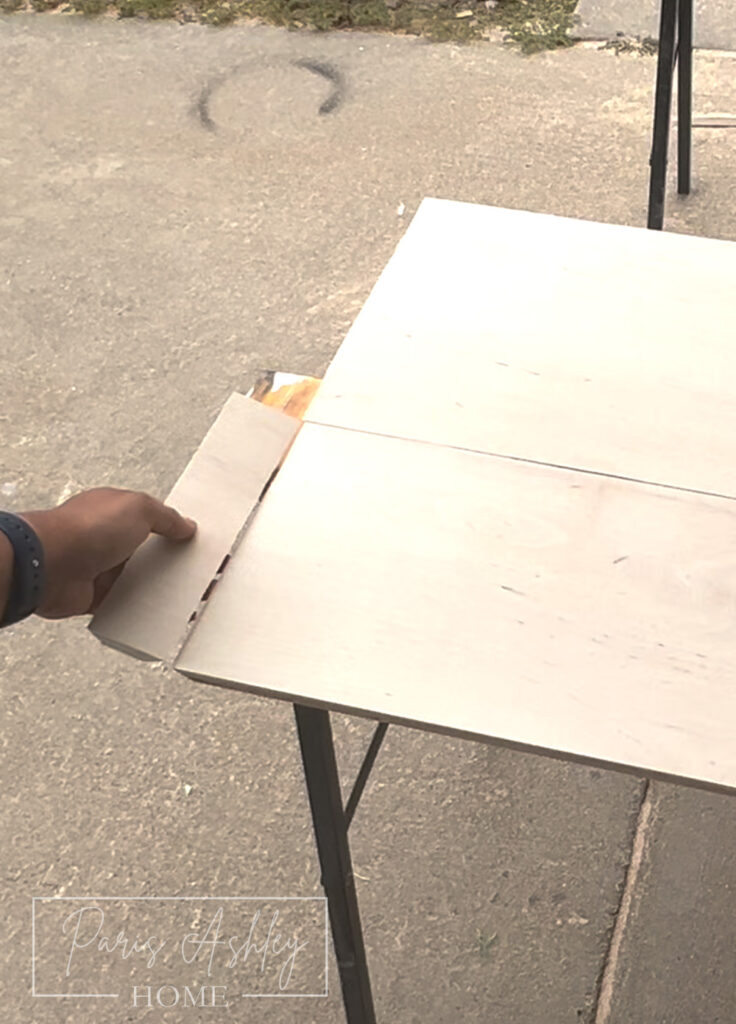
- Using a 4′ x 8′ x .5″ sheet of Hardwood Veneer Plywood (I used Birch), cut the plywood into four equal quarters, each measuring 2′ x 4′ x 0.5″.
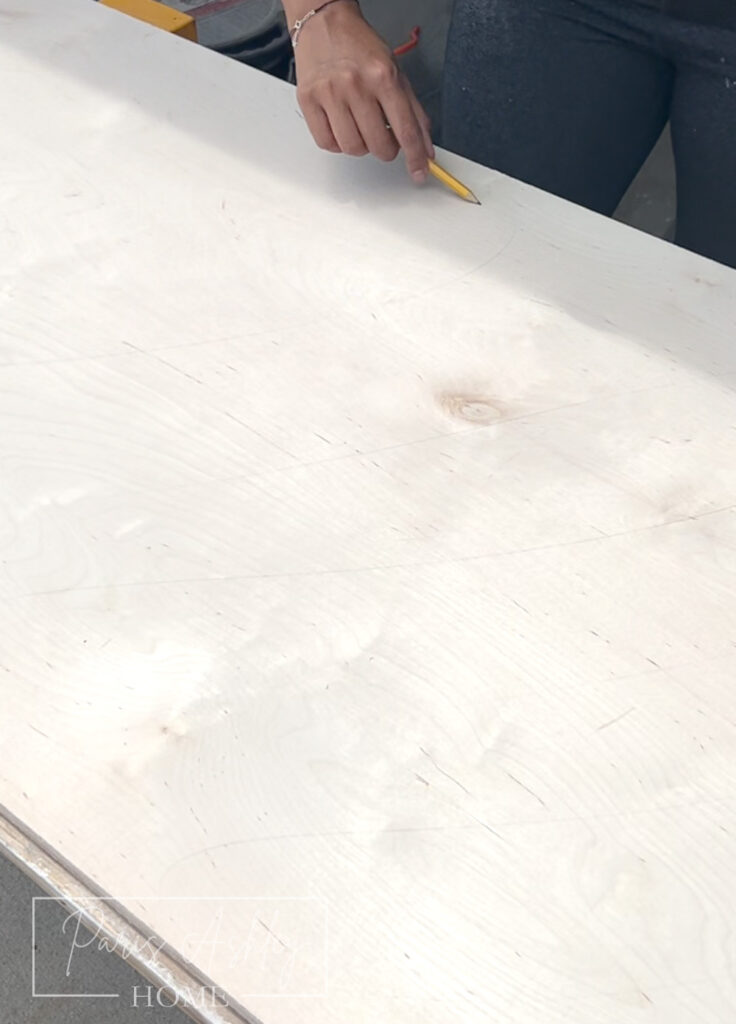
- On one side of each quarter, use a pencil to draw lines all over the surface.
- Using your Dewalt Orbital Sander, sand the plywood with 220 grit sandpaper, making sure to sand all the pencil lines away.

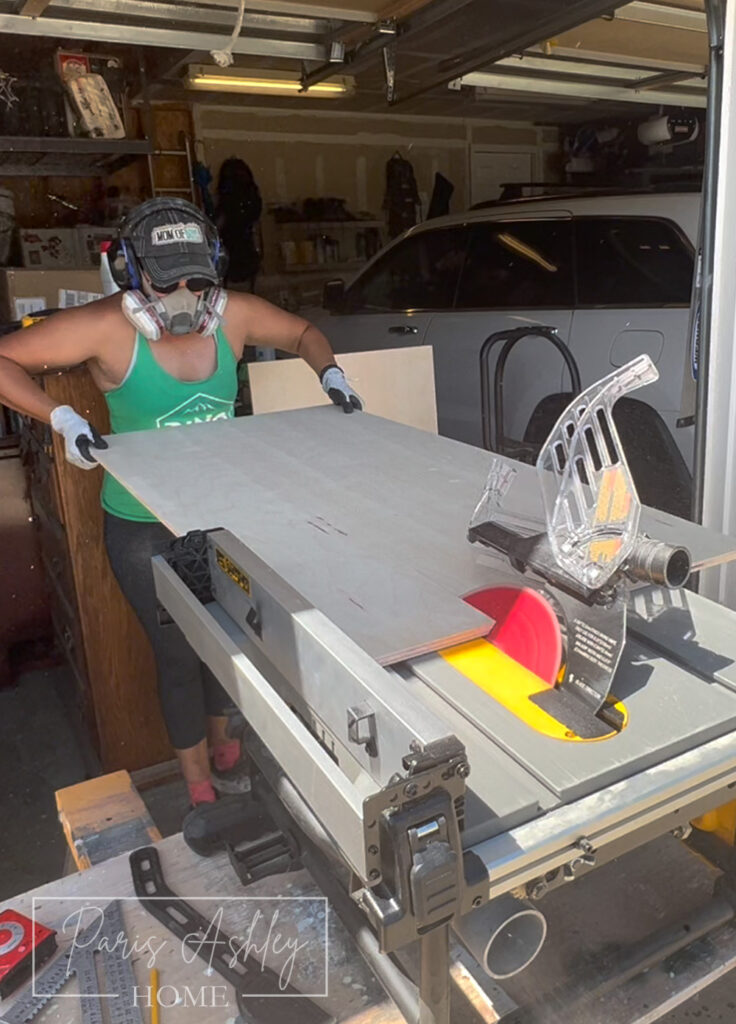
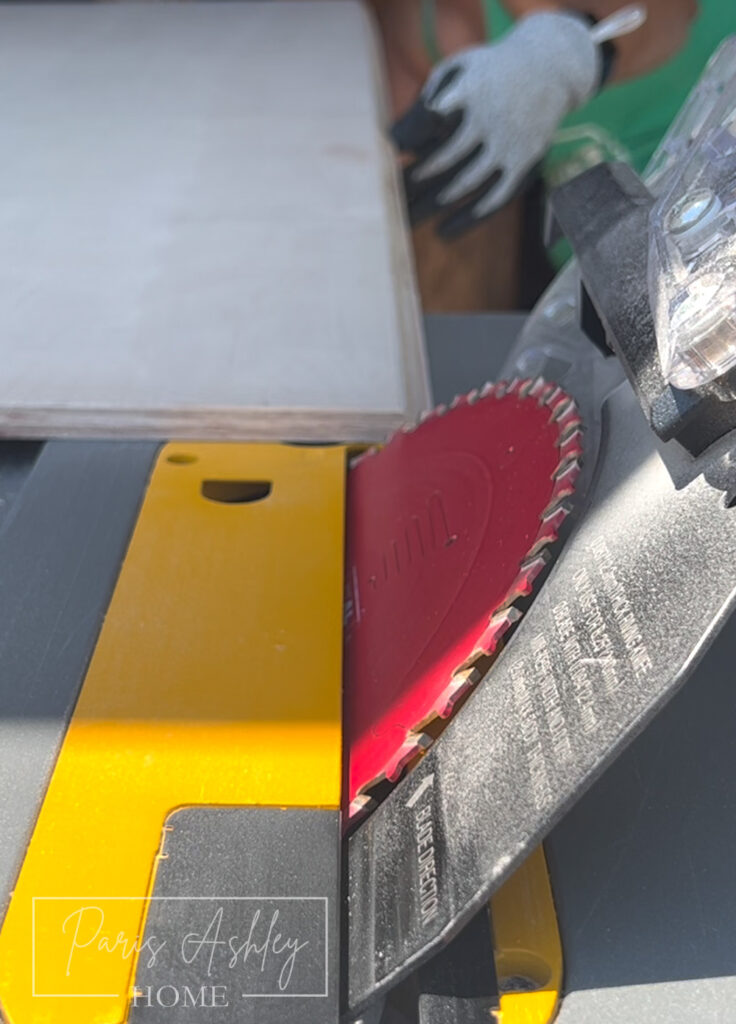
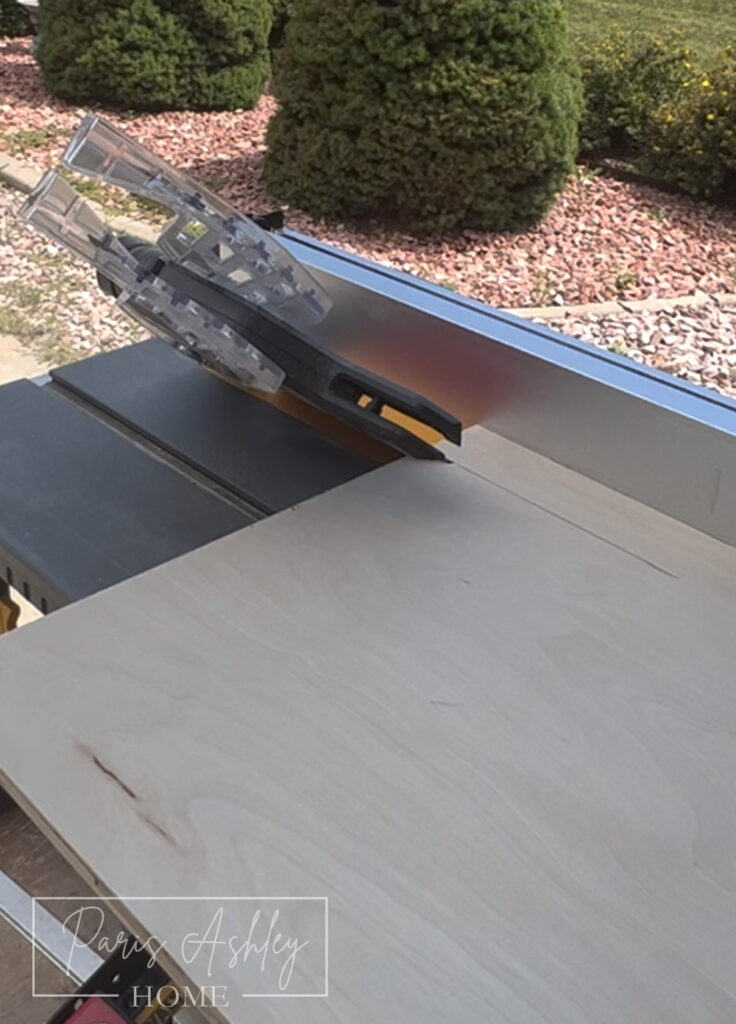
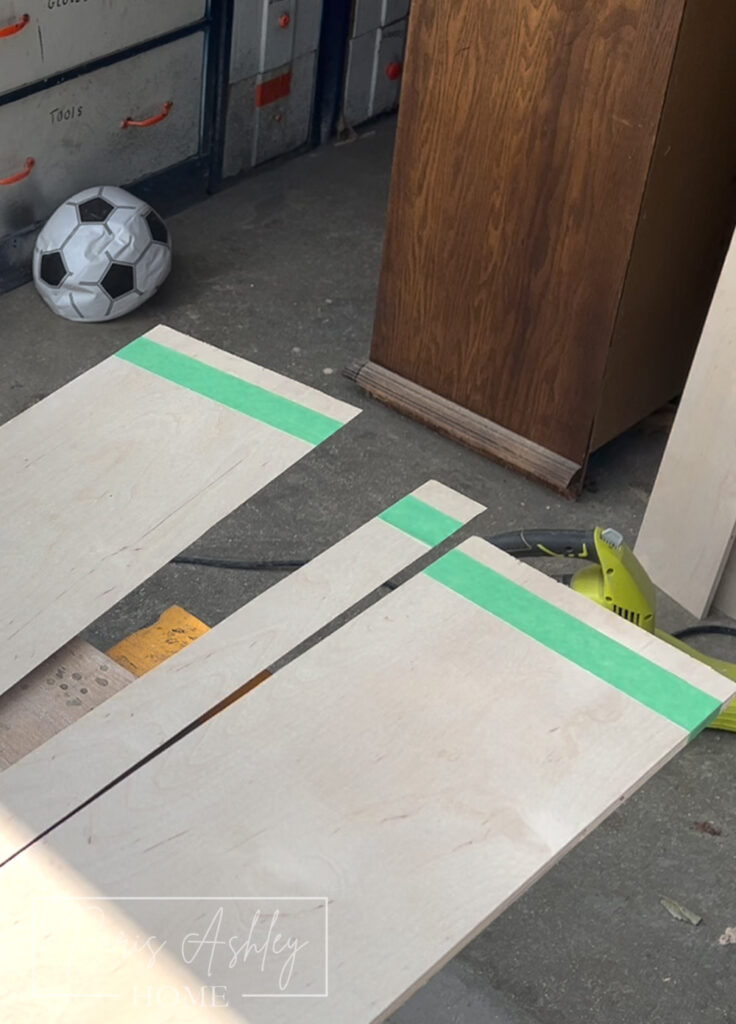
Step 2: Cut the Plywood
- Refer to the provided cut plan image below to ensure the grain flows smoothly around the shelf.
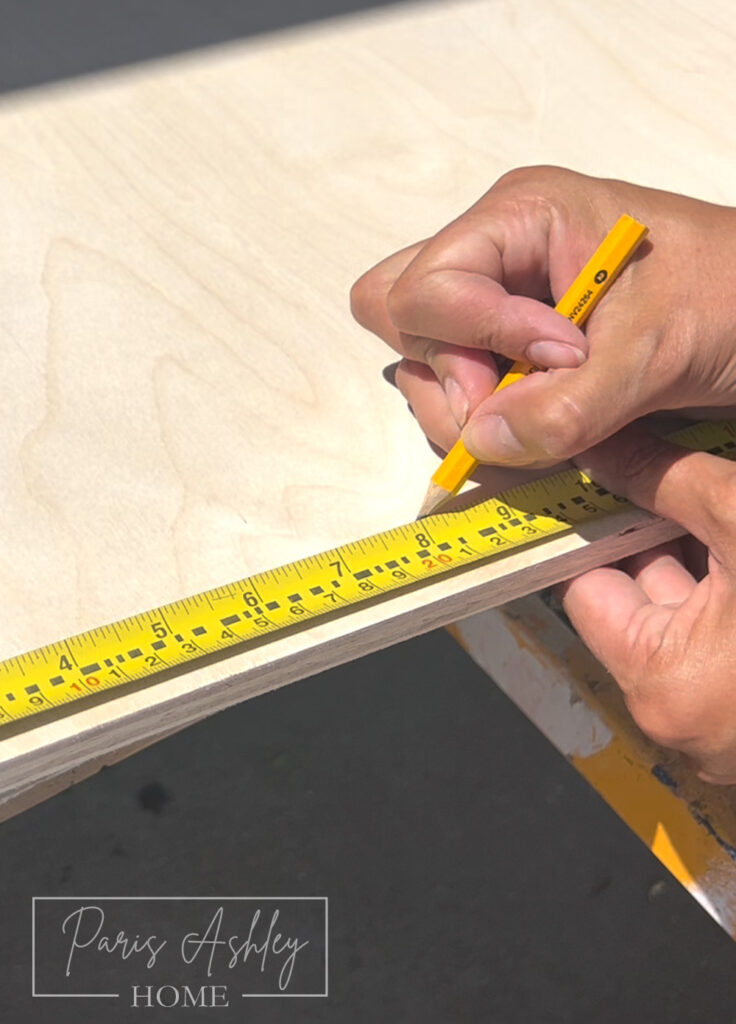
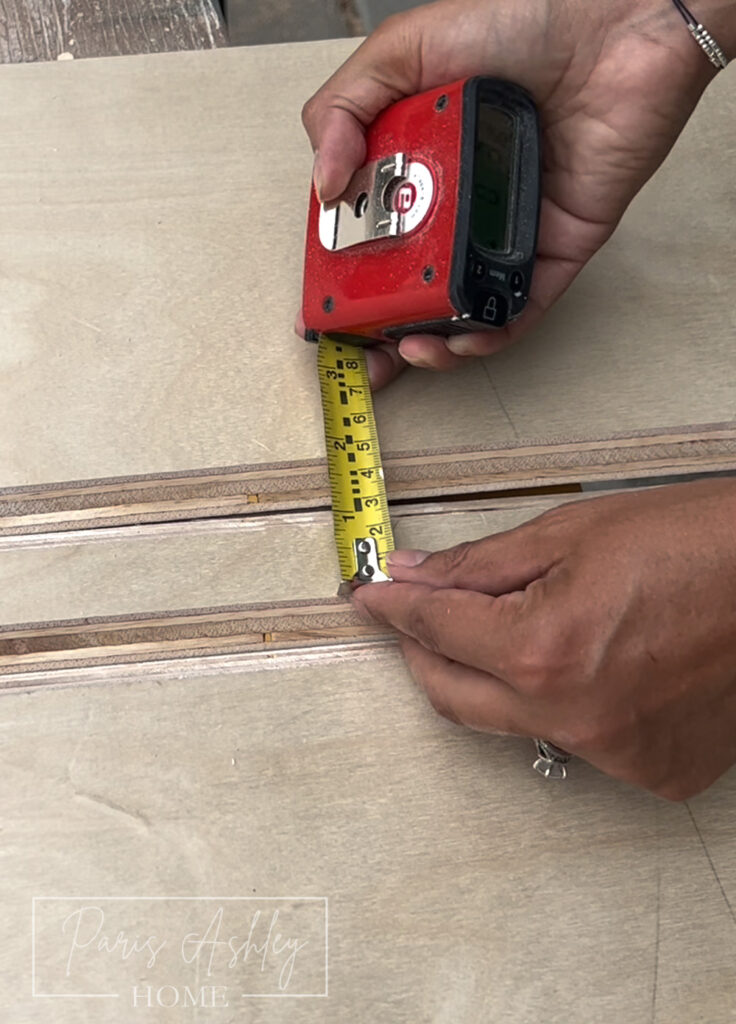
- Start by measuring 8″ on one of the quarters. Adjust the table saw to a 45-degree angle and set the rip fence to 7 9/16″. Cut along the measured line to achieve a long edge of 8″.
- Set this piece aside and adjust the rip fence to cut the large remaining piece of plywood at a 45-degree angle to the opposite side (refer to the image for guidance).
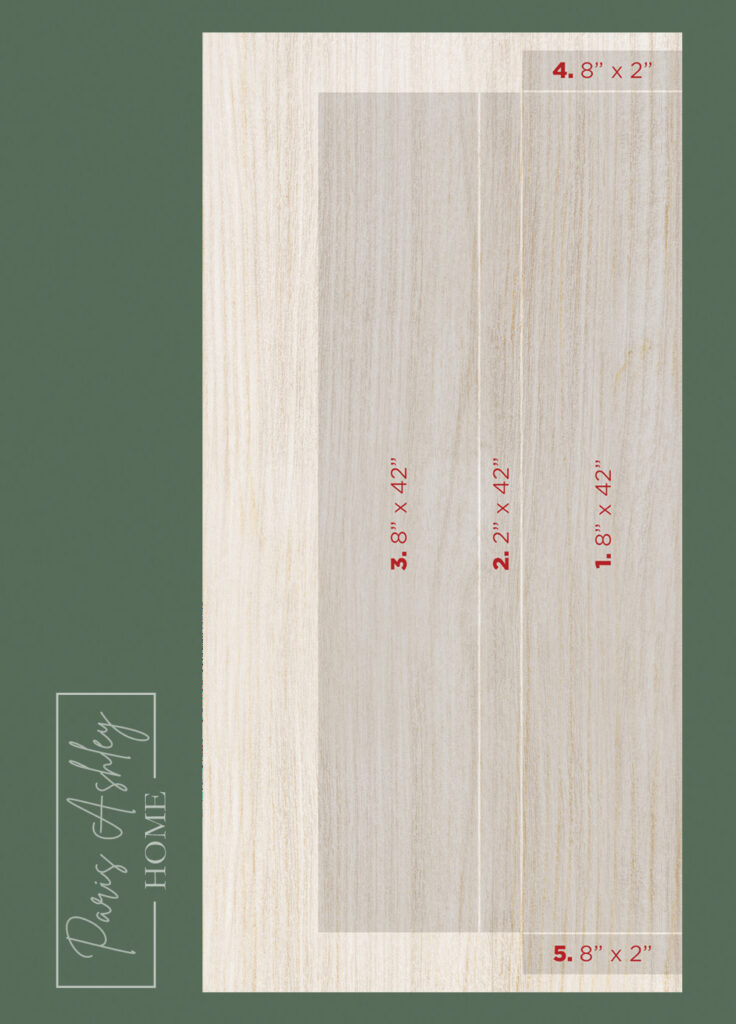
- Measure 2″ on the large piece of plywood for the face, align the rip fence to 1 9/16″, and make the cut. Set this face piece aside.
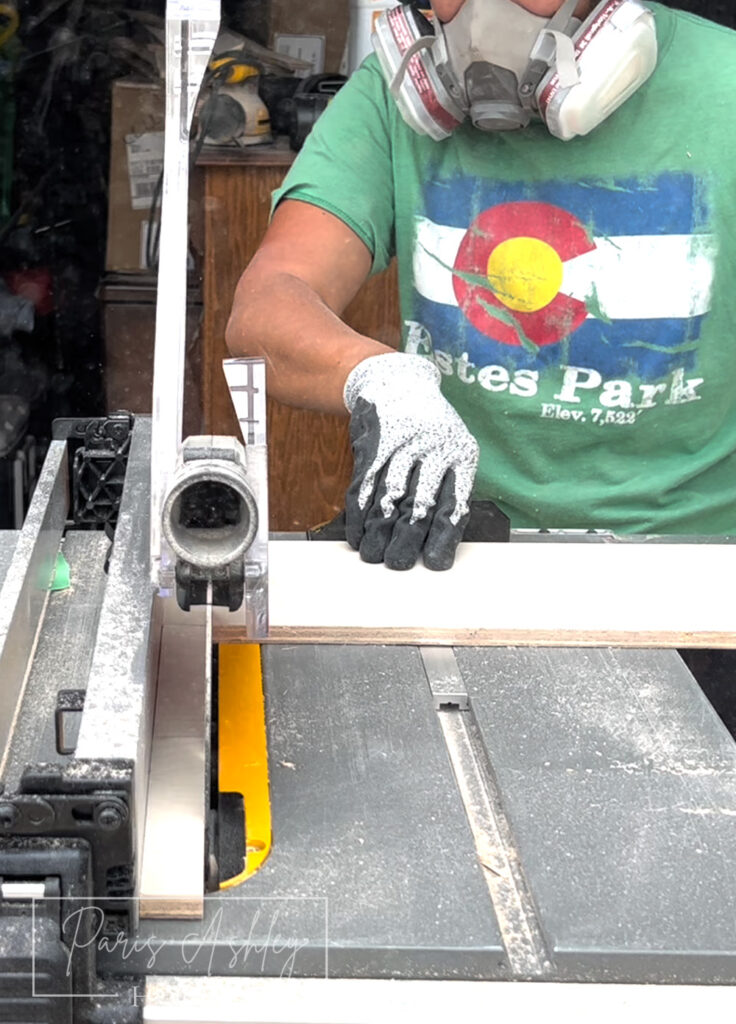
- With the large piece of plywood, cut a 45-degree angle in the opposite direction. Align the table saw to trim the wood without removing much of the grain on the top side.
- Set your blade back to 90 degrees and adjust the rip fence to 8″. Place the 45-degree angled cut parallel to the rip fence and cut the bottom piece to 8″.
- Now you have the three main pieces of your shelf.
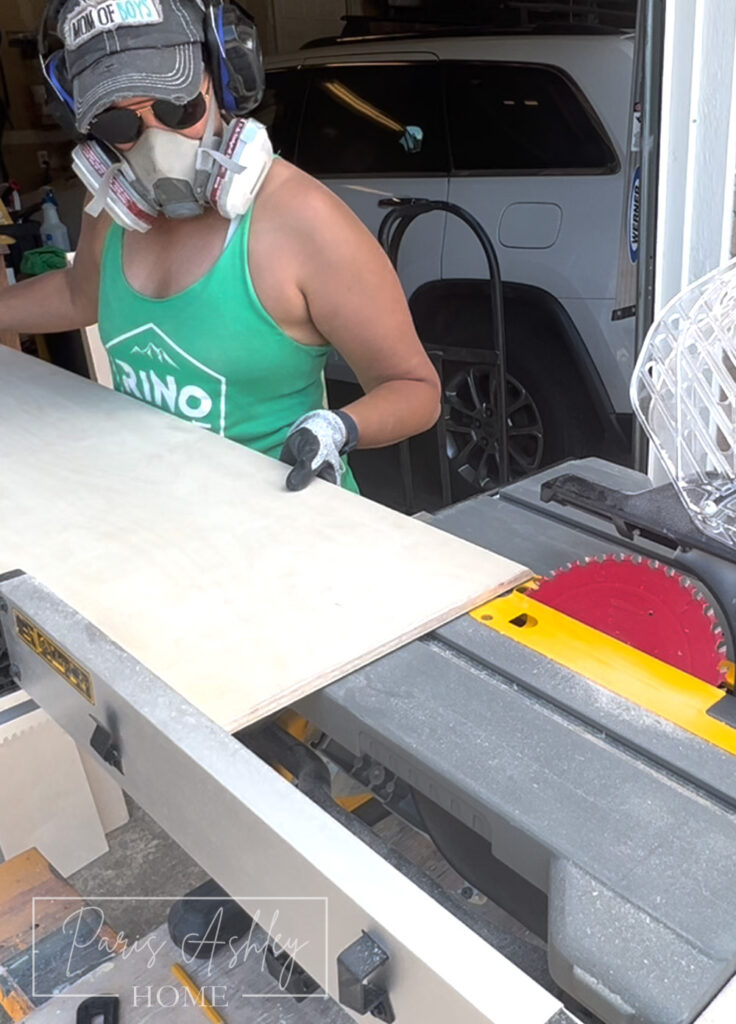
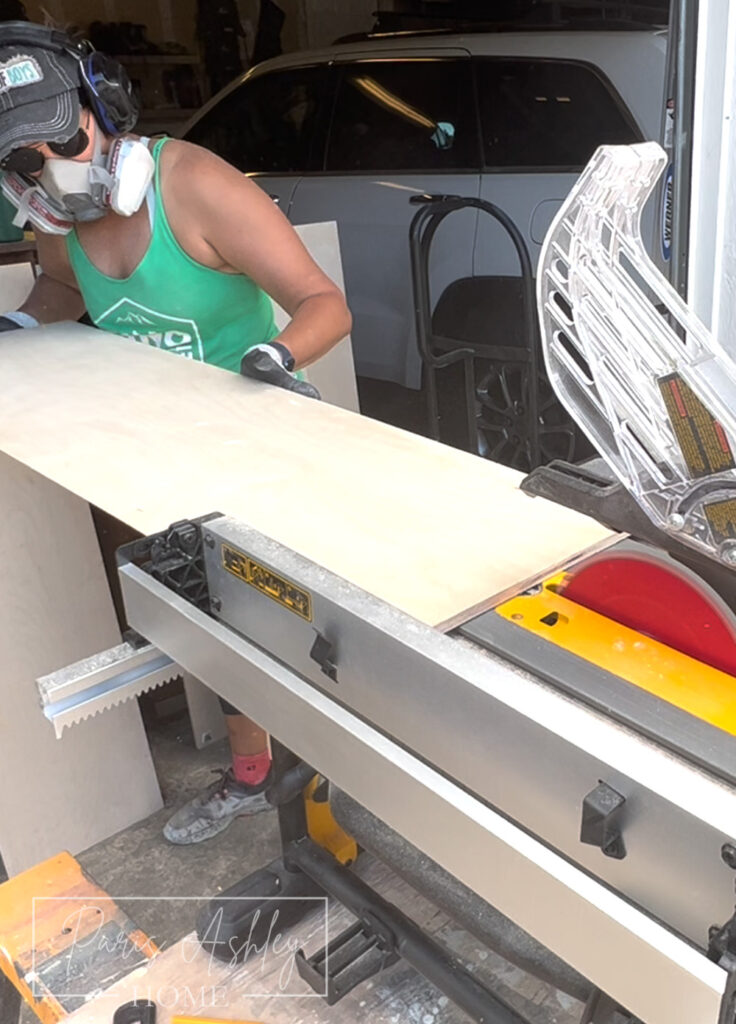
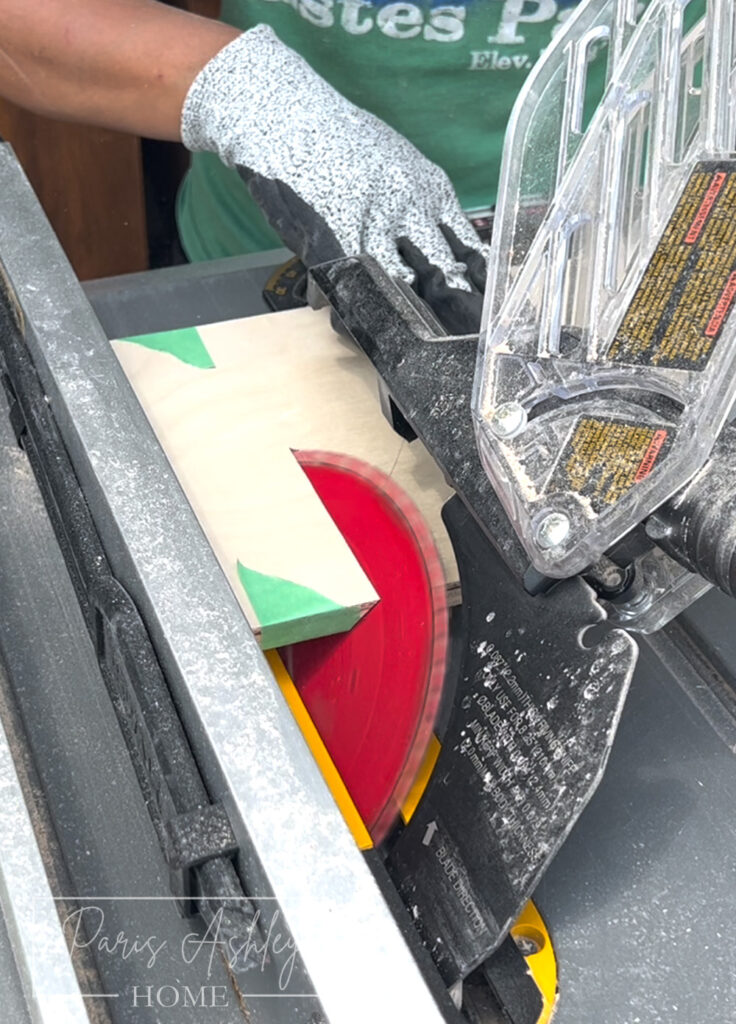
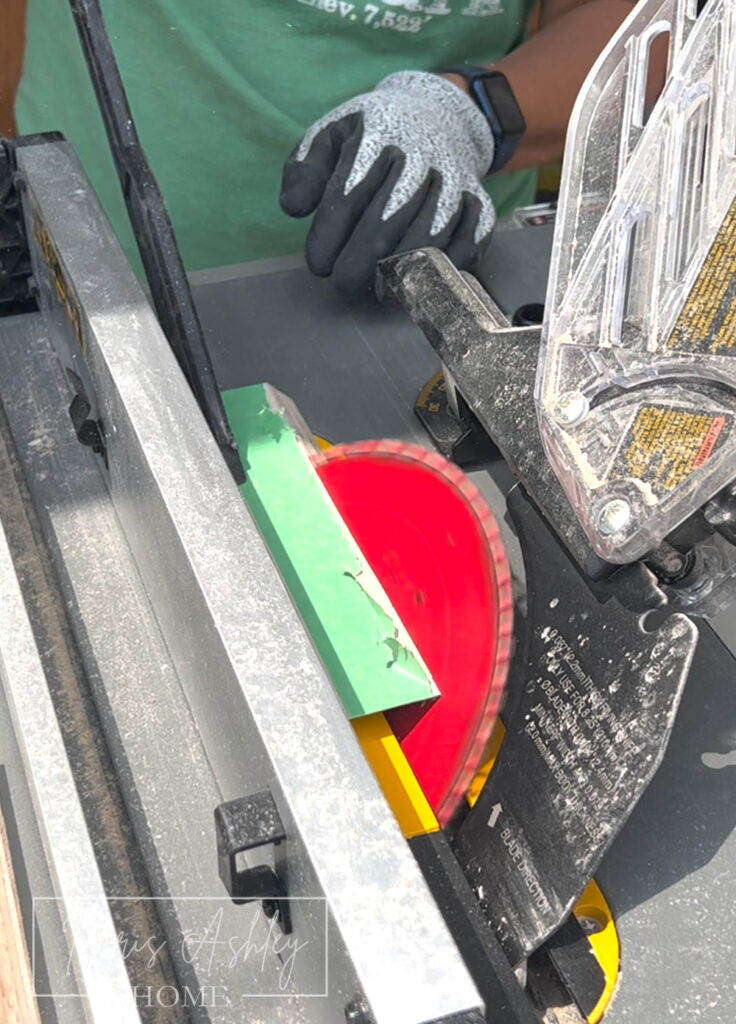
Step 3: Cut the Side Pieces
- To ensure the grain flow is aligned, cut all three main pieces to a width of 42″. This involves cutting 3″ from each side of the pieces.
- Before cutting the 3″, cut all the ends of the pieces at a 45-degree angle. These cuts will be the side caps of the shelf.
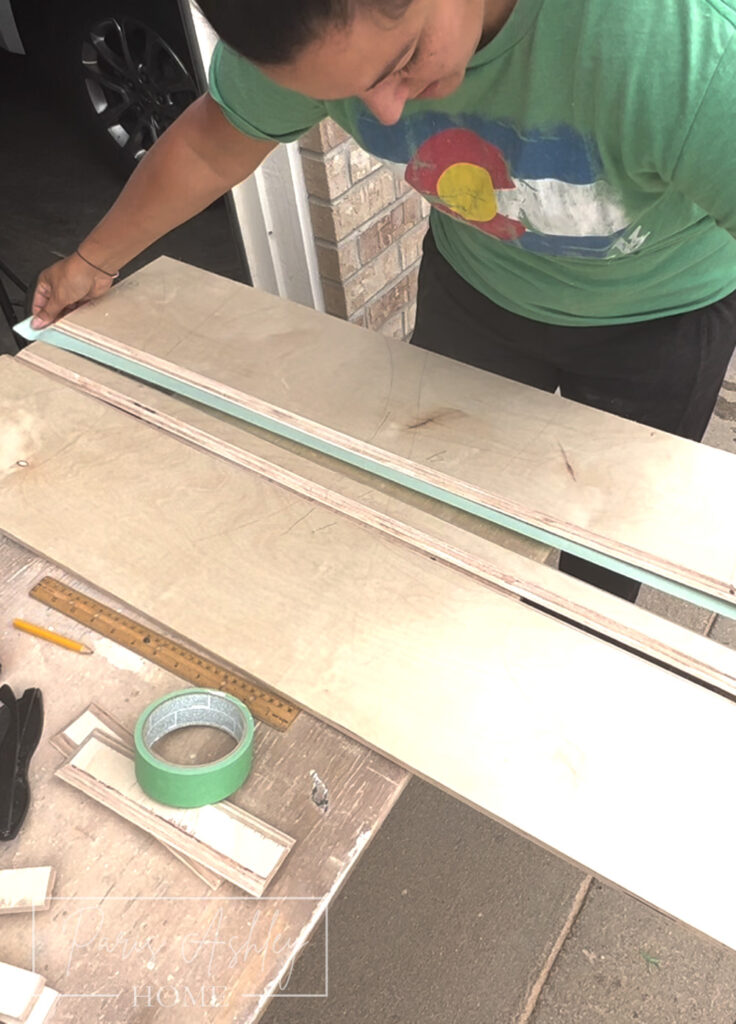
- Once the ends are cut, use the face piece as a guide to cut the width of the side caps to match the face. Place the face in between the saw blade and the fence, to ensure the measurement for the end caps will be the exact same width as the face.
- Apply painter’s tape to all the ends to prevent wood splintering or “tear out”.
- Cut all six ends and set aside the two caps that will be the ends of the shelf.
Step 4: Prepare Support Pieces
- Cut 1″ x 4″ scraps of wood or thicker wood from your scrap pile to create support pieces for the shelves.
- Measure the middle flat part of the face piece (should be 1″ if the face is 2″). Cut four support pieces to 1″ x 6″.
- These support pieces will be attached to the shelves to provide extra support.
Step 5: Assemble the Shelf
- Lay the three long boards together, pretty side down, ensuring the grain is aligned.
- Use clear packing tape, I prefer Clear Gorilla Packing Tape, to hold the boards together. (I misplaced mine so I used painter’s tape which didn’t work great but got the job done, I also found my tape right after I finished assembling lol)
- Apply the tape to the bottom of the first piece halfway and place the face piece on top of the other half of the tape, ensuring the ends are flush.
- Repeat with another piece of tape, placing it under the other side of the face and placing the other large piece on top.
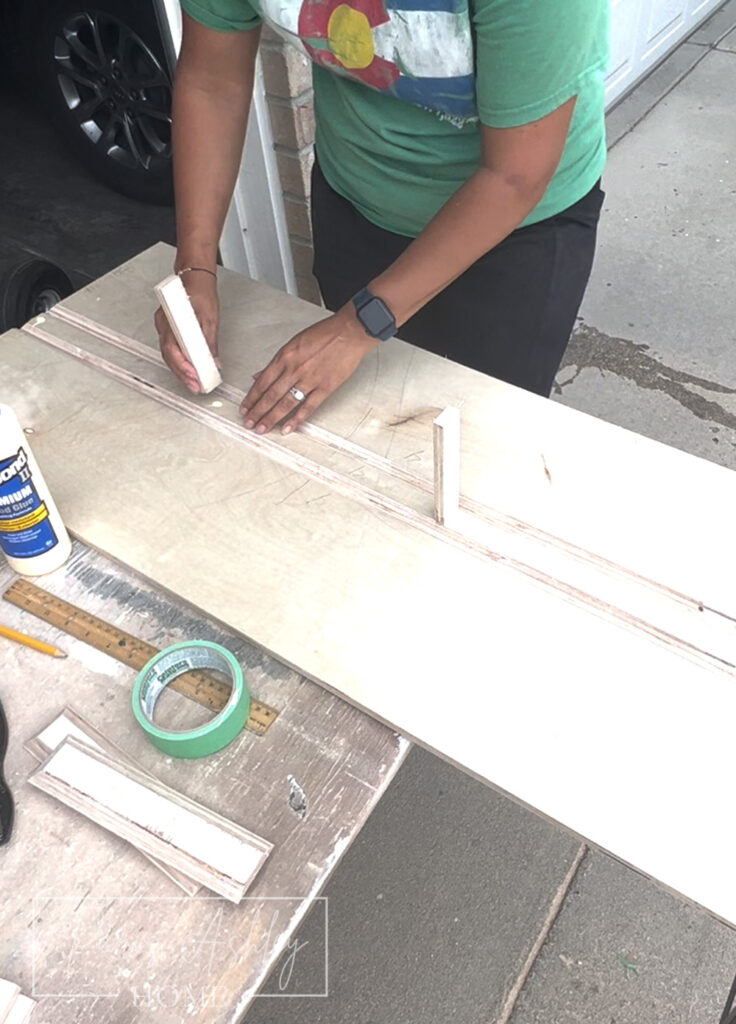
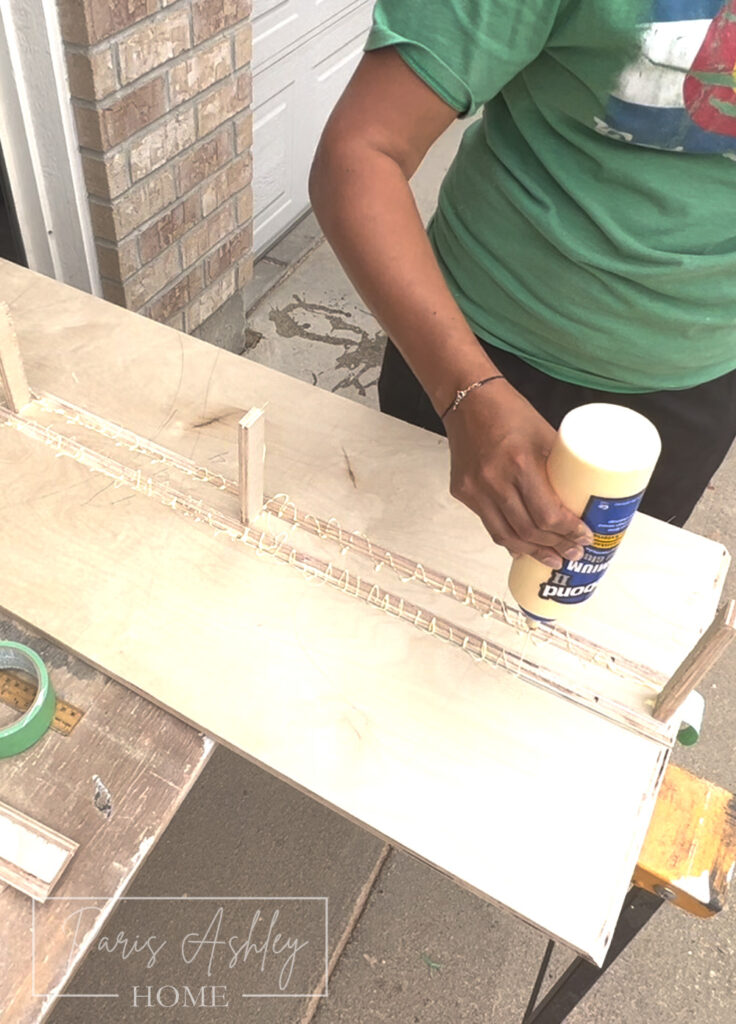
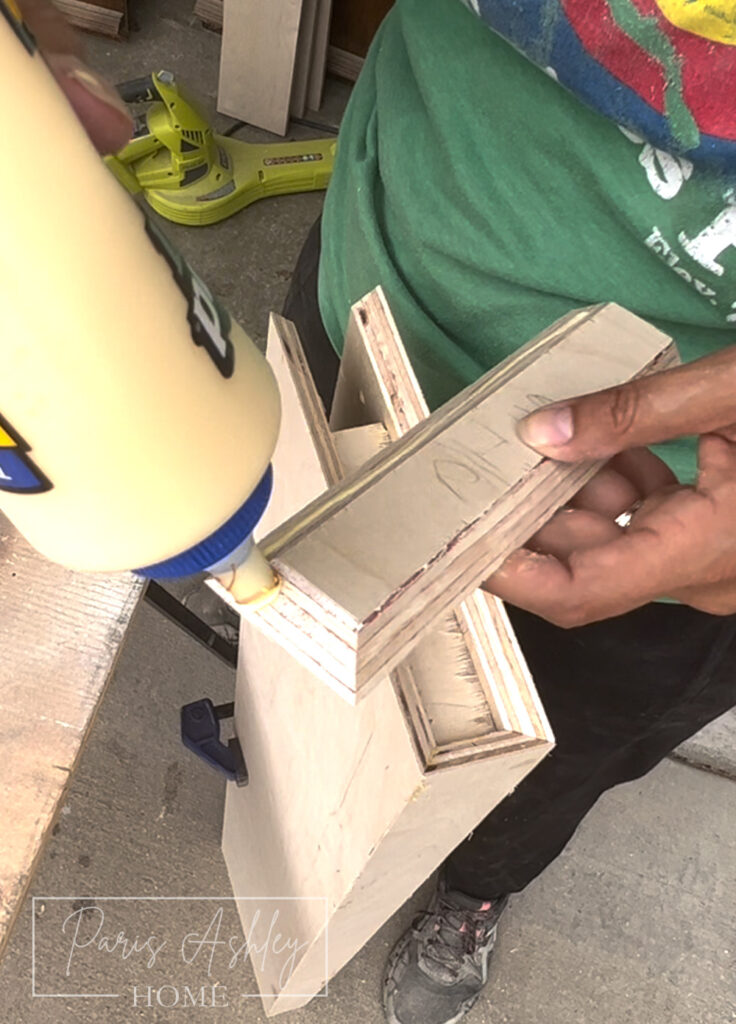
- Apply a drop of Titebond Woodglue on the back of the face in four spots and place the support pieces on those spots.
- Apply glue to the inner edges of the boards and smooth the glue with your finger for maximum adhesion.
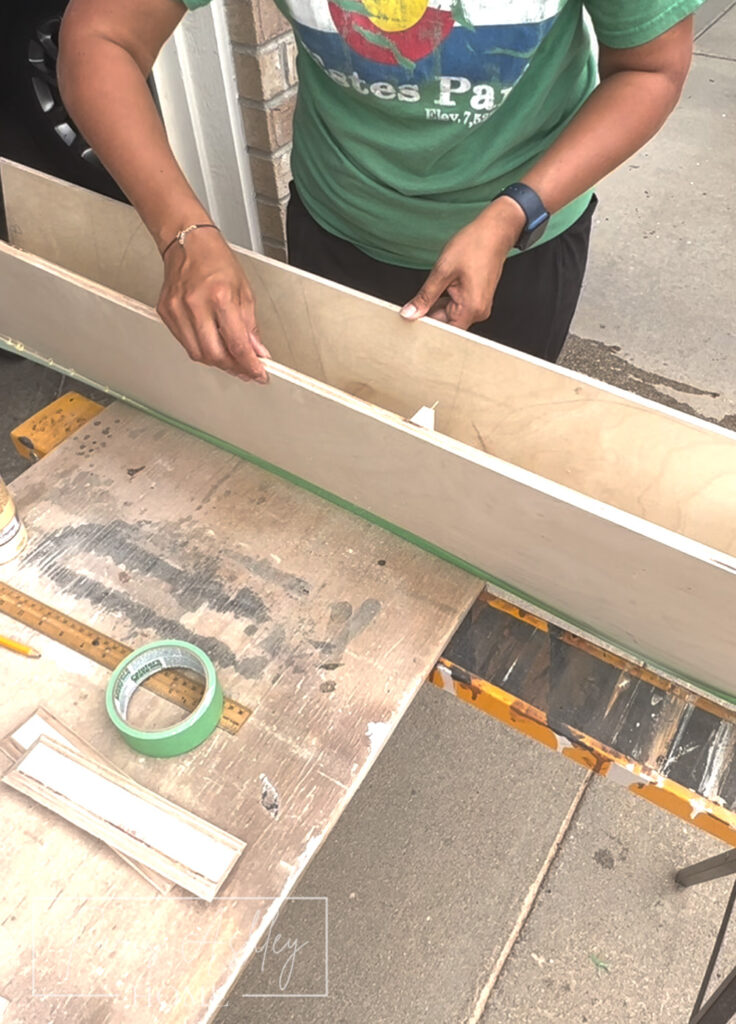
- Carefully lift both ends of the shelves until they touch the support pieces. Lay the shelf flat on a table, ensuring the tape holds the boards in position and the support pieces keep the boards correctly aligned.
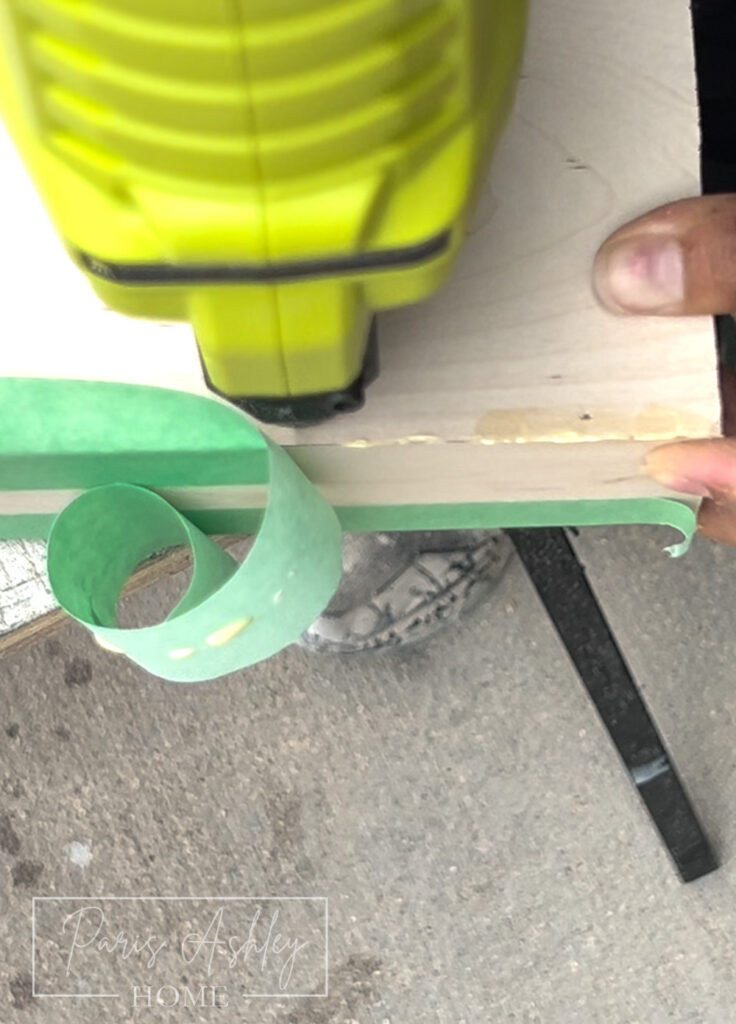
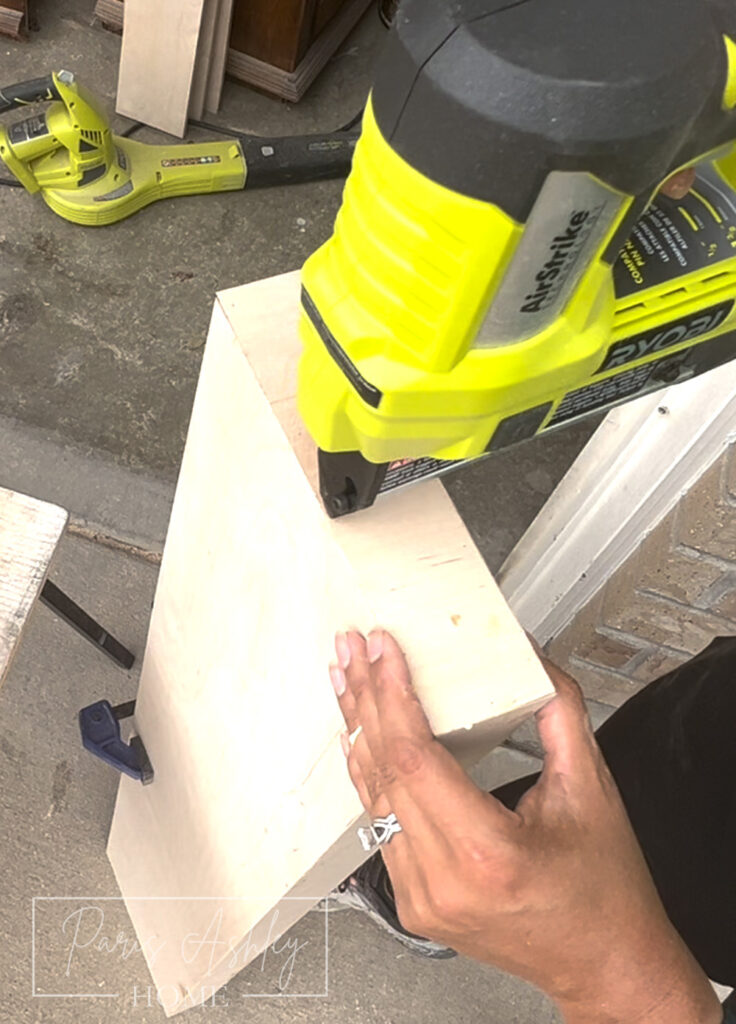
- Use a Pin Nailer (1” Pin nails) to attach the boards together (a Brad Nailer (1” Brad nails) will also work, just makes bigger holes and more detail work in the end). Starting at one corner hold the pin nailer perpendicular to the face and work your way down the shelf. Add a nail every 2-3 inches. Remove the tape as you nail.
- Flip the shelf over and repeat on the other side.
- Install the end caps by applying wood glue to the edge and nailing the caps in place. I nail in the front of the cap first (towards the face) then the two back corners, and then around the whole piece.
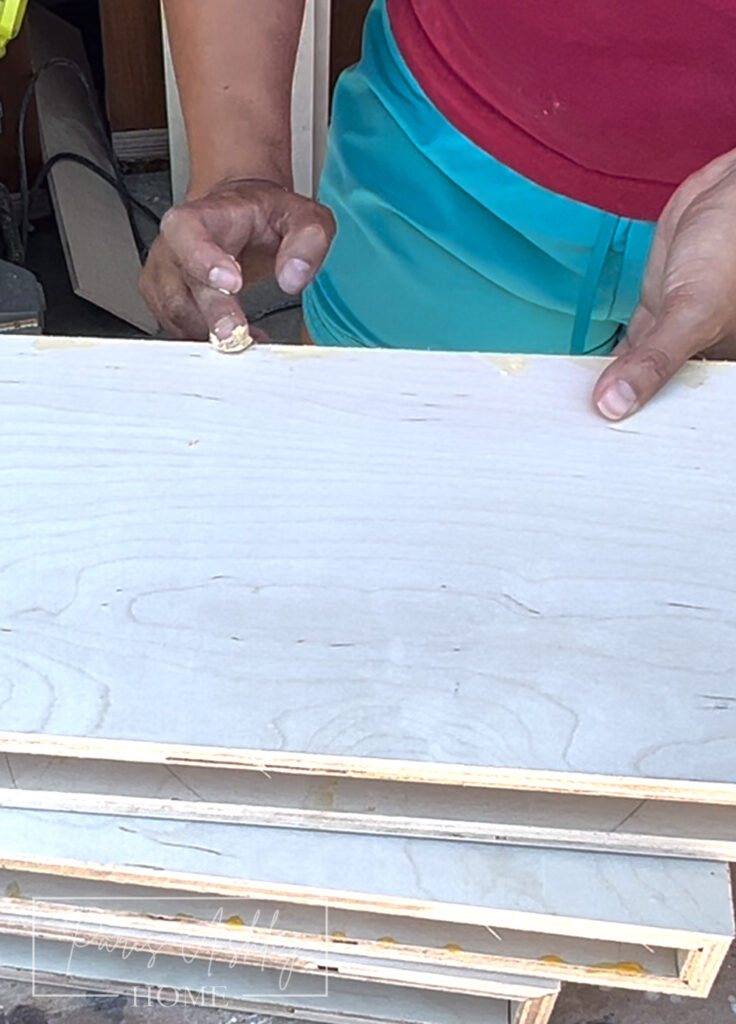
Step 6: Fill Holes and Sand
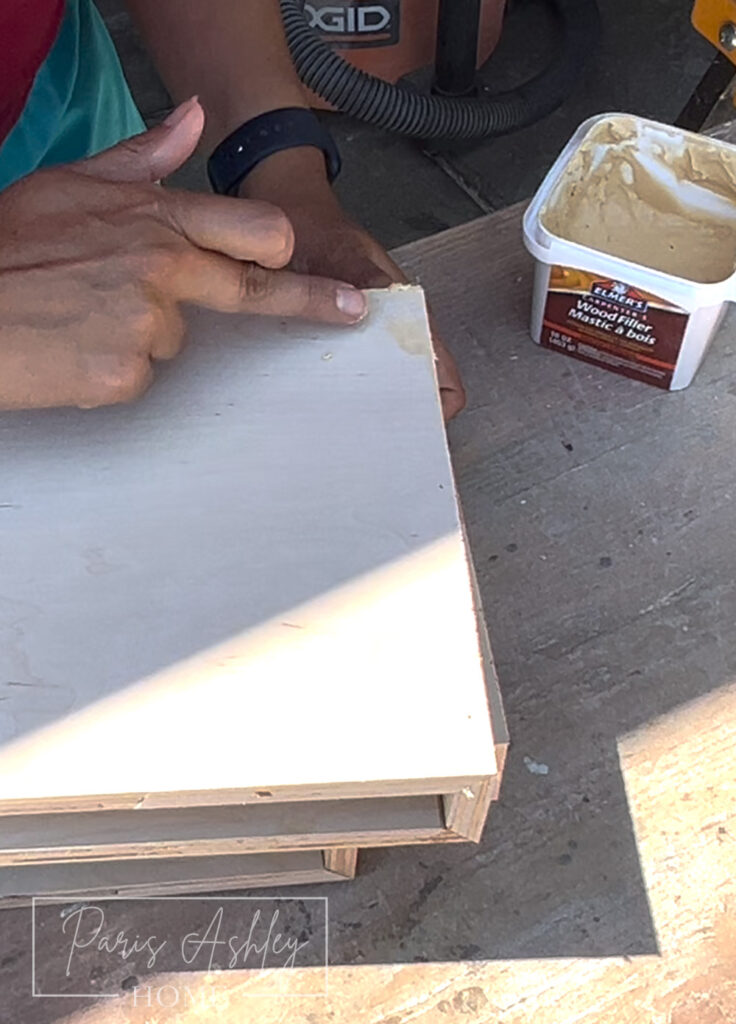
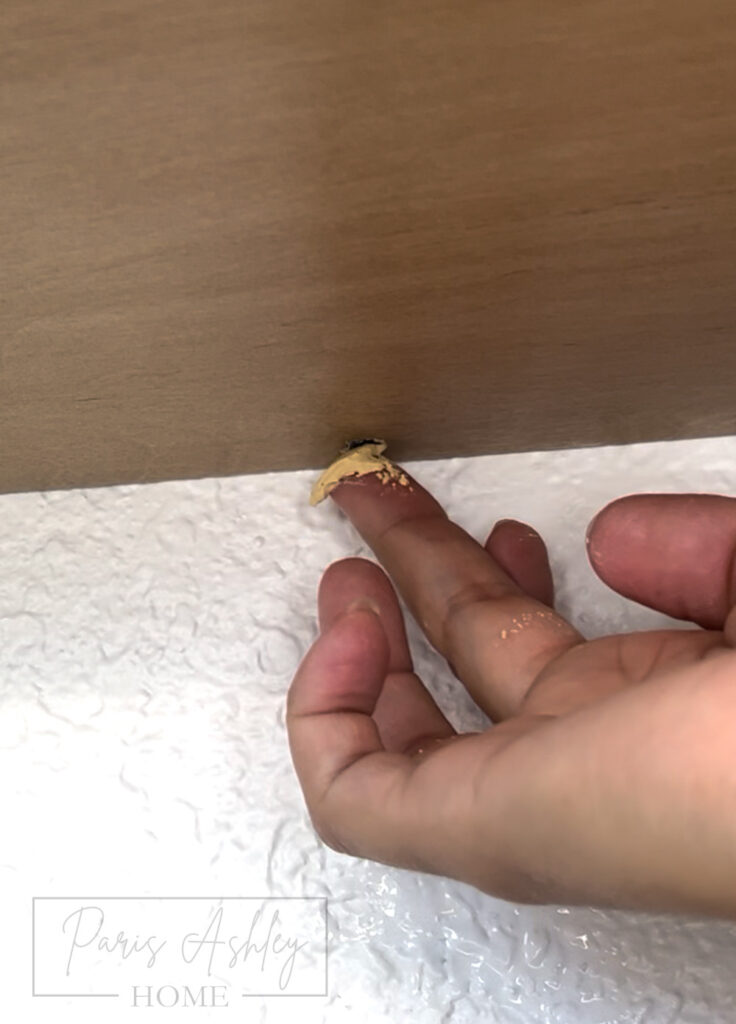
- Use wood filler to fill in all the pin holes and gaps in the shelves. Apply the filler generously to ensure a smooth finish after sanding. If you find you have a “larger than you would like” gap, just fill it really well with wood filler, after sanding and staining, you won’t even see it!
- Let the wood filler dry completely.
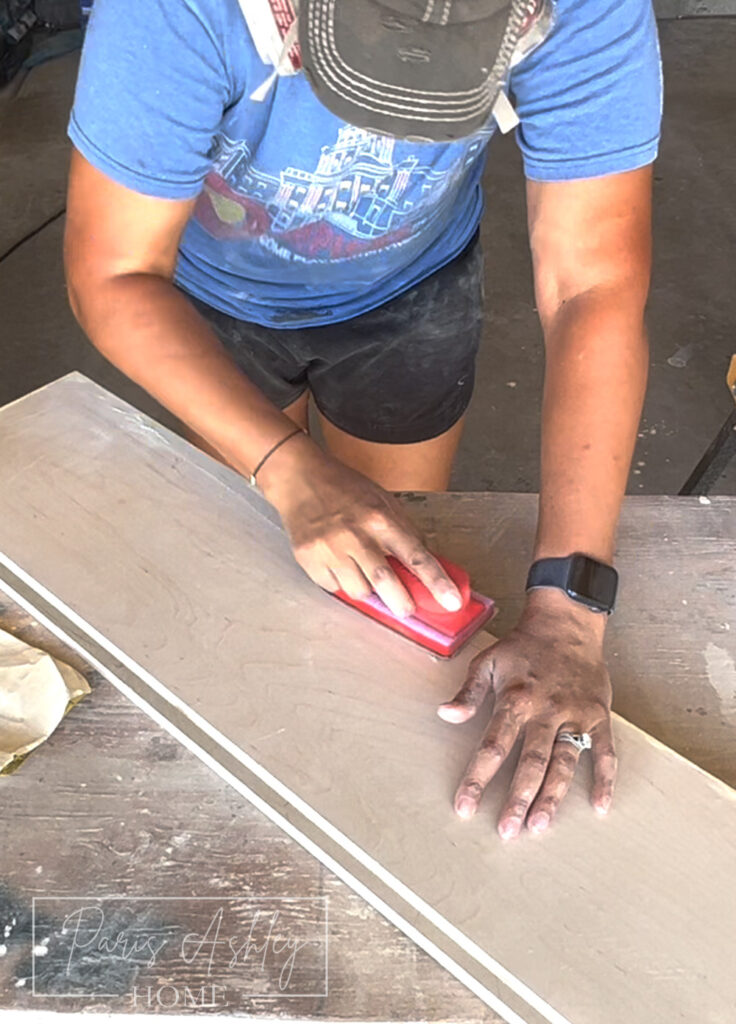
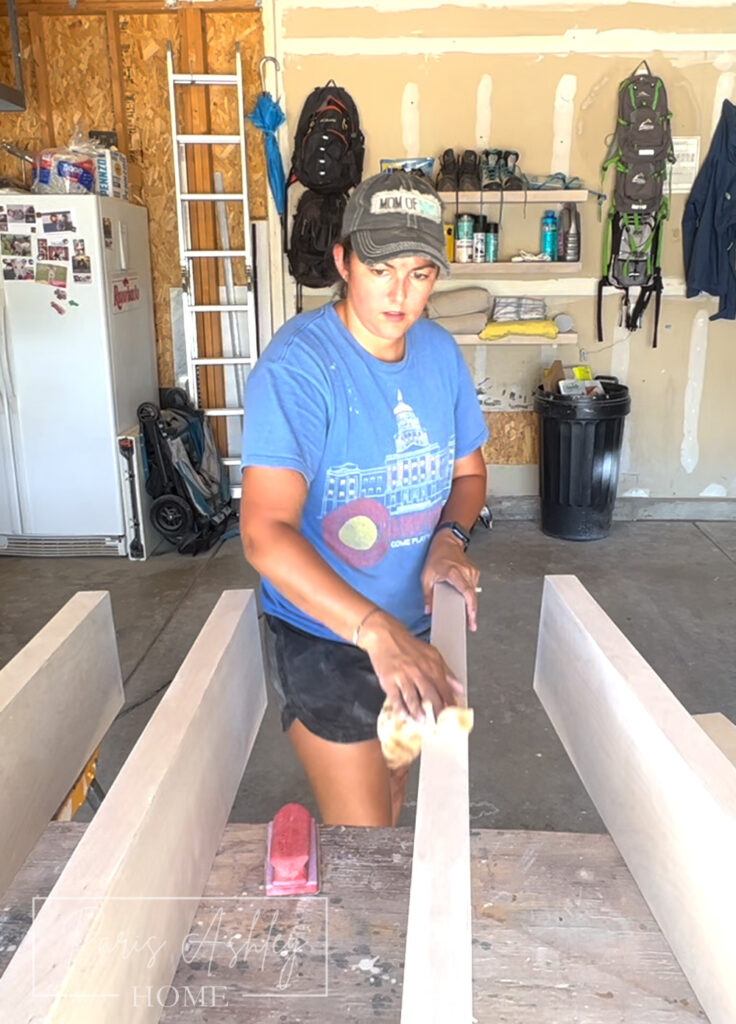
- Use an Orbital Sander with 220 grit sandpaper to sand the shelves. Be gentle and avoid applying too much pressure to prevent damaging the veneer. Use a detail sander for corners and tight spots.
- Wipe off dust with a tack cloth.

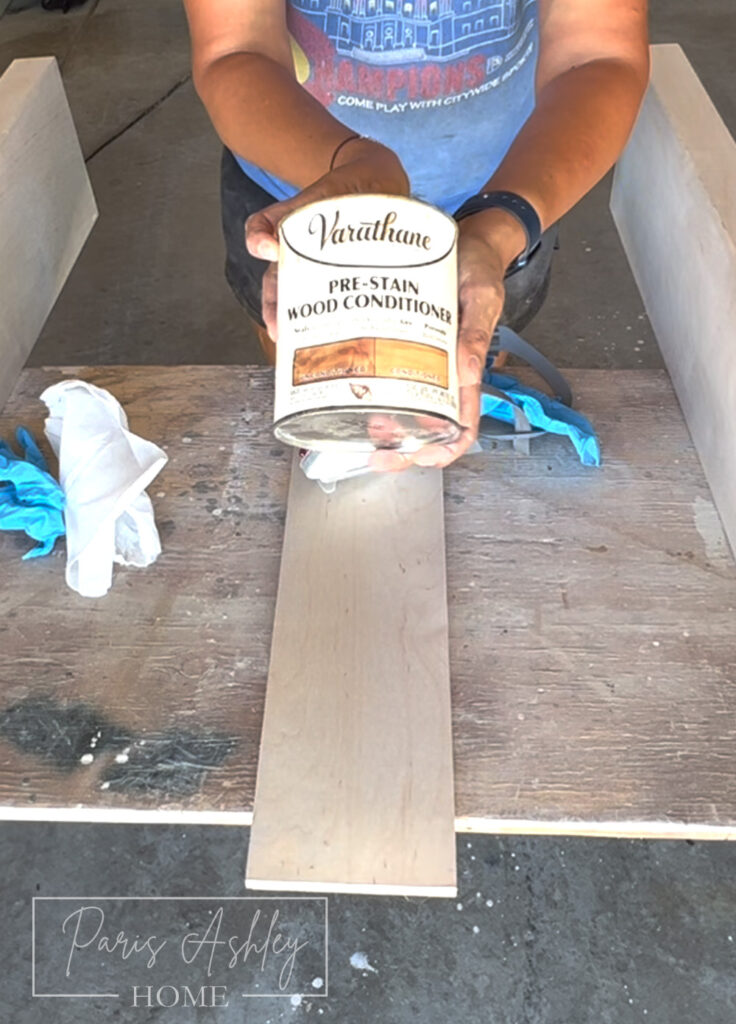
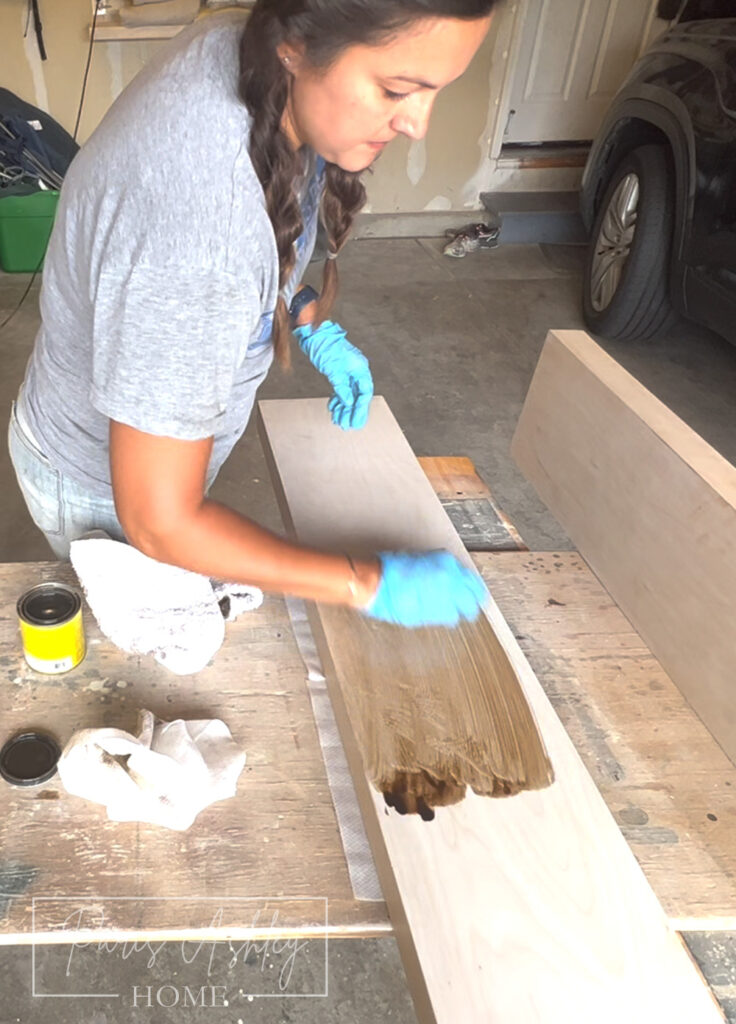
Step 7: Stain the Shelves
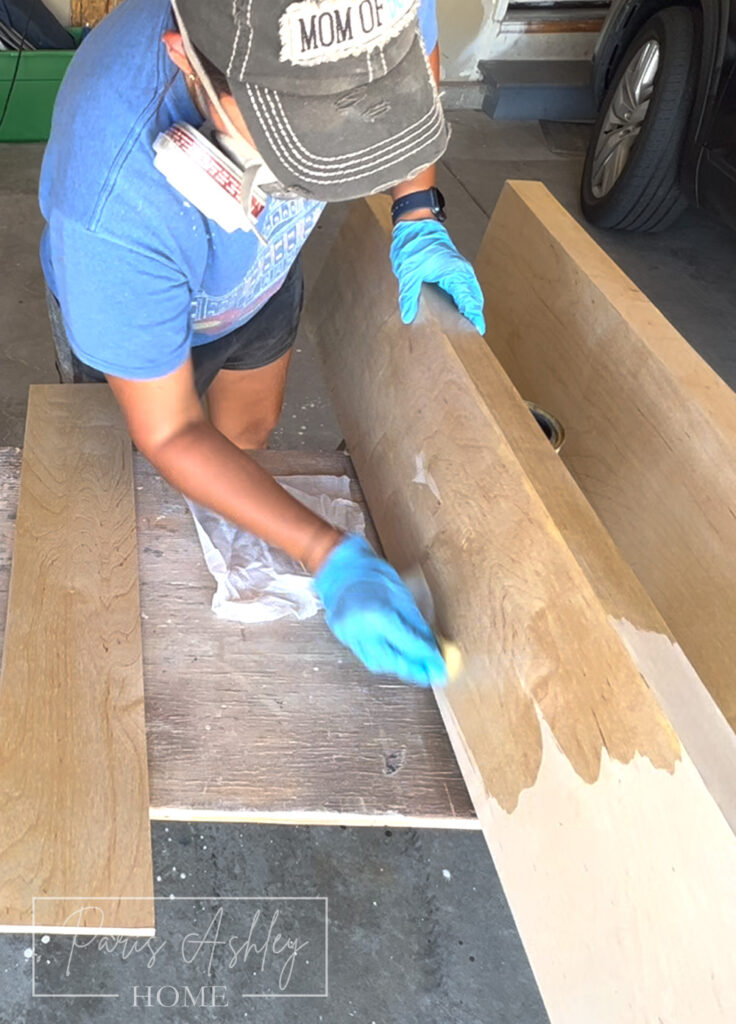
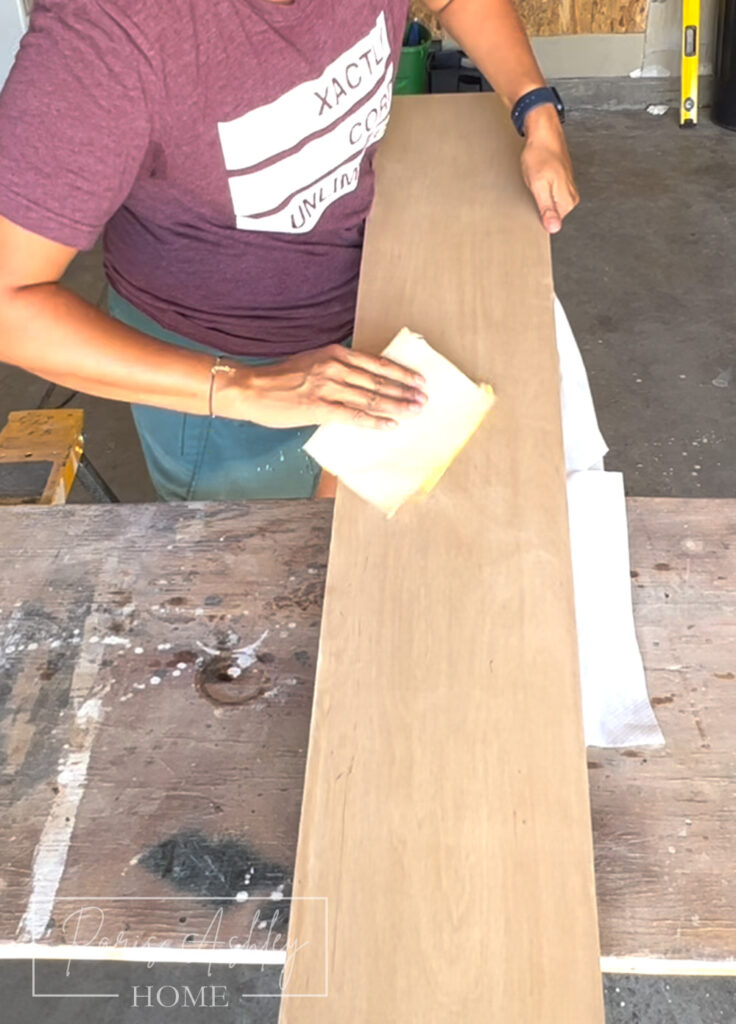
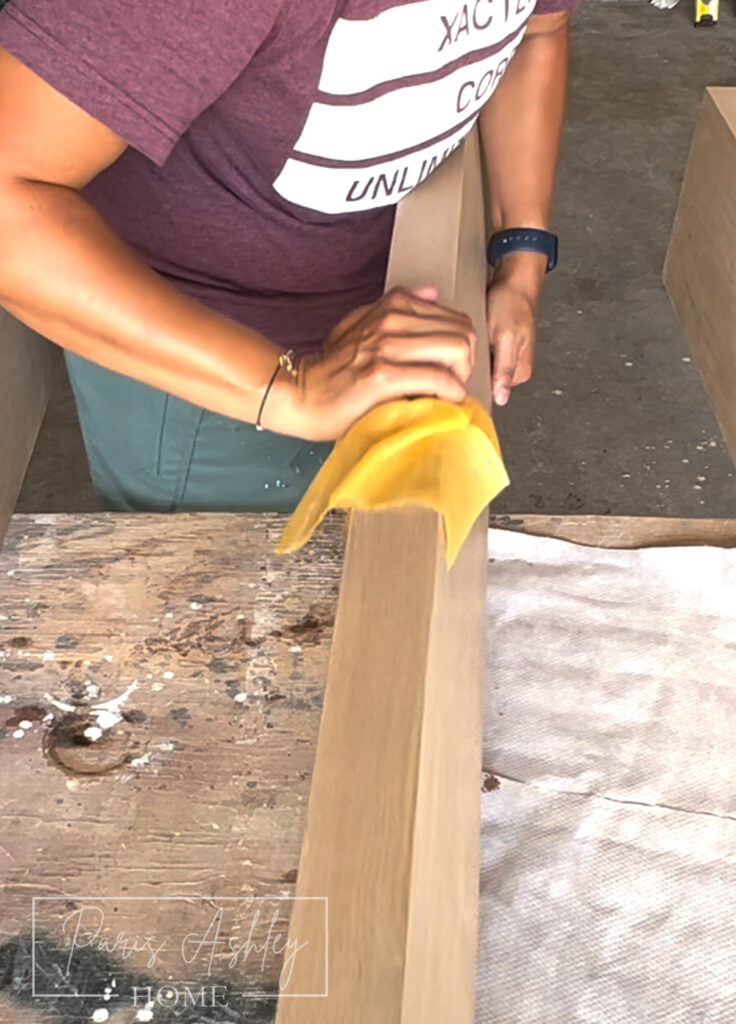
- Apply a wood conditioner to the shelves using a lint-free rag. Wipe off any excess conditioner and then let sit and absorb for 30 minutes.
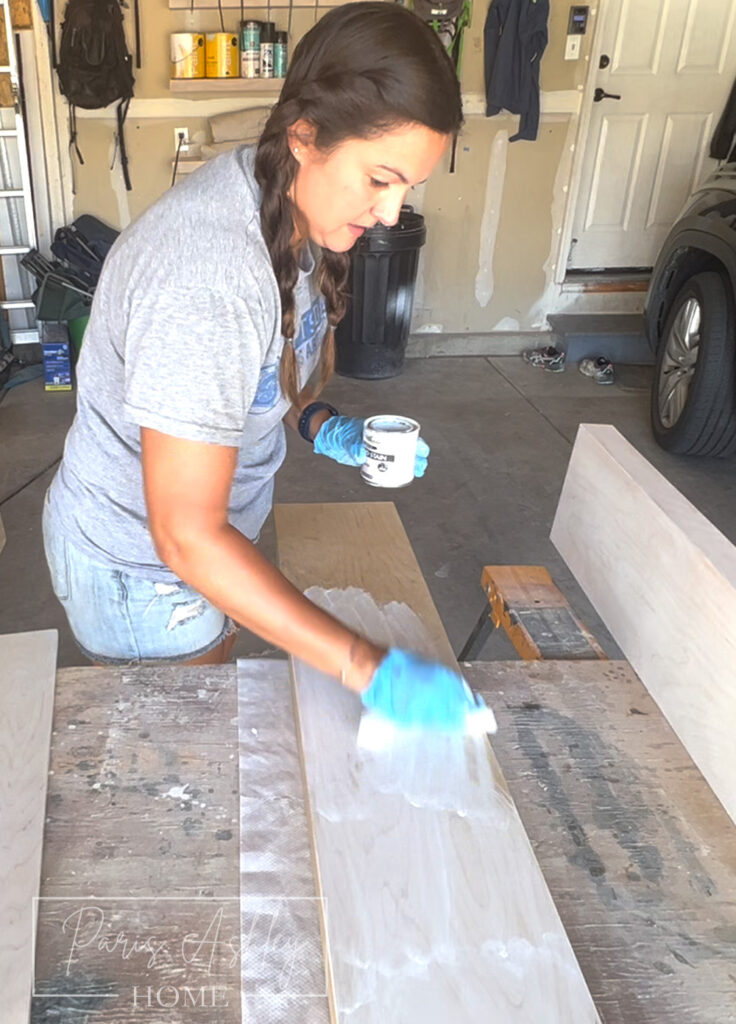
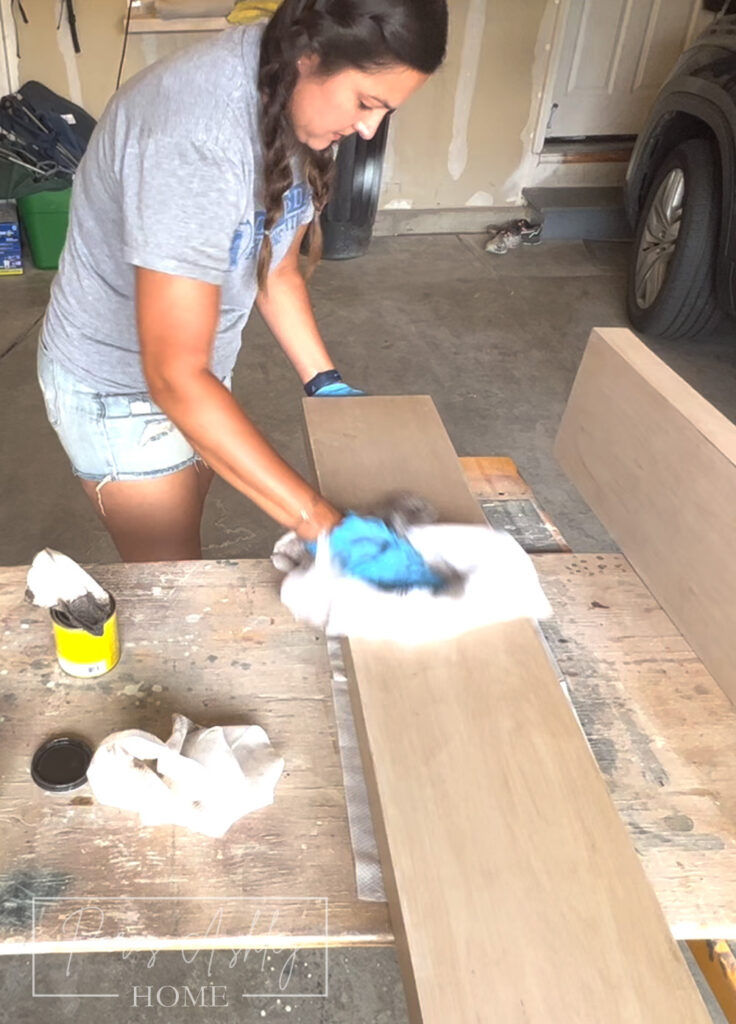
- Apply your choice of stain to the shelves. I started with a whitewash (such as Antique White) to eliminate any yellow tones in the wood. Apply the stain with a lint-free rag and remove the excess with a terry cloth.
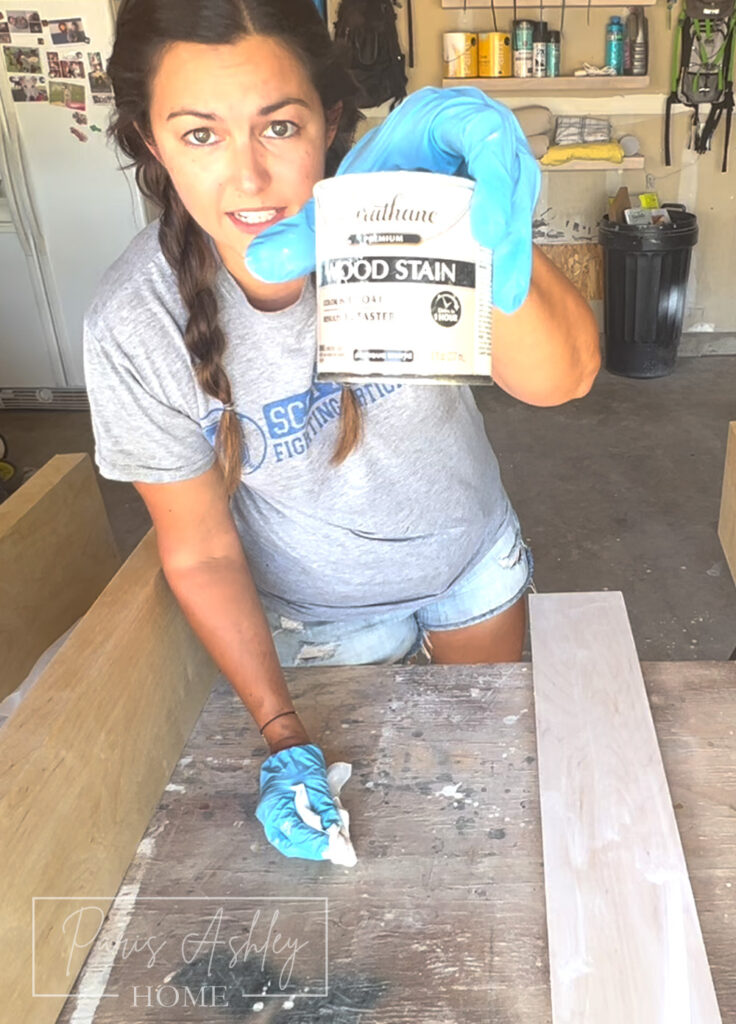
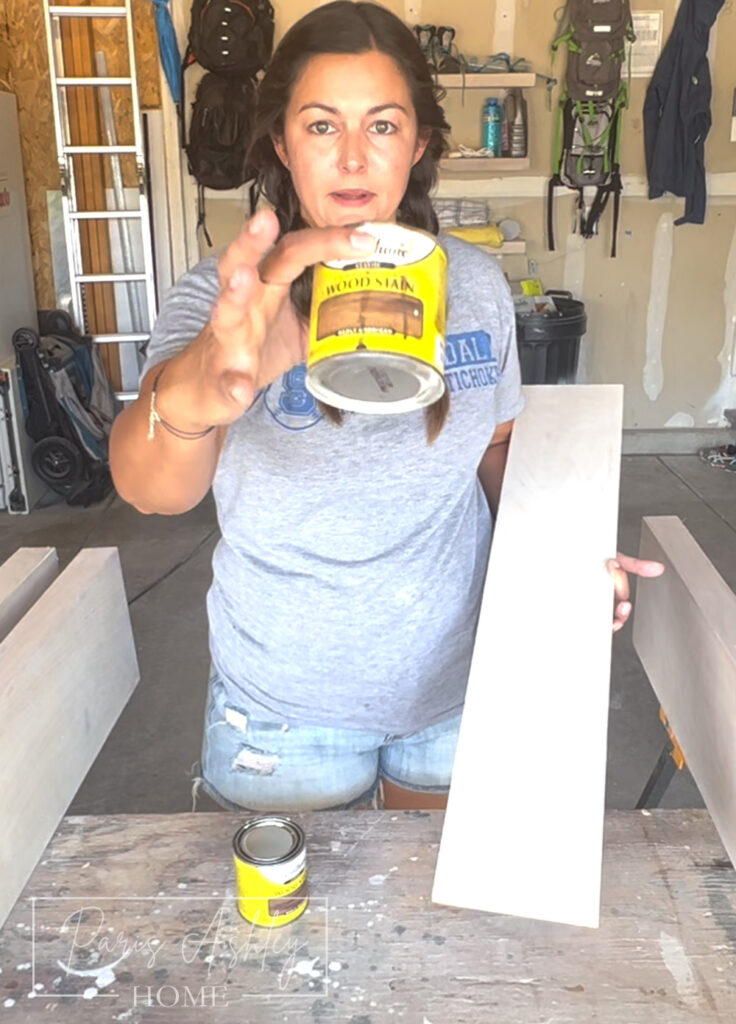
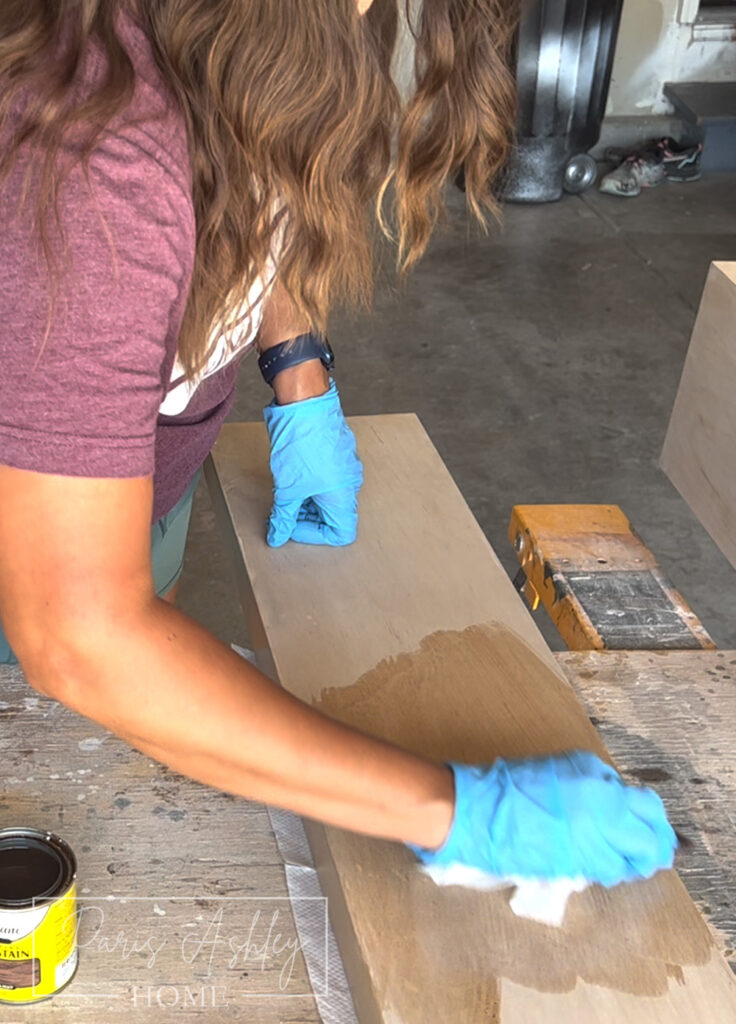
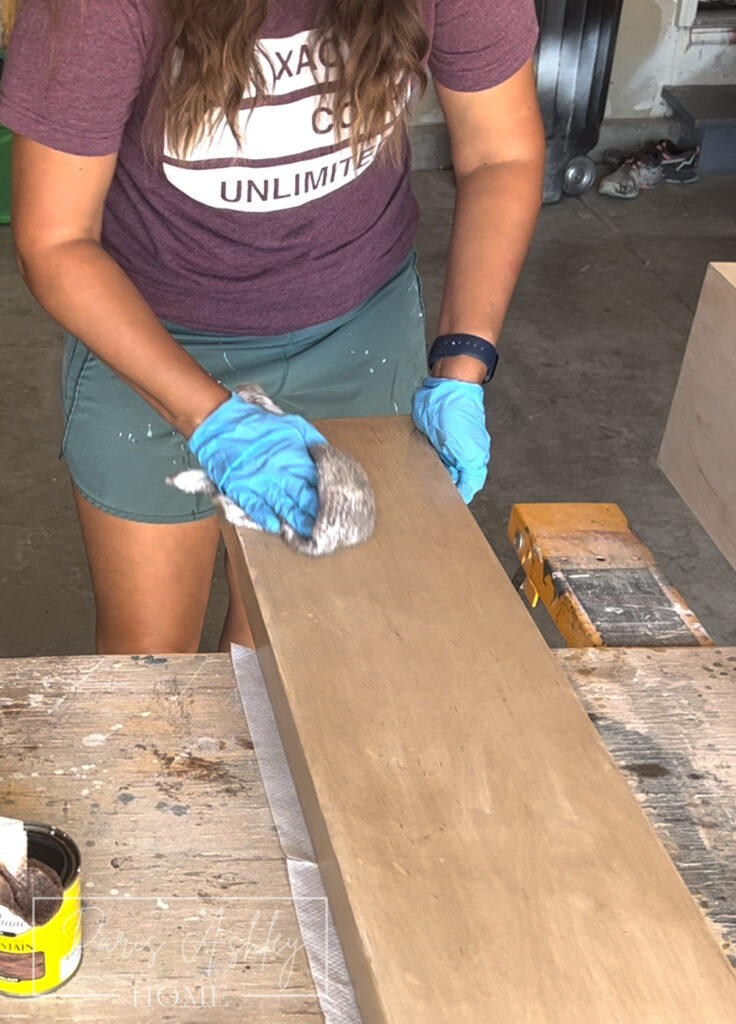
- Apply additional layers of stain as desired, I went with Early American, again applying with a lint-free rag, followed by removing the excess with a terry cloth.
- I let them sit overnight. In the morning came back and decided they were too light and added a layer of Special Walnut, again applying with a lint-free rag, followed by removing the excess with a terry cloth. And this was it, I was IN LOVE!
- I let them sit for a few hours to dry before sealing.
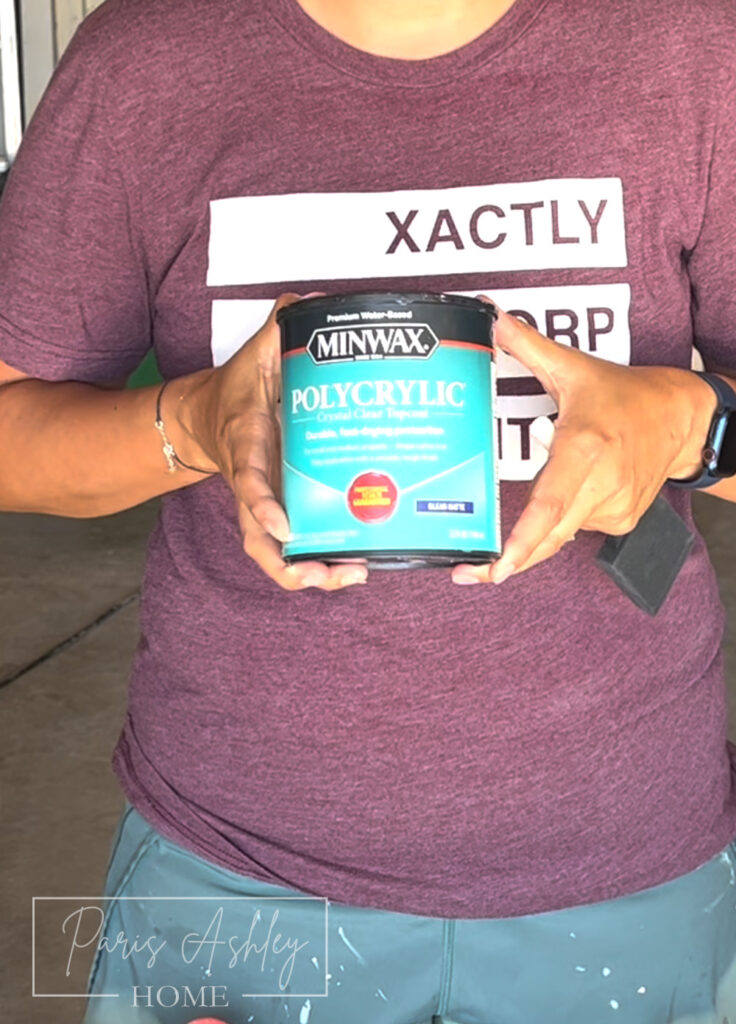
Step 8: Seal the Shelves
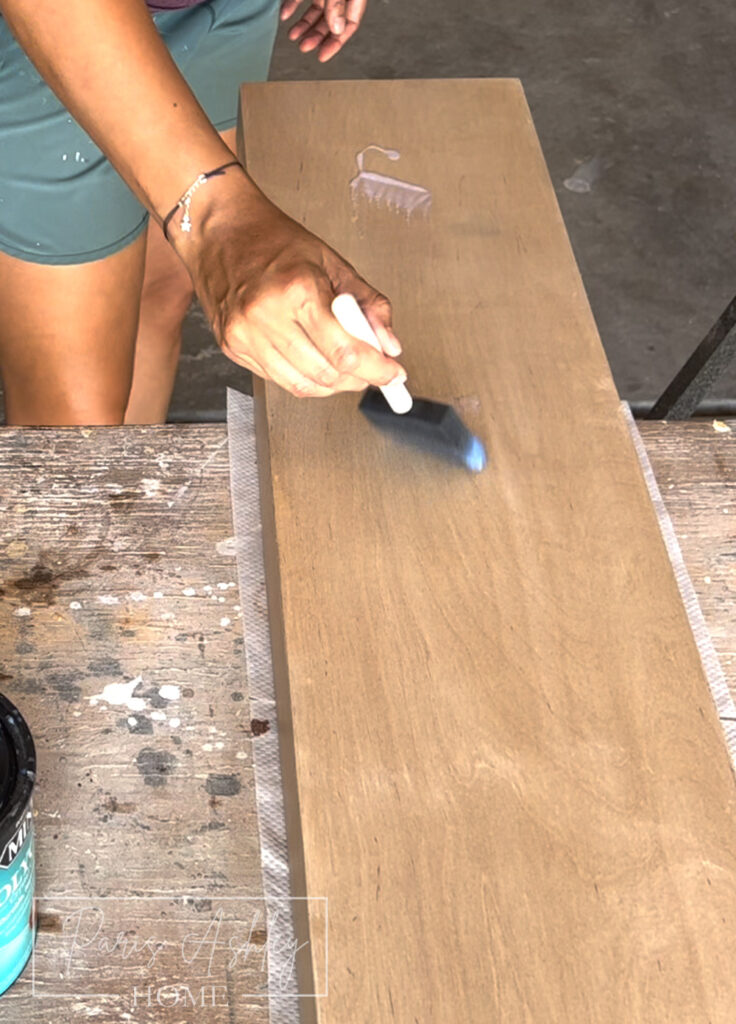
- Apply a matte polyurethane to seal and protect the shelves. Use a foam brush to apply the polyurethane in the direction of the grain, ensuring there are no bubbles.
- Let the polyurethane dry for 30 minutes to an hour.
- Lightly hand sand the shelves with 220 grit sandpaper. Wipe dust with a Tack Cloth.
- Apply a second coat of polyurethane, let it dry for 30 minutes to an hour, lightly sand again, and wipe dust again.
- Apply a third coat of polyurethane and let it dry for 24 hours. And you’re done!
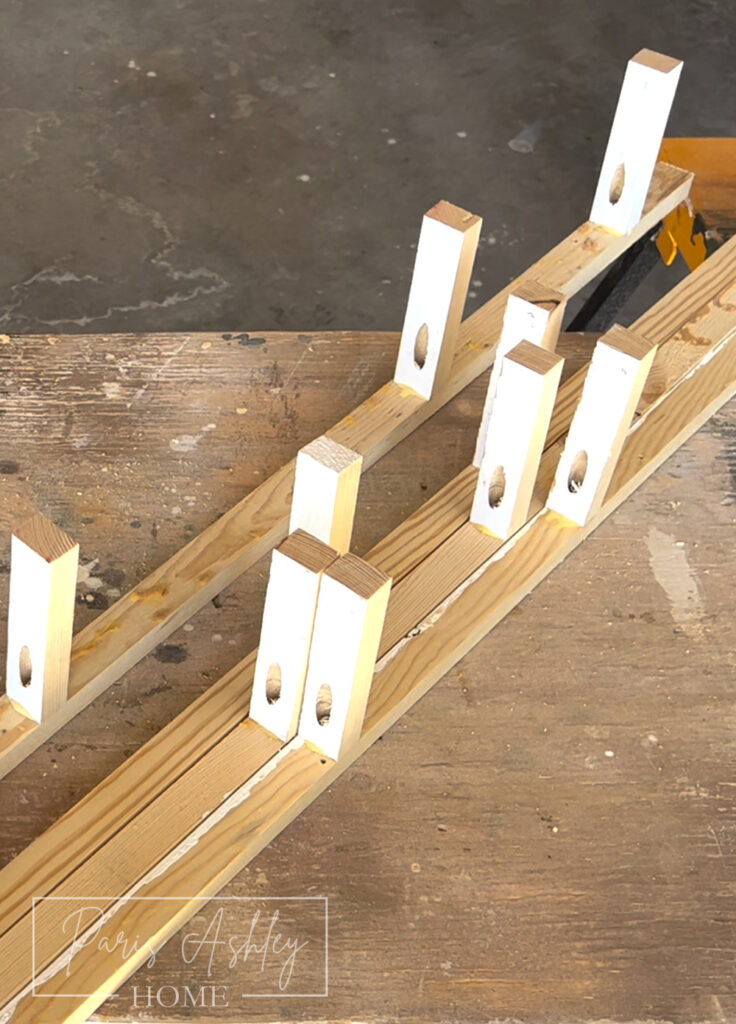
Step 9: Build the Cleats
- Prepare a cleat that will hold the shelf onto the wall using 1×4 wood. Cut the cleat to be 1″ shorter than the length of the opening on the back of the shelf to allow some wiggle room.
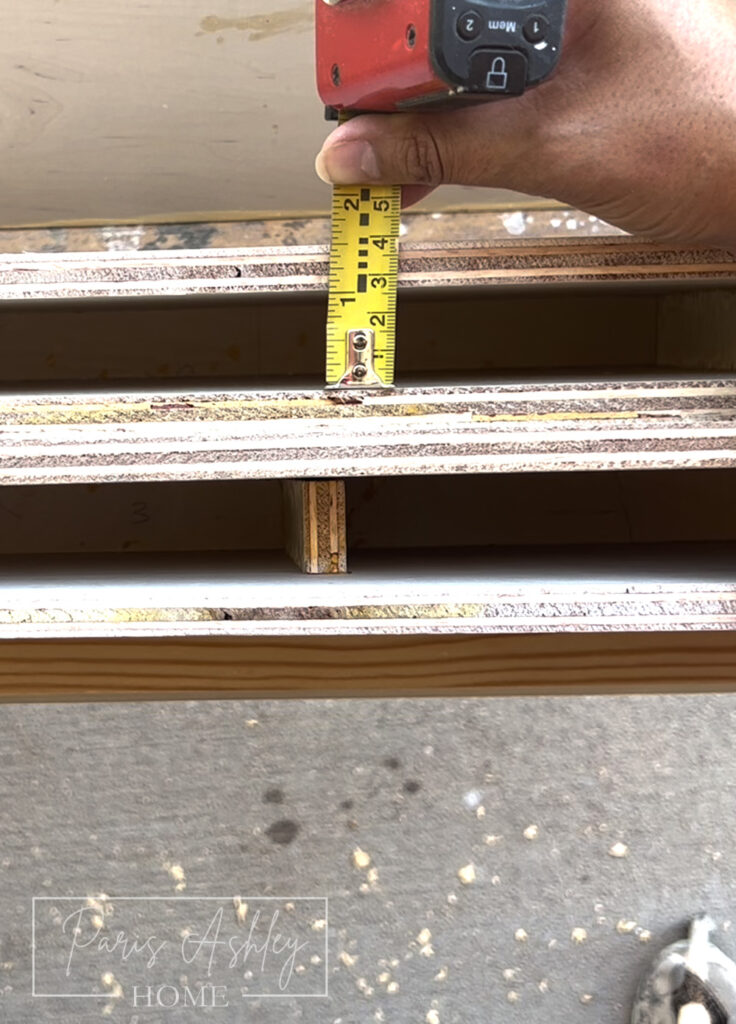
- Next measure the width of the opening for support pieces on your cleat, mine is 1″ so I cut it to 15/16″ again to ensure slight wiggle room when installing.
- I cut my support pieces to 6″ long, and 15/16″ thick. I cut 4 for each cleat.
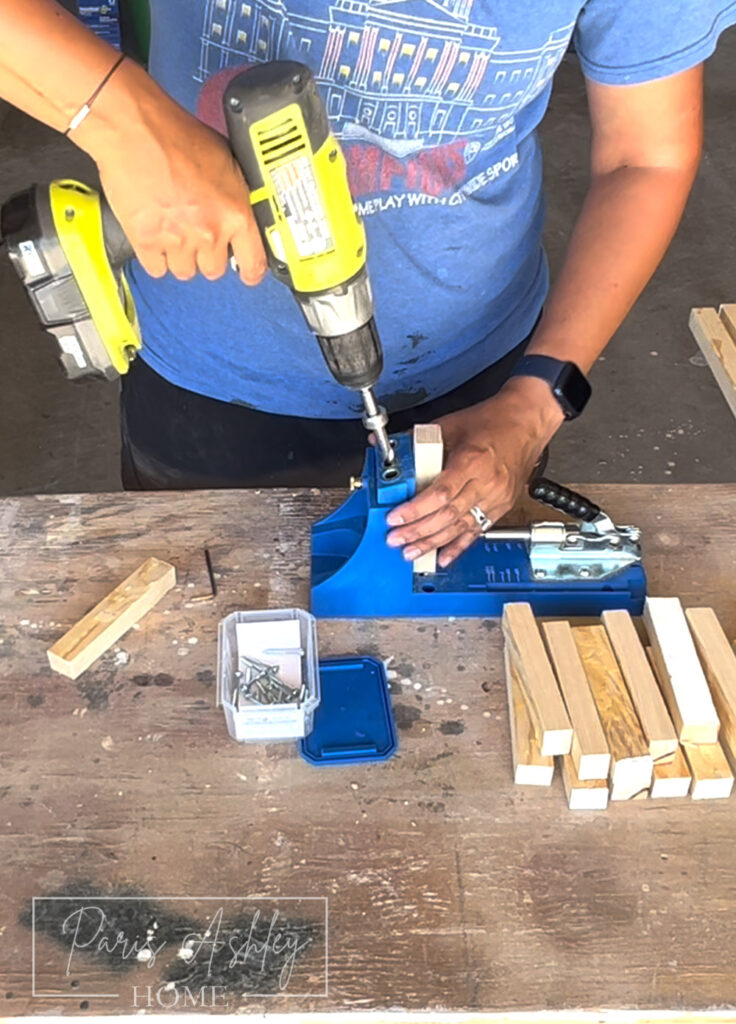
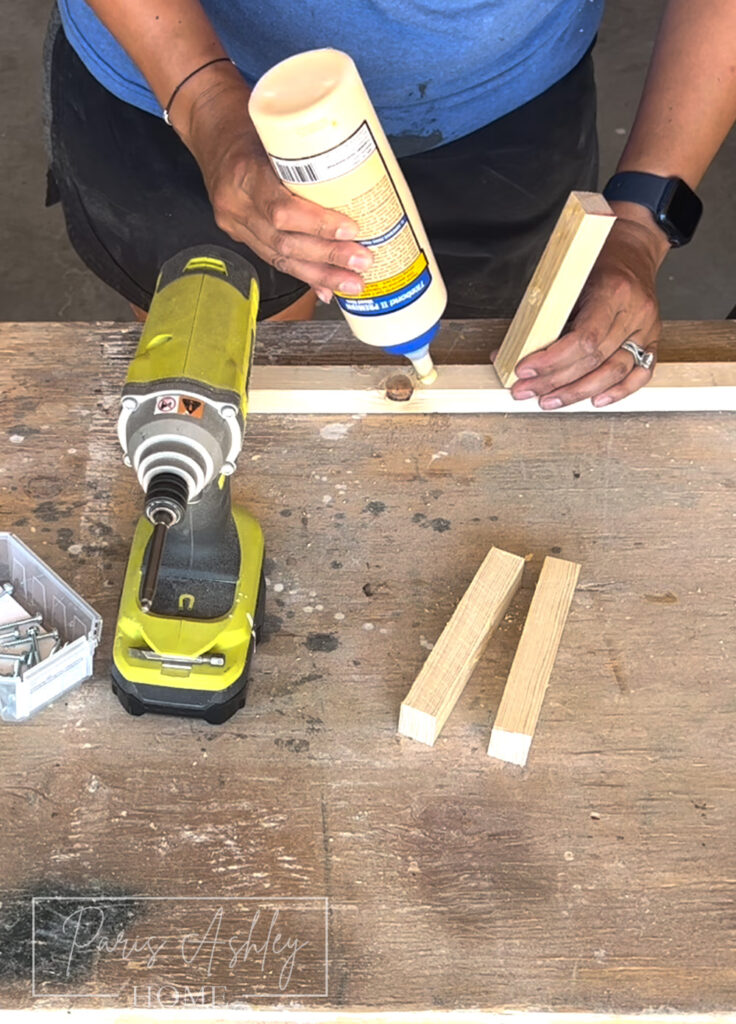
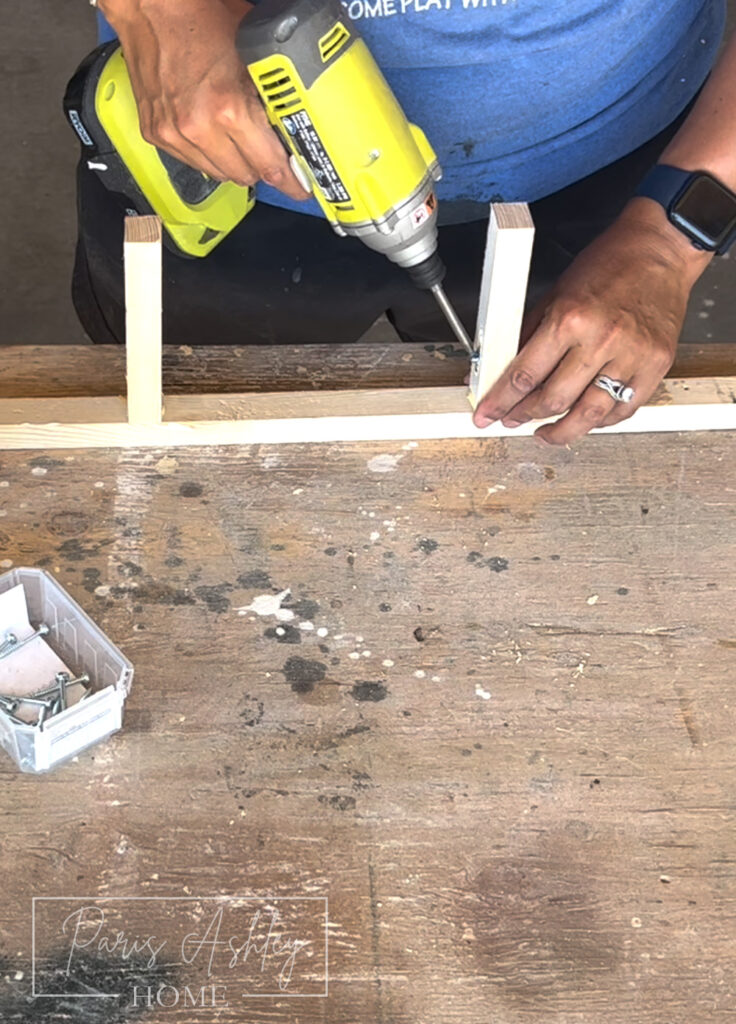
- Attach the support pieces to the cleat using wood glue and screws. I used my Kreg Jig Pocket Hole and my 1 1/4″ pocket hole screws. Set this aside, your cleat is done!


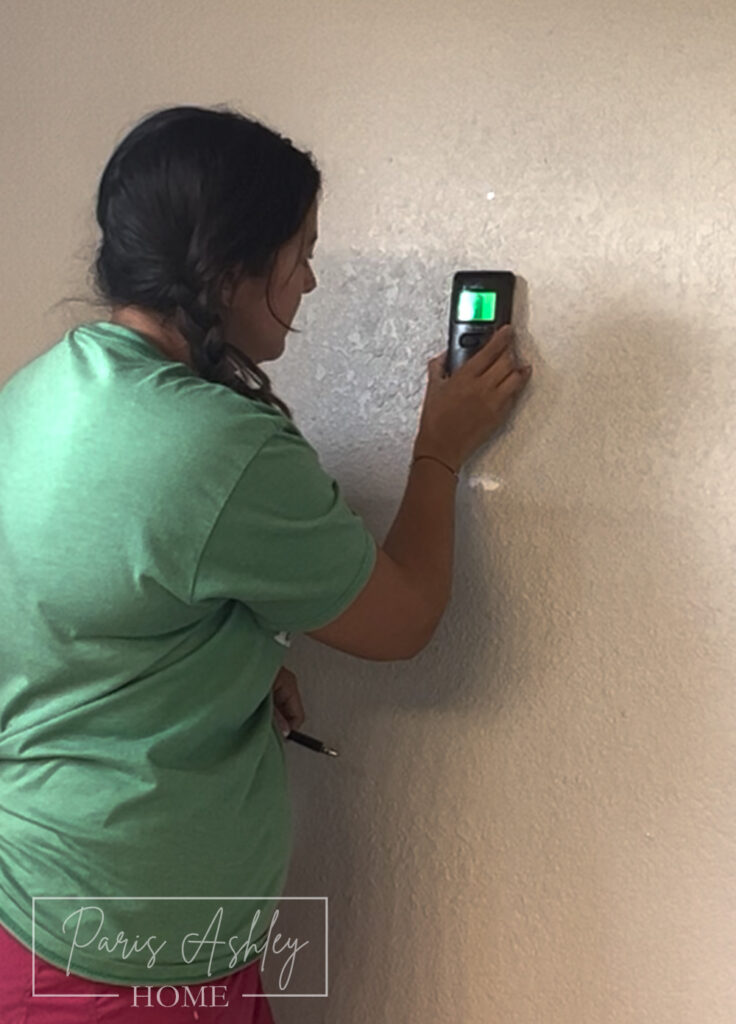
Step 10: Hang the Shelves
- Find the middle stud on your wall using a stud finder and mark it.
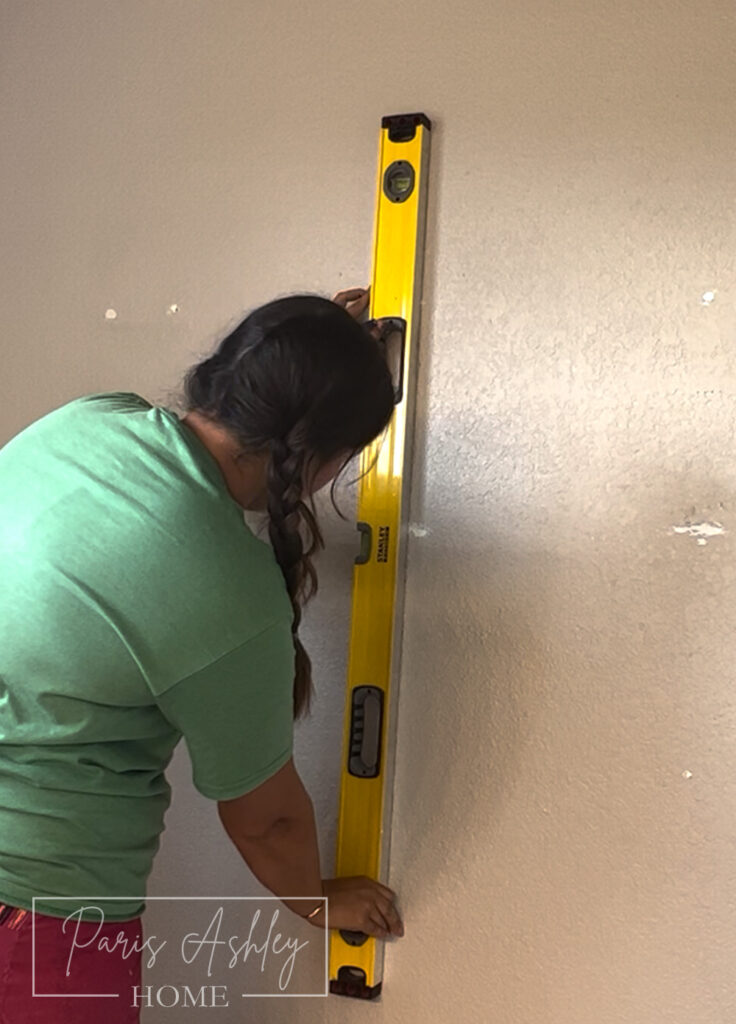
- Use a large level (or small level) and draw a verticle line to know where the stud is for all three shelves, then mark the positions of the other two studs on either side of the middle stud.
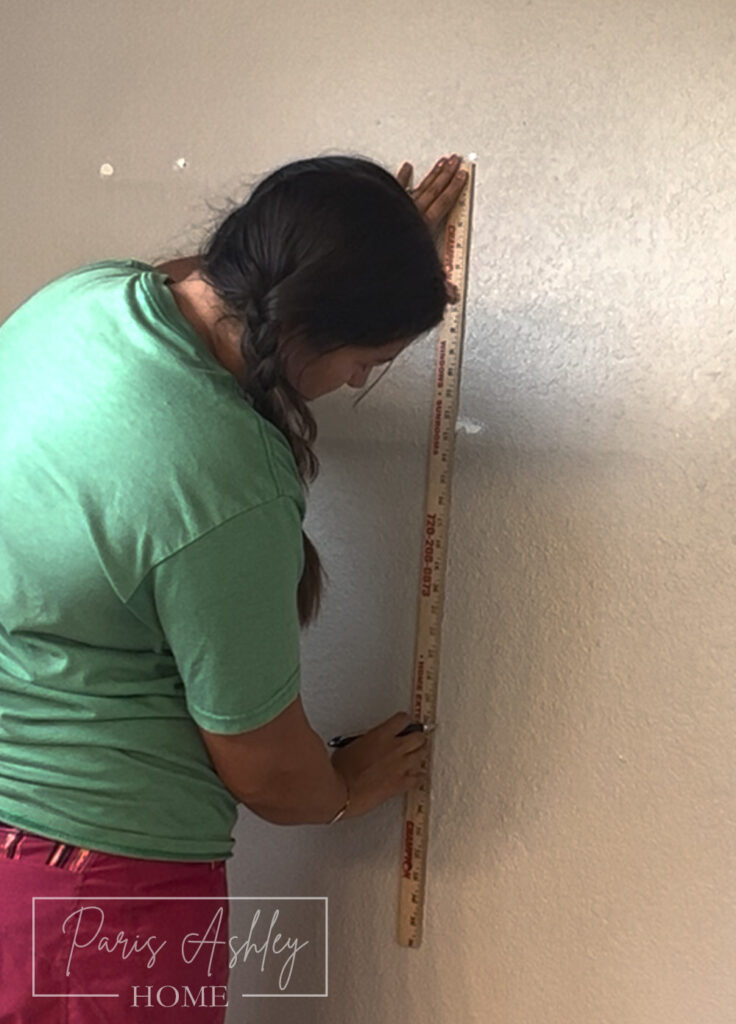
- I measured the wall to hang my shelves 12.5″ apart. I labeled which cleat went with which shelf for easy installation.

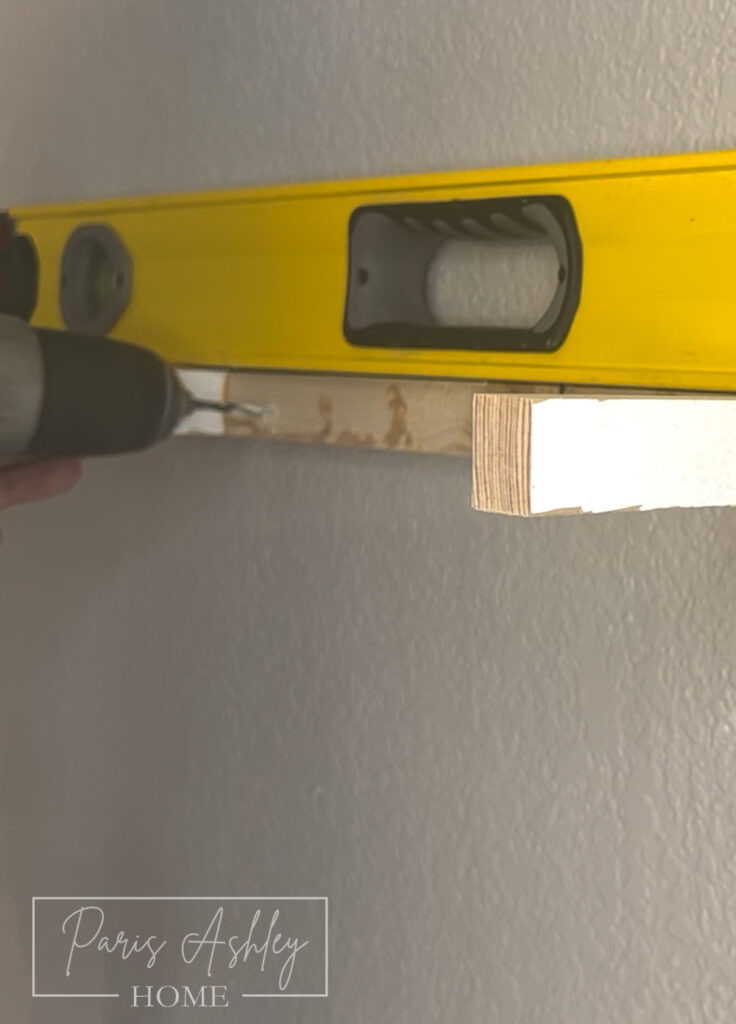
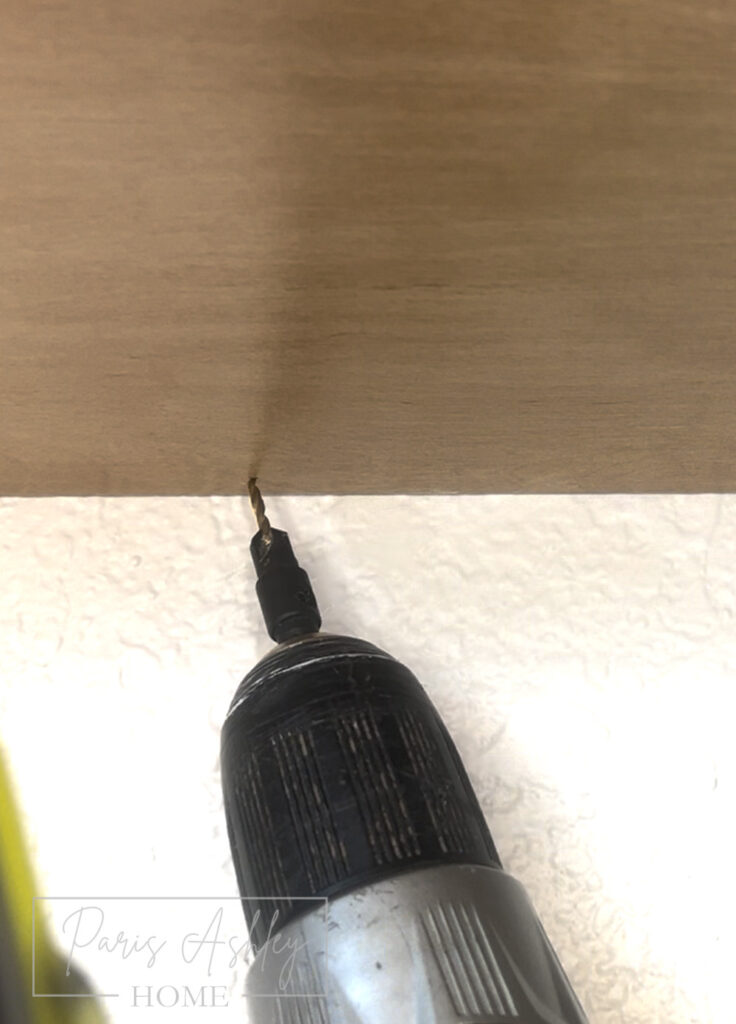
- Drill holes into the cleat, I used a 9/64th drill bit, and attach it to the wall, making sure it is level and secured to the studs using 3″ screws.
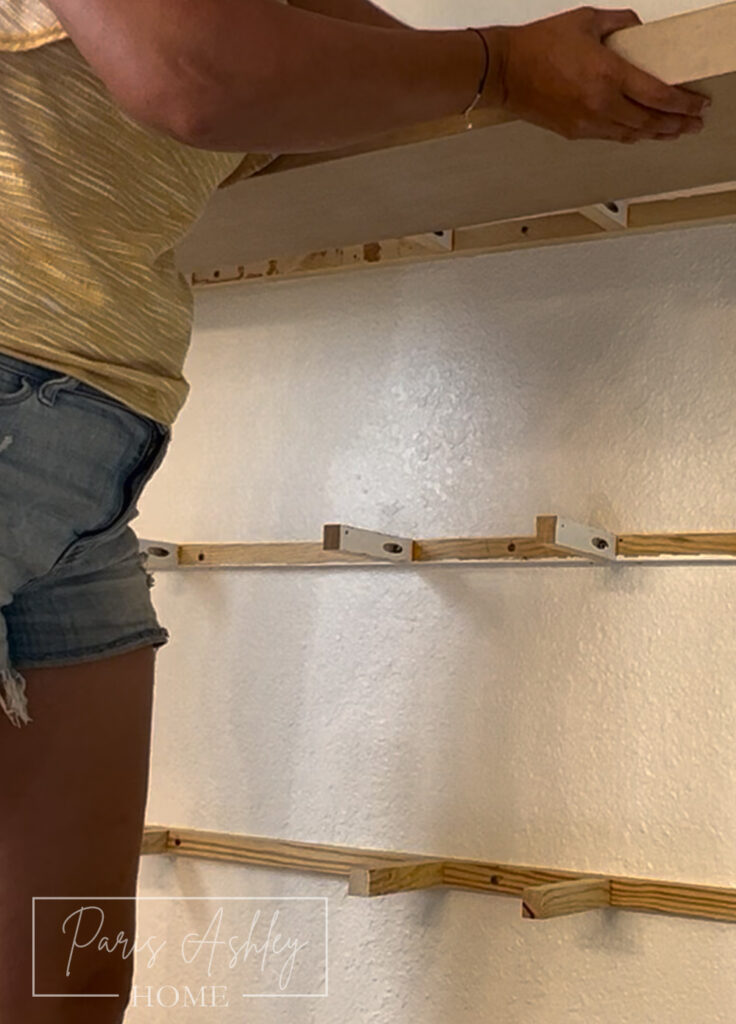
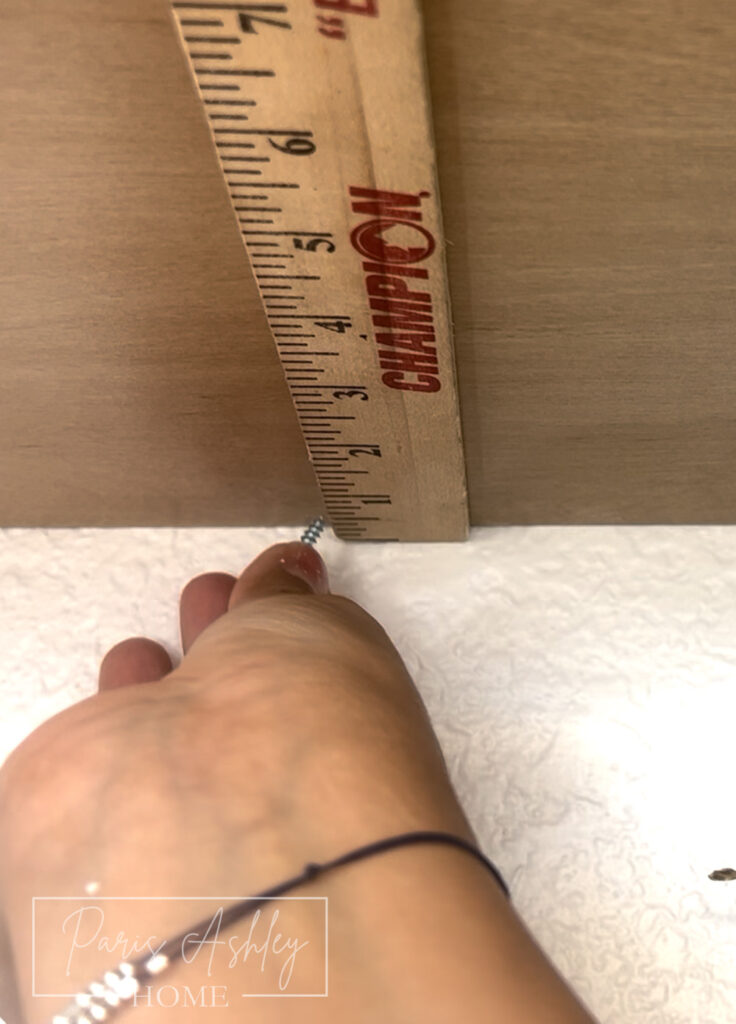
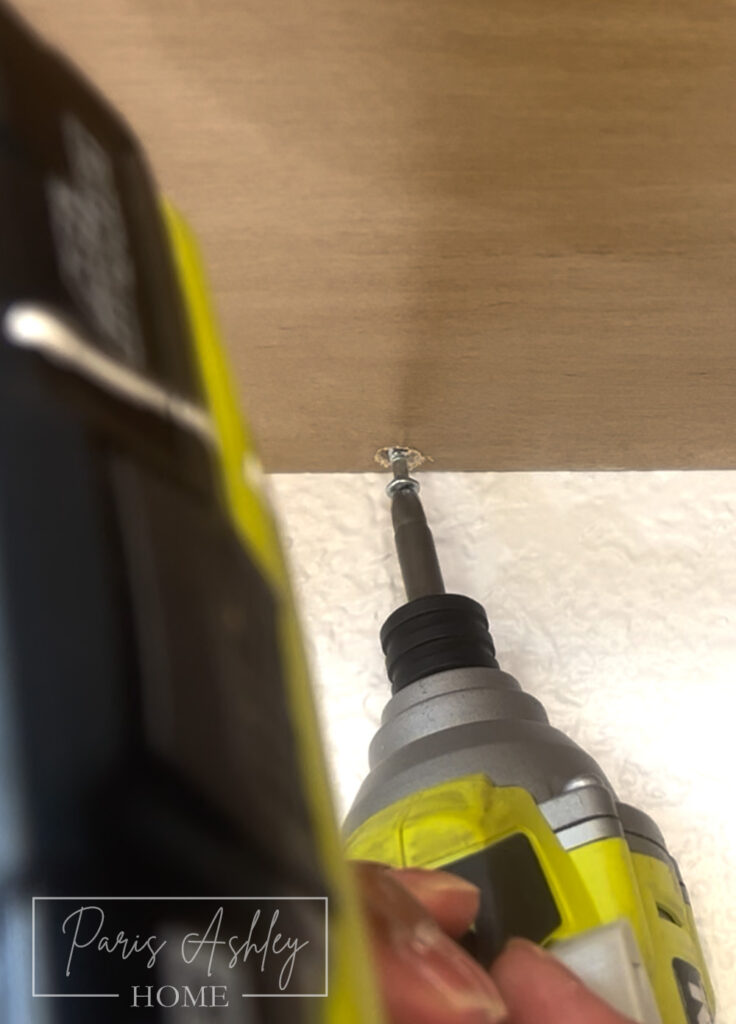
- Slide the shelf onto the cleat and secure it with screws, countersinking them to hide the holes.
- Fill the holes with wood filler and touch up with stain if necessary.
Congratulations, you’ve successfully built and installed your very own floating shelf(ves)! Step back and admire your handiwork.
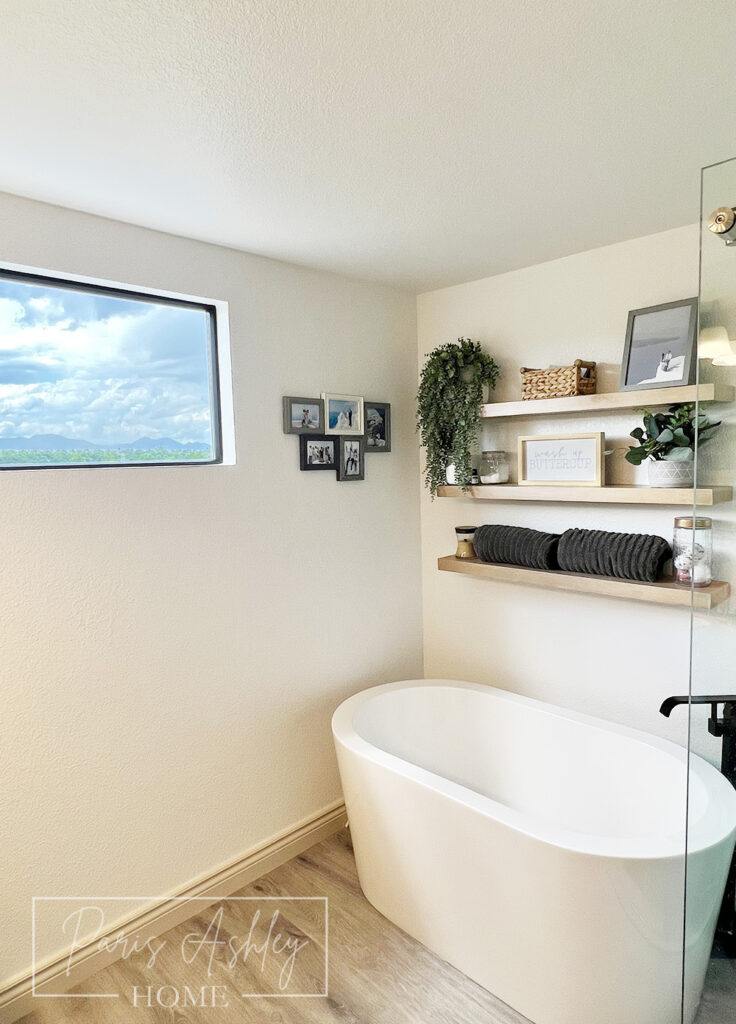
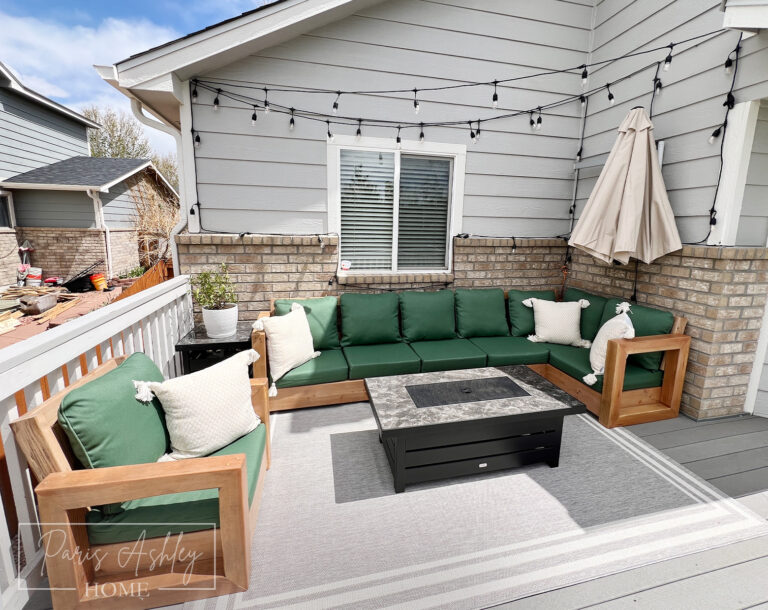
Shop items in this image here!
Watch a video tutorial HERE!
Follow for more DIY Tutorials! @parisashleyhome