Flip this Desk with Me
I turned this desk from free to fantastic! All the details on how I brought this desk back to life!
*This post contains affiliate links. I will receive a commission for items purchased through these links at no extra cost to you. I appreciate your support. Please read all labels and follow all manufacturer safety recommendations when working with any tools or equipment recommended.
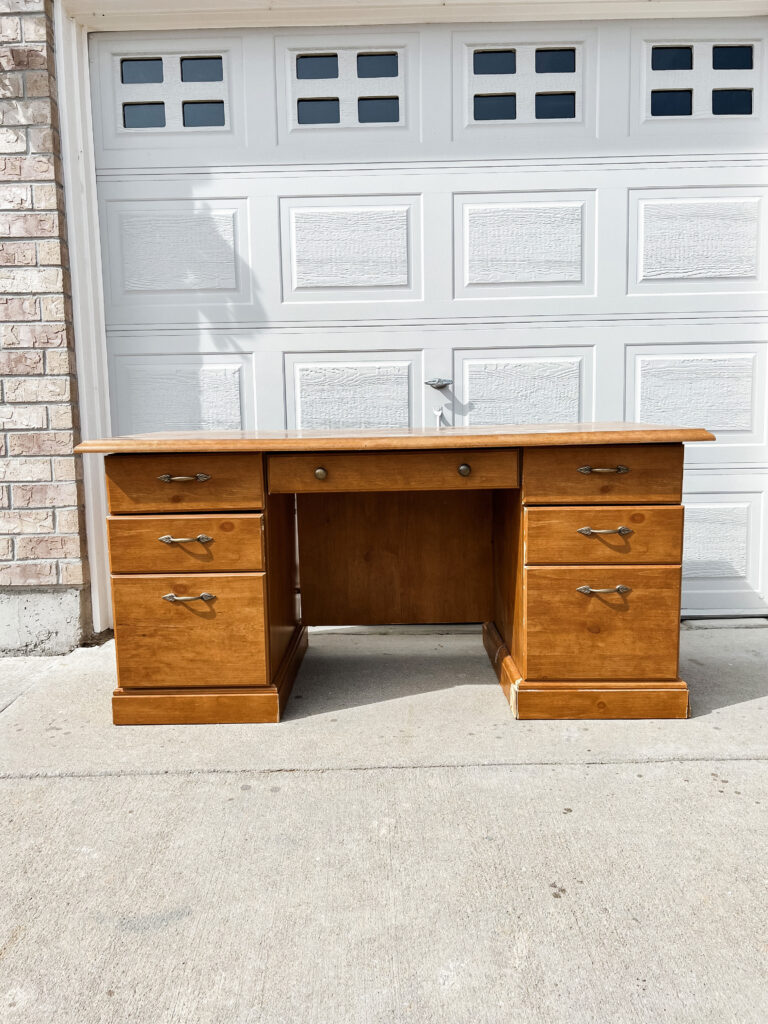
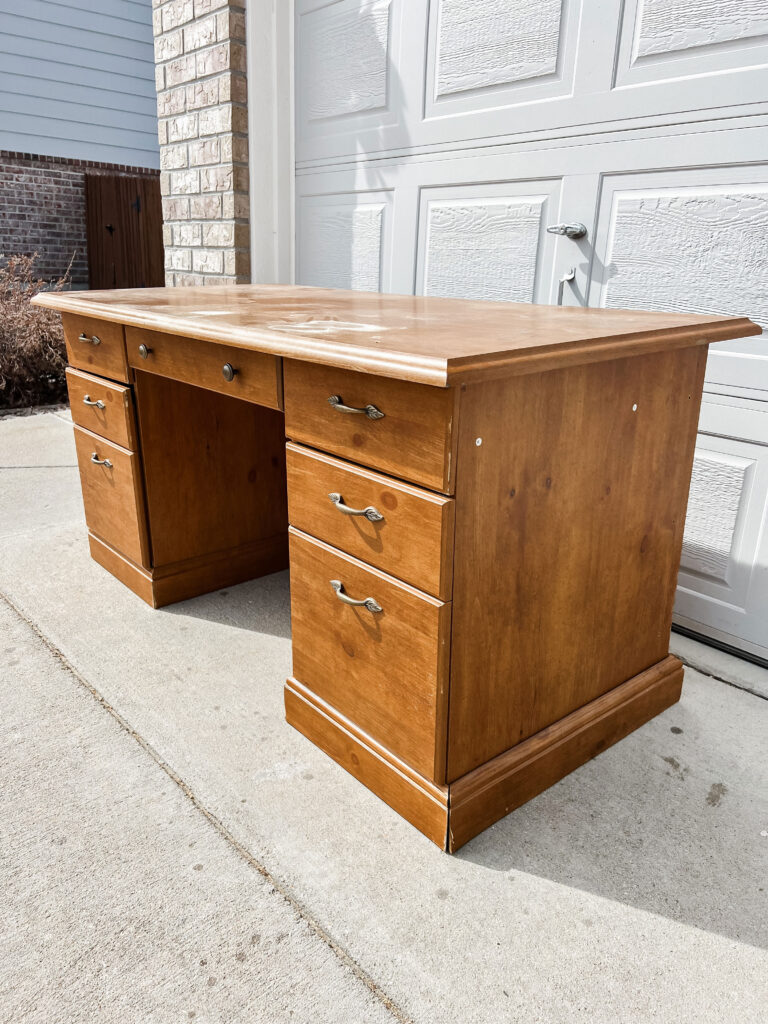
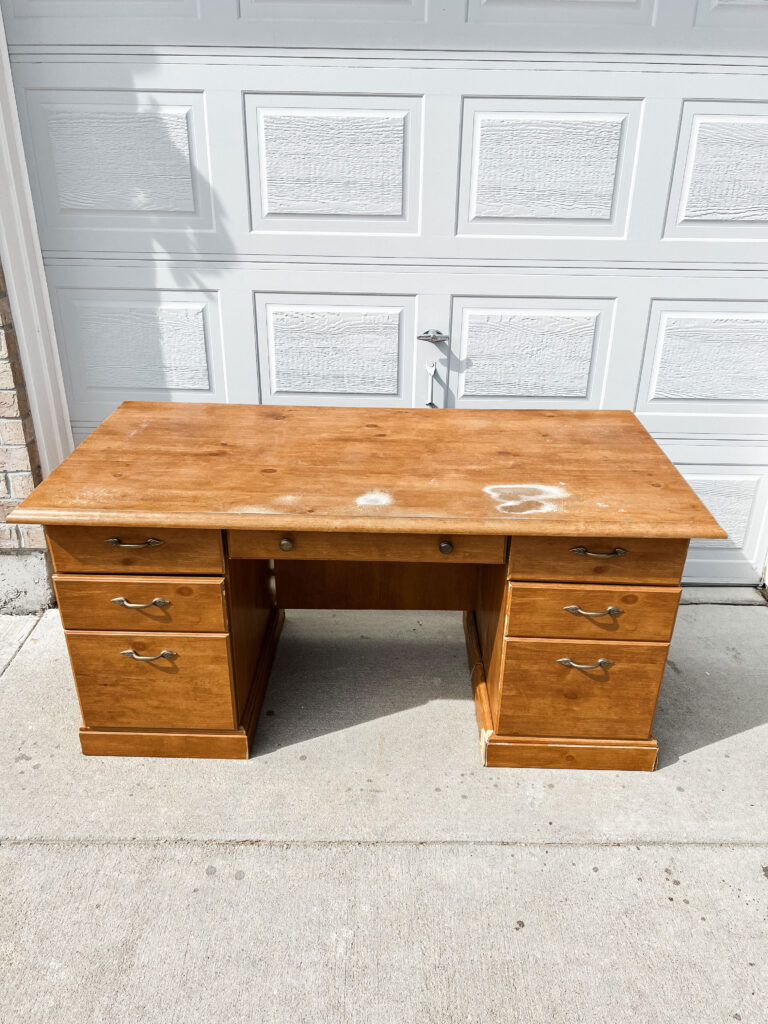
Where do I even begin?! I’ll try to keep it short and sweet but informative! Long story short, my son just turned 5 and our dining room table was covered in crafts and lego at all times and it was time to get him a desk in his room! I was lucky enough to spot this [FREE] beauty on a Buy Nothing group on FB and be the first one to message the owner, so we picked it up and man it was in rough shape, worse than the pics showed. Water damage, two fake drawers, VERY worn top and a lot of missing screws. But, I knew it had good bones and SO much potential! Ok, that’s enough back story, let’s get to it!
The Before:

On the to-do list for this desk:
- Remove the baseboards and build new ones
- Cut down the top to have square edges
- Build 2 new drawers (the middle drawers are fake)
- Sand the whole thing
- Prime and wet sand between coats
- Paint the real color
- Create a fun element with a color I let my son pick out
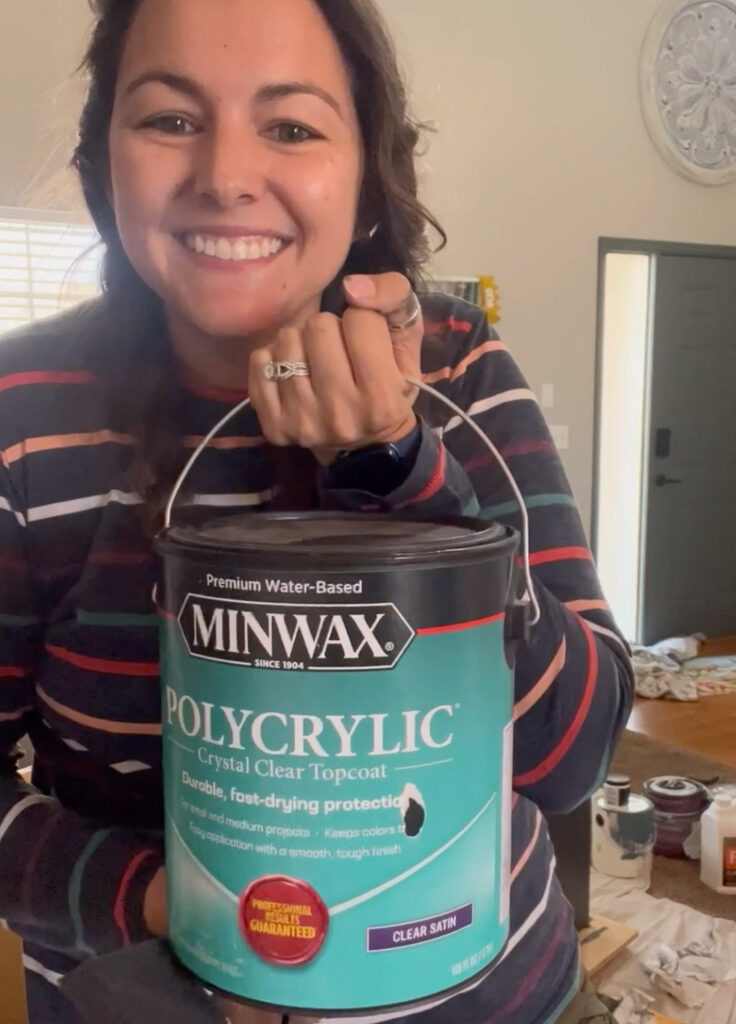
- Seal with Polycrylic Satin
- Add new hardware
- Done!
Ok, let’s get started!
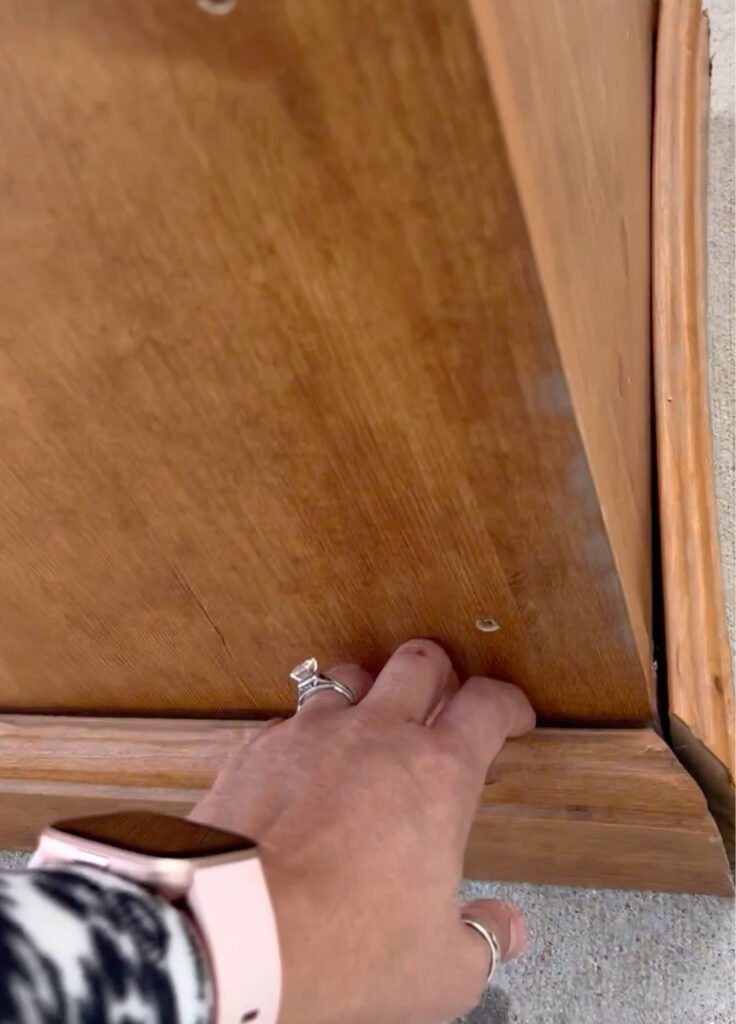
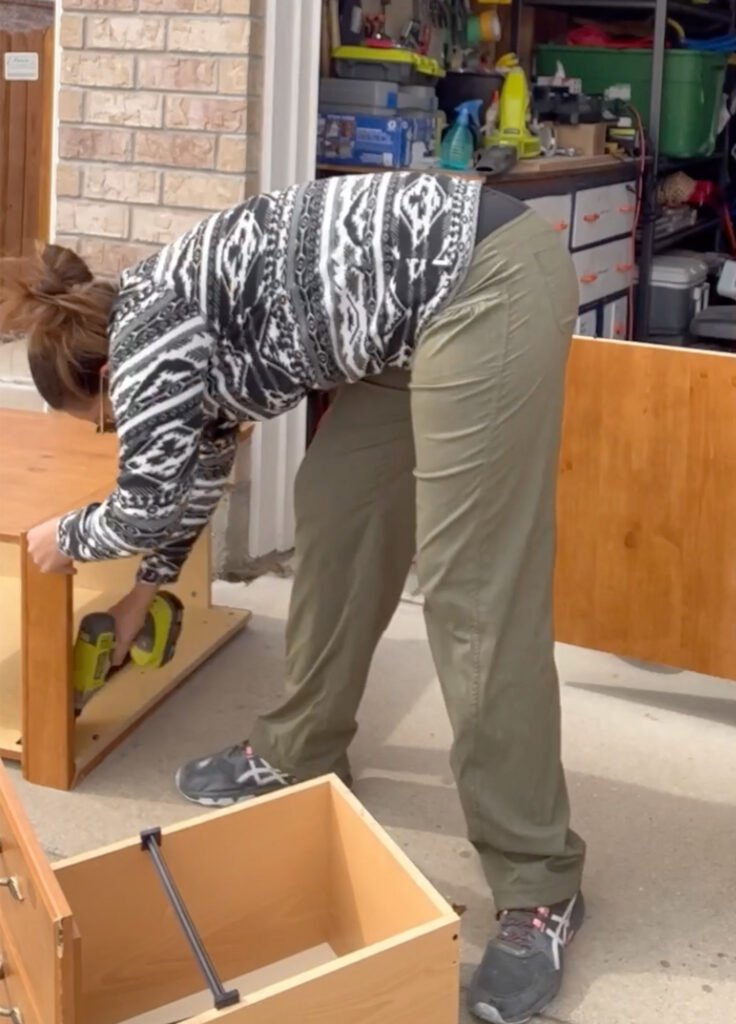
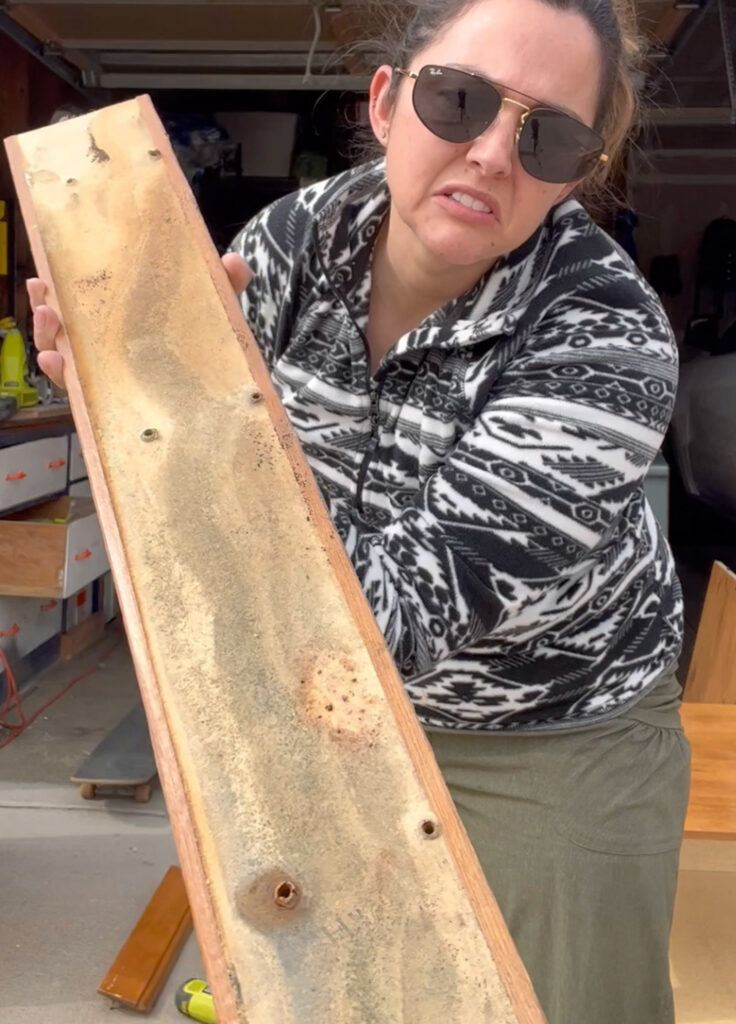
Here you can see the water damage on the baseboards, and the fake middle drawer, which is because this was originally a file drawer. To start I removed the baseboards and deconstructed the desk, LOOK AT THIS MOLD… so gross.
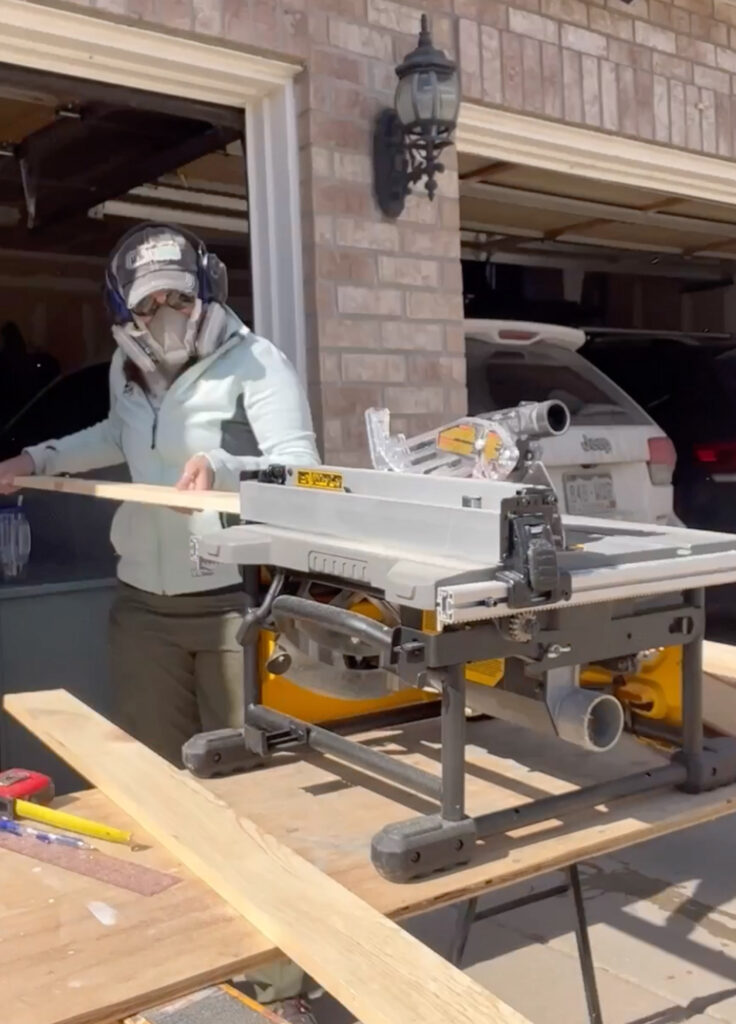
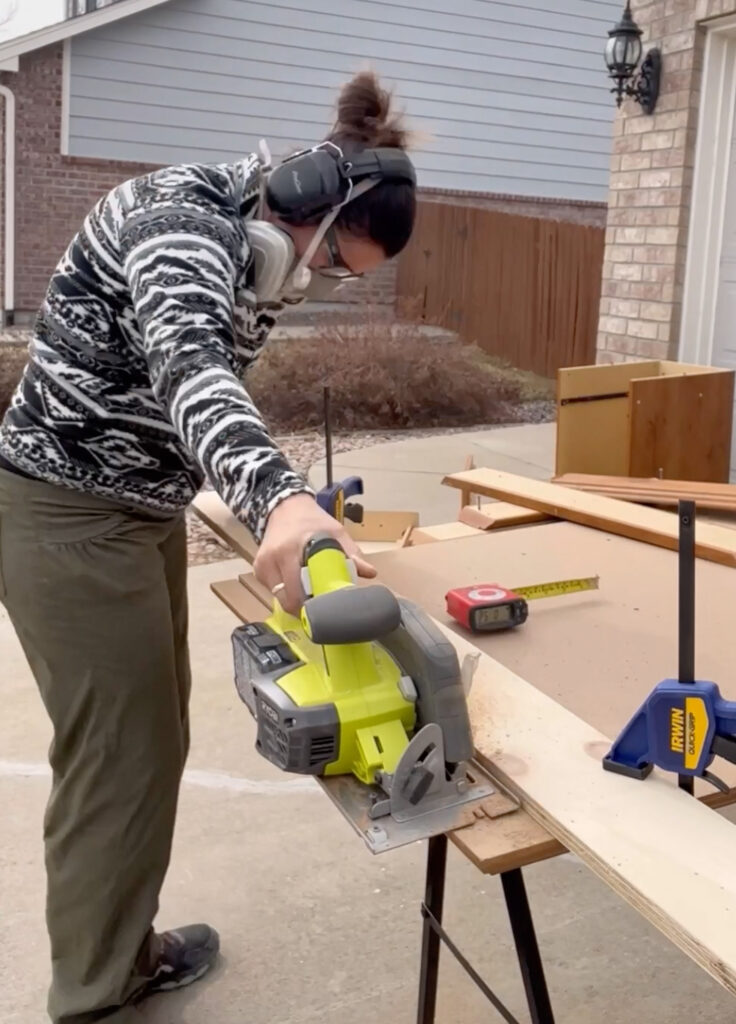
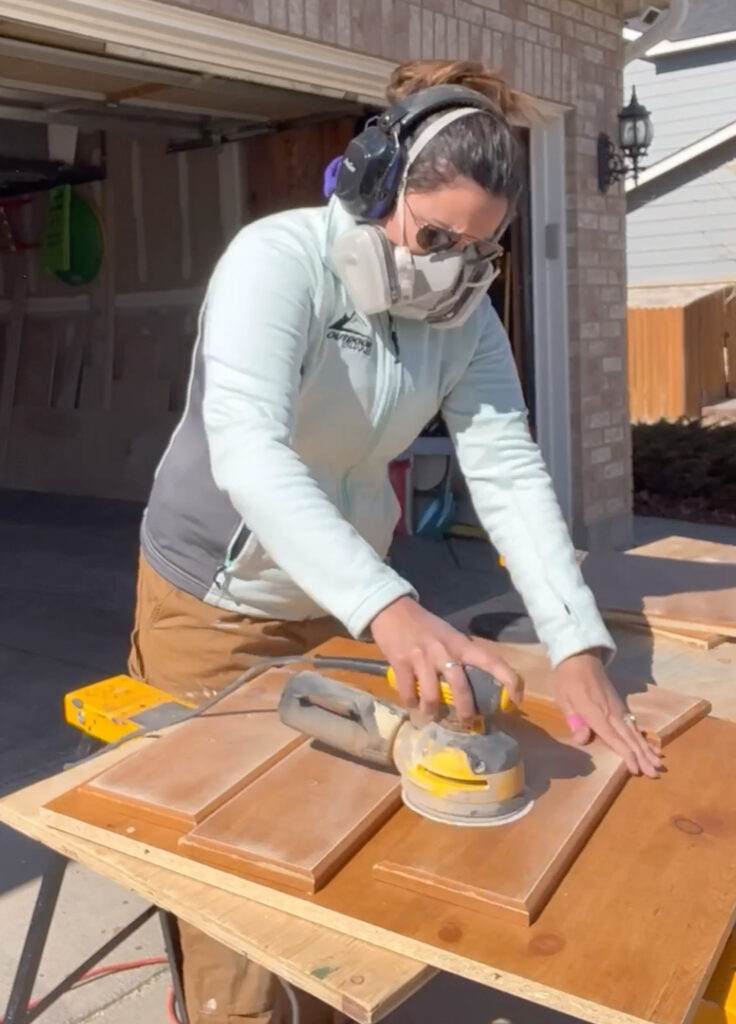
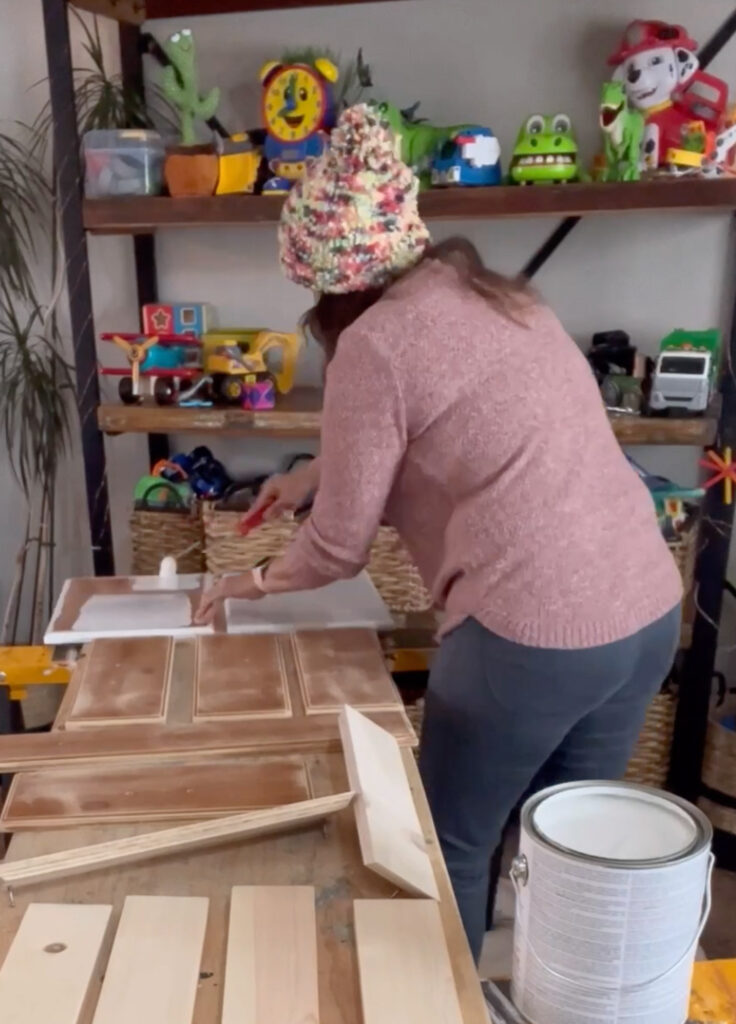
I then used my table saw and miter saw to make new baseboards, I even drilled new holes to match the old baseboard template. I cut down the top with my circular saw so the edges were square and then I sanded the whole thing.
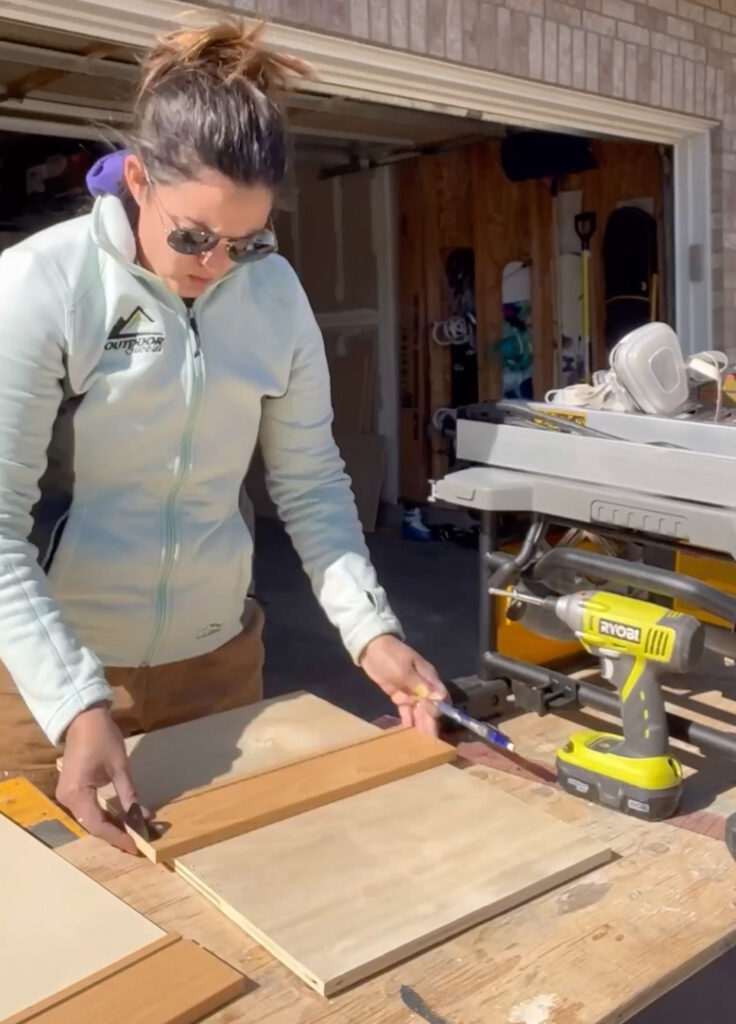
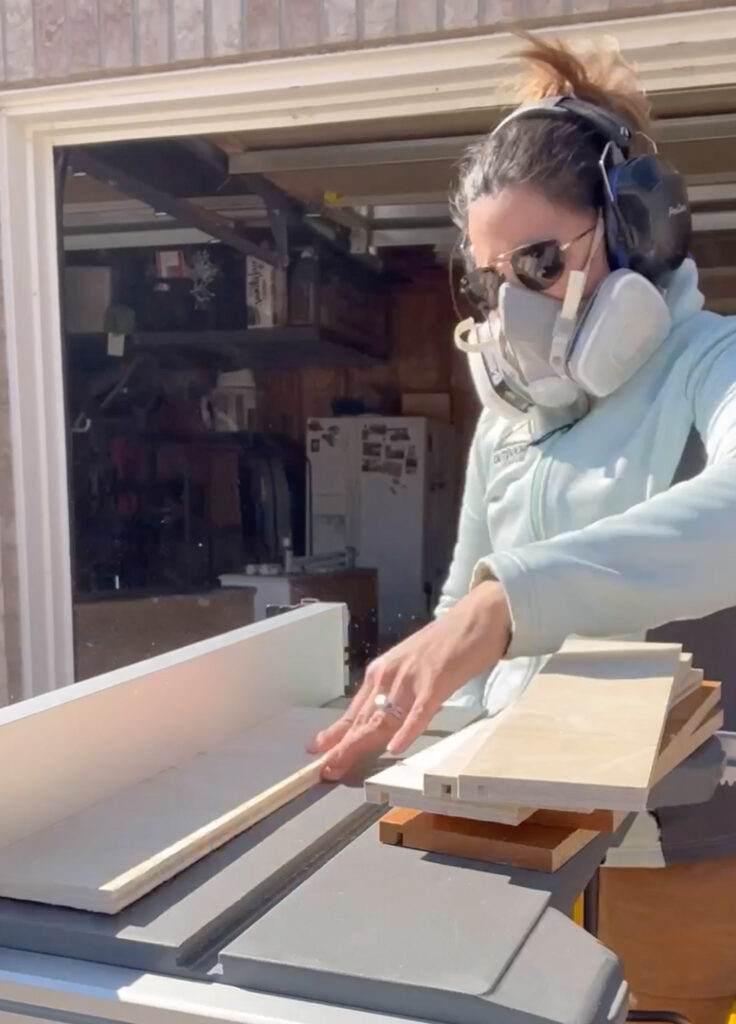
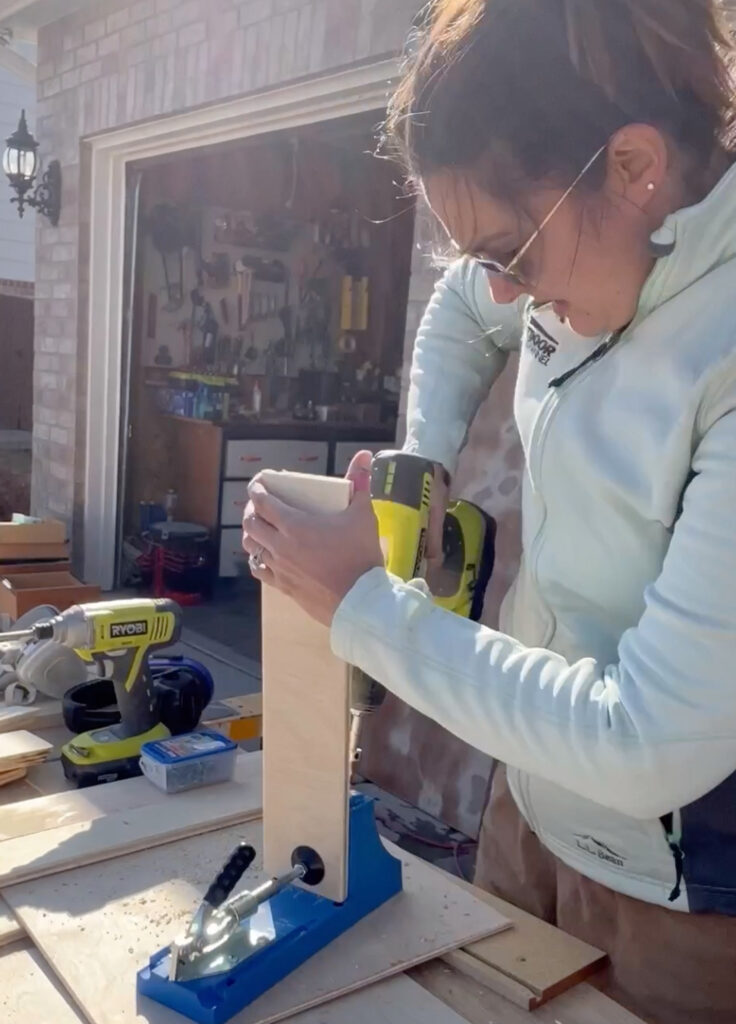
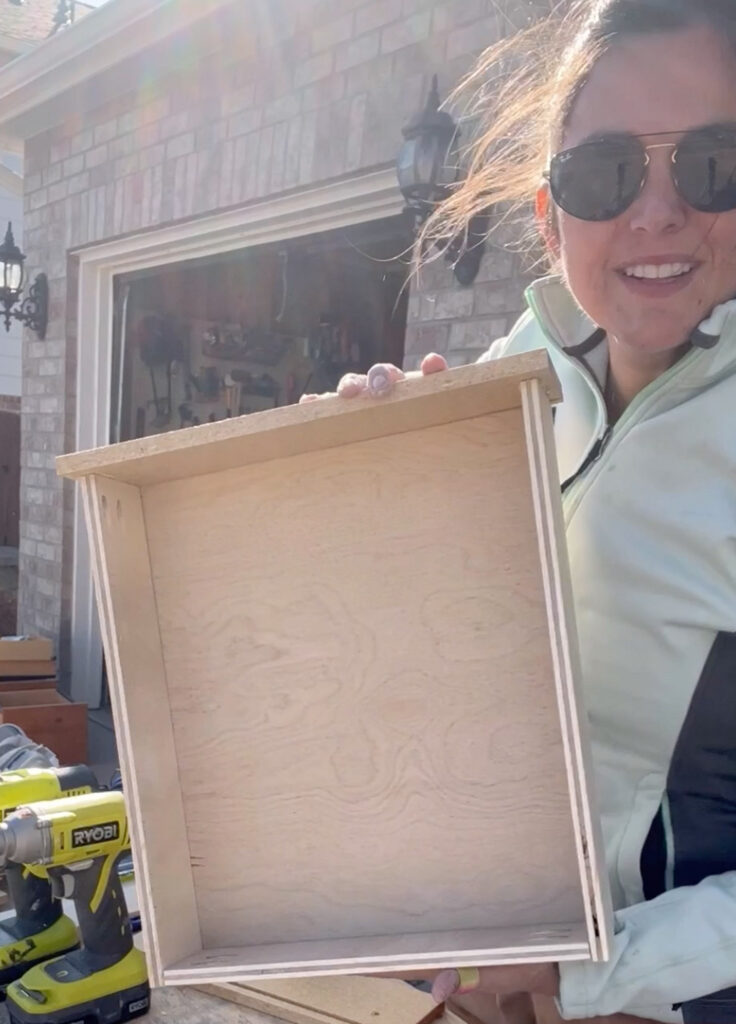
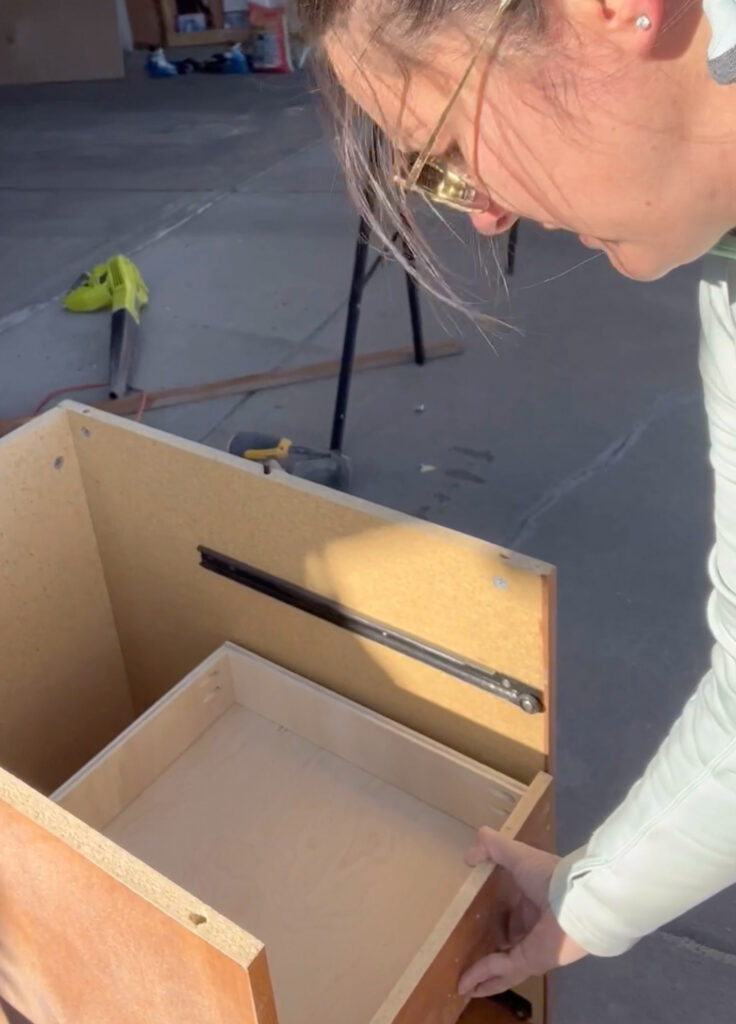
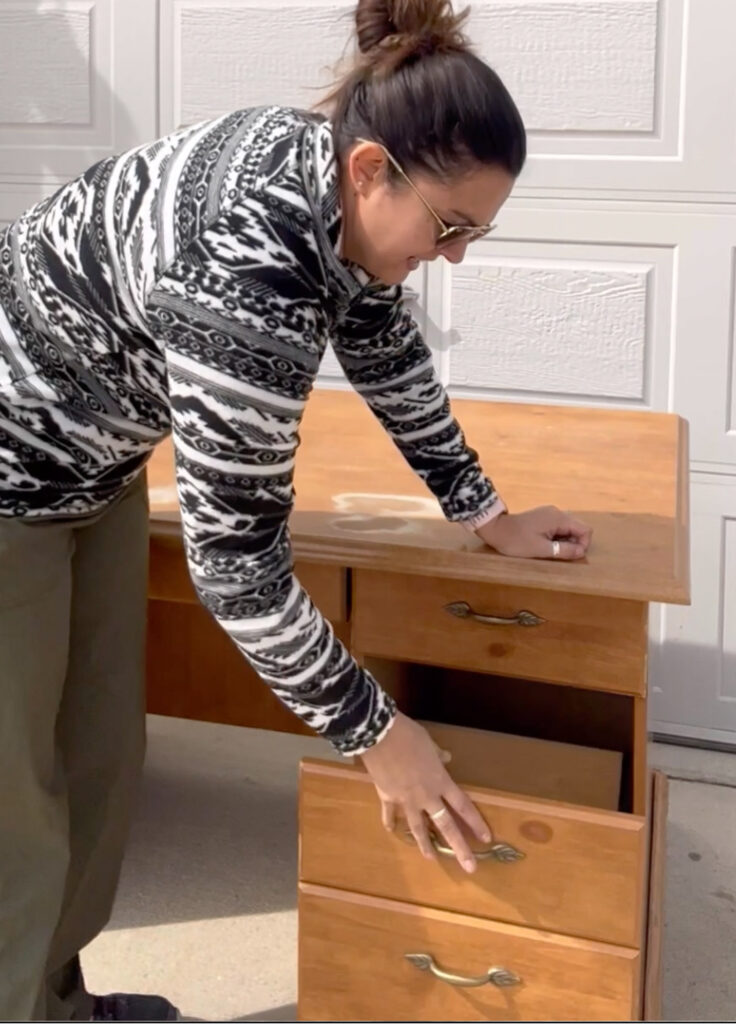
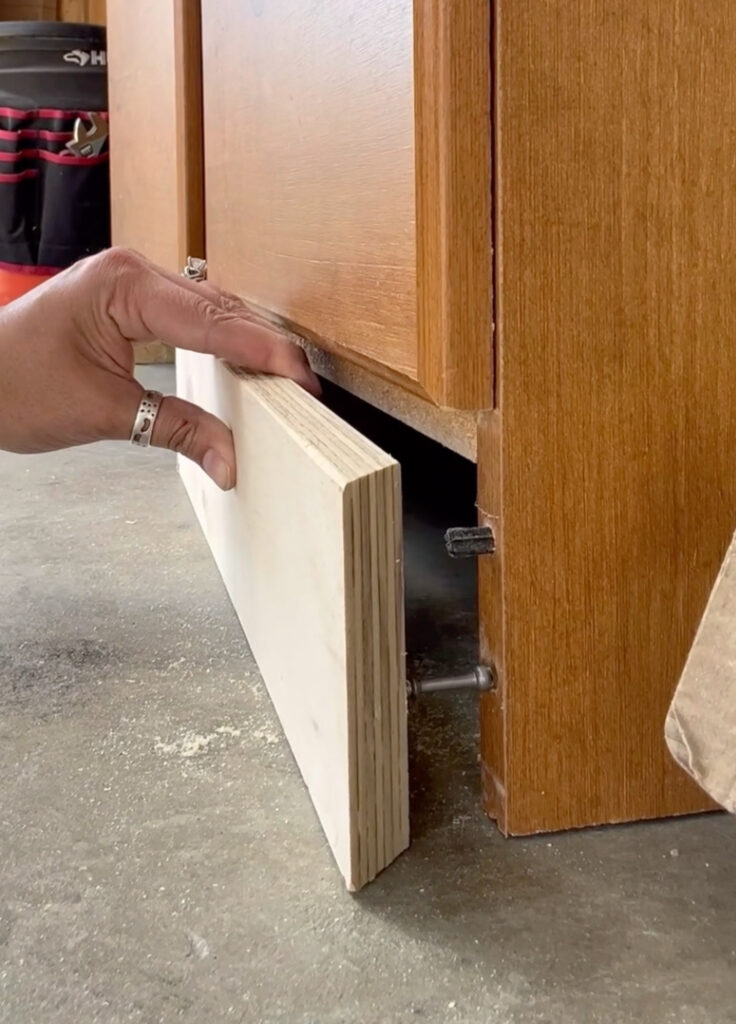
I was debating building two new drawers where the fake drawers were, it would be extra work and take longer, but I knew if I finished this desk without building the drawers, I would never come back to it. So, I used the top drawer as my template, I had plenty of wood on hand, so I ripped down my pieces, created a dado track for the base of the drawer and used my Kreg Pocket Hole Jig to assemble the drawer. In the last image, you can see where the drawer will go in the unit.
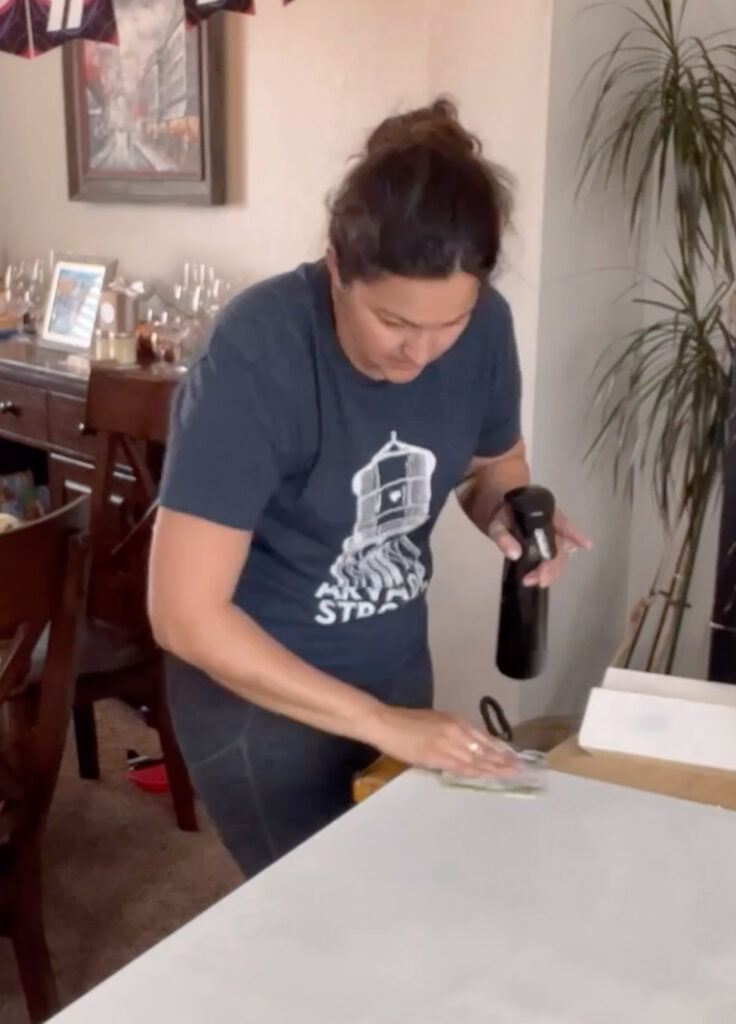

Next, we move on to painting and wet sanding, this is where the magic happens. The weather has been so cold and paint can’t dry unless it’s above 50 degrees, so I decided to try rolling this desk inside, instead of waiting for warm weather to use my paint sprayer outside. I went with a 6″ x 3/8″ nap Premium Microfiber roller. I rolled on my first coat of primer, I used BIN Shellac Primer, then after it dried I wet sanded all the pieces. Now, you may be asking yourself, “what is wet sanding?” When you mist water while using a high grit sandpaper (400-600), it turns into a lubricant, reactivating the paint, removing any rough surfaces giving the smoothest ultimate finish, it’s less abrasive than dry sanding (though I will be dry sanding in this process too).
My Process for this project: Prime, wet sand, prime, wet sand, paint, wet sand, paint, don’t sand, paint, don’t sand, poly, dry sand, poly, dry sand, poly. (Prime 2 coats, Paint 3 coats, Poly 3 coats).
Why didn’t I sand during painting? I started to, but painting a dark color (Sherwin Williams Iron Ore) on white, even the finest grit was removing too much paint, so I took the chance of not sanding since I made such a smooth finish with the first 3 coats. Then, it was time for poly, I used a foam roller for poly, a foam roller or foam brush is always the best application. I dry sanded between coats of poly to create max absorption and the greatest protection against scratching and dings.
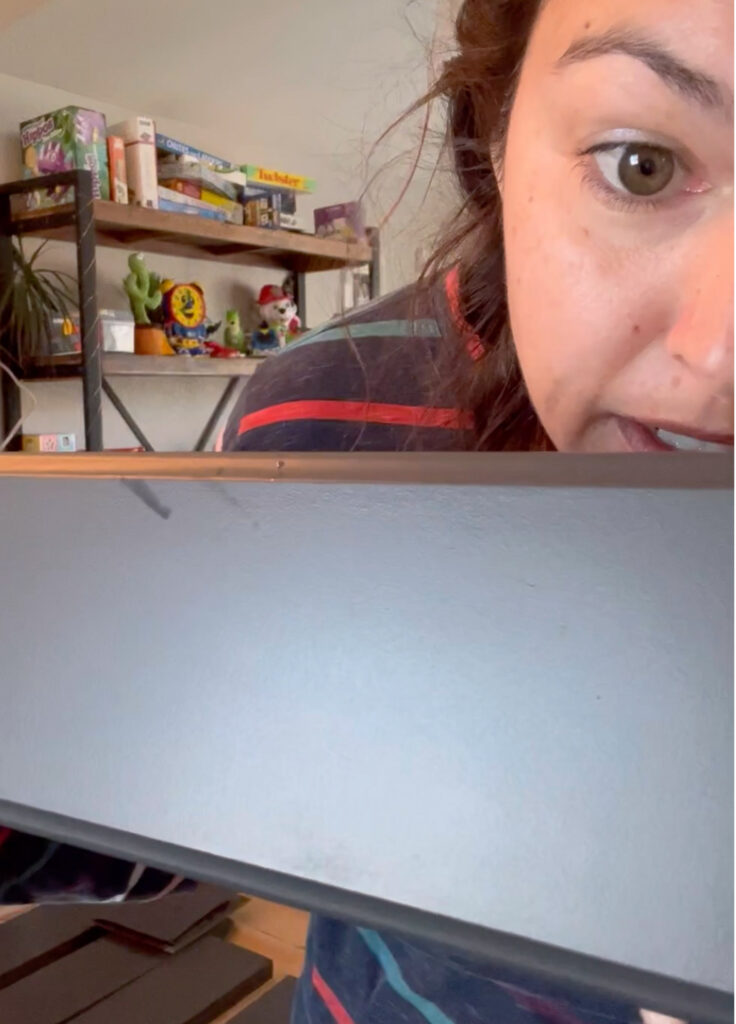
After three coats of Clear Satin Polycrylic, you can see in the above image how smooth the finish turned out. This is the magic of using a 6″ x 3/8″ nap Premium Microfiber roller and properly sanding between coats.

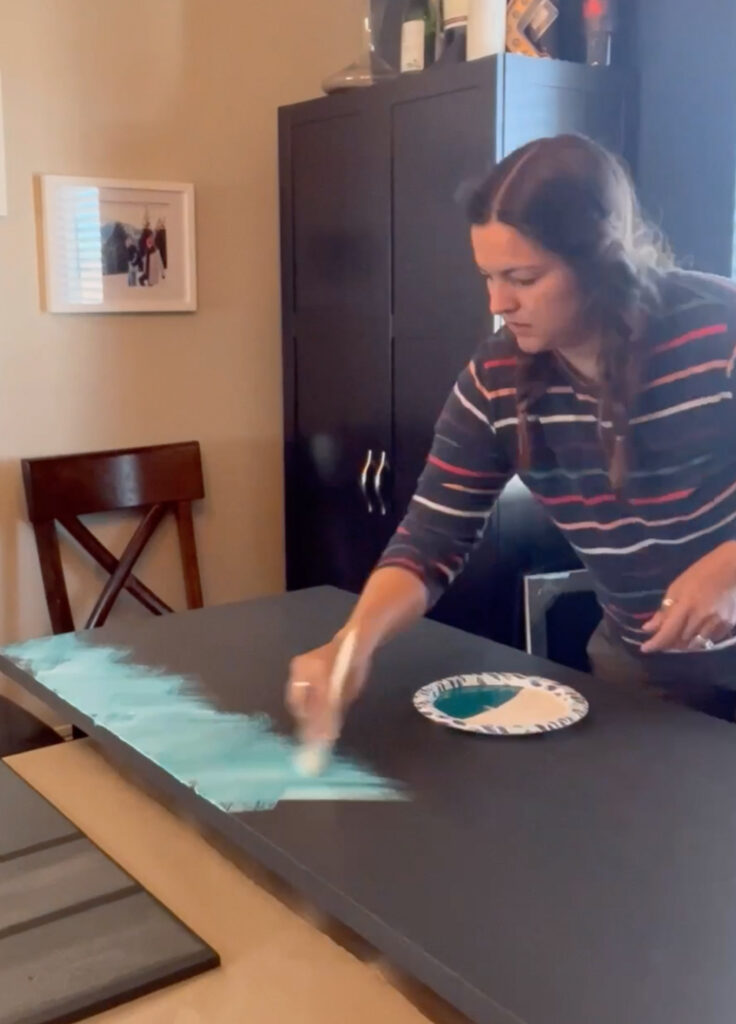
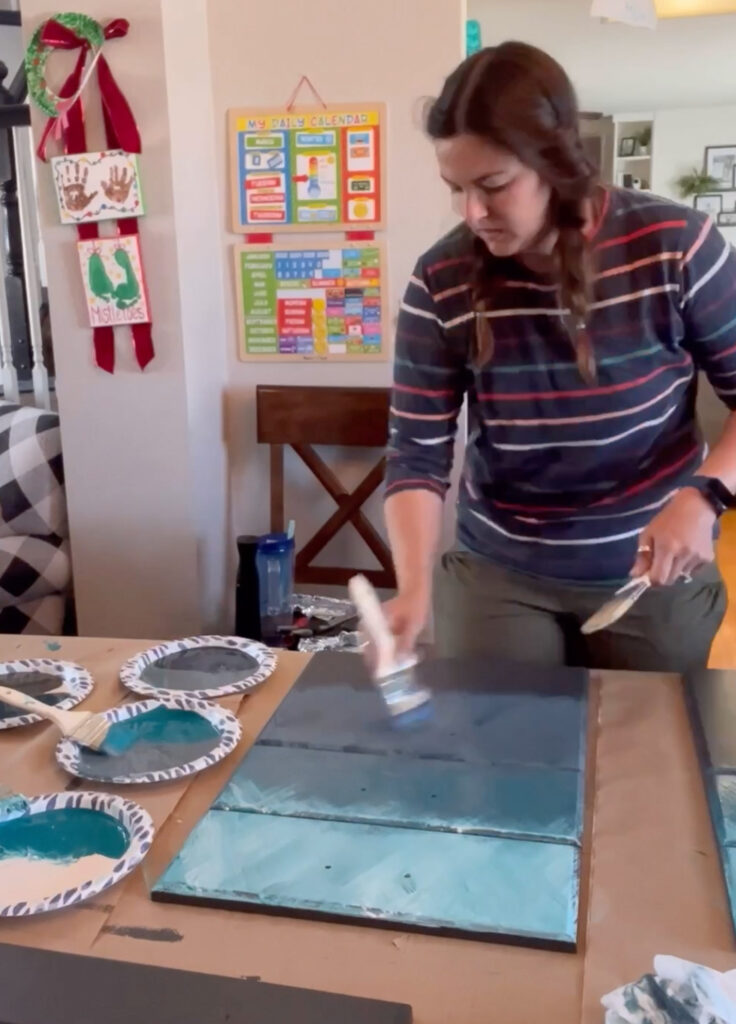
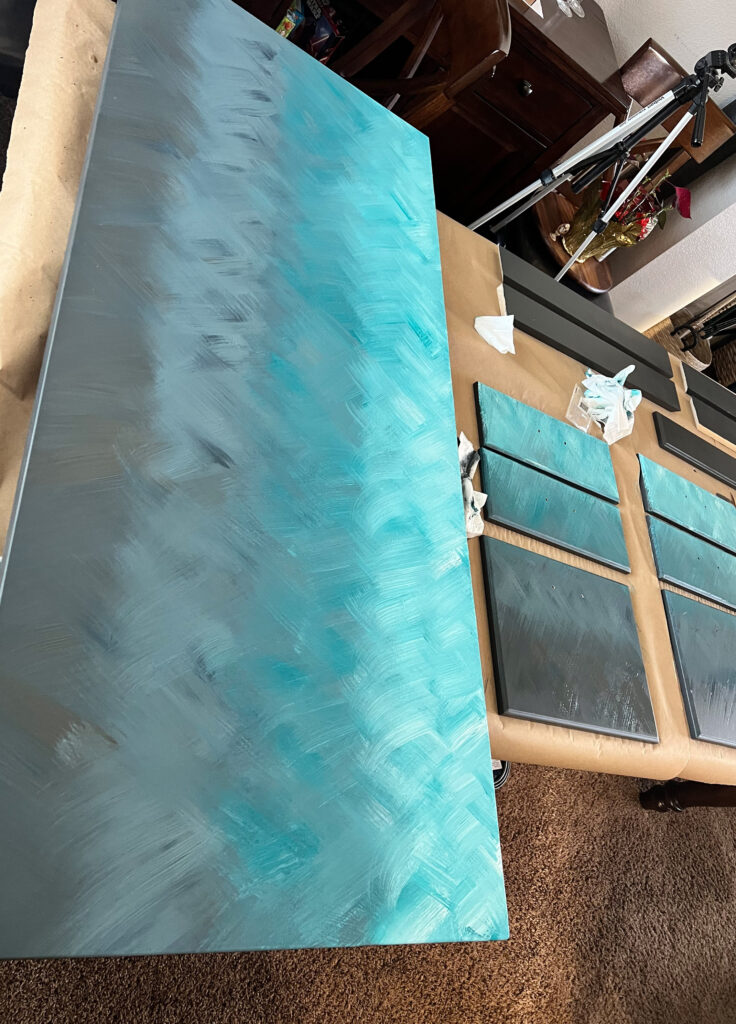
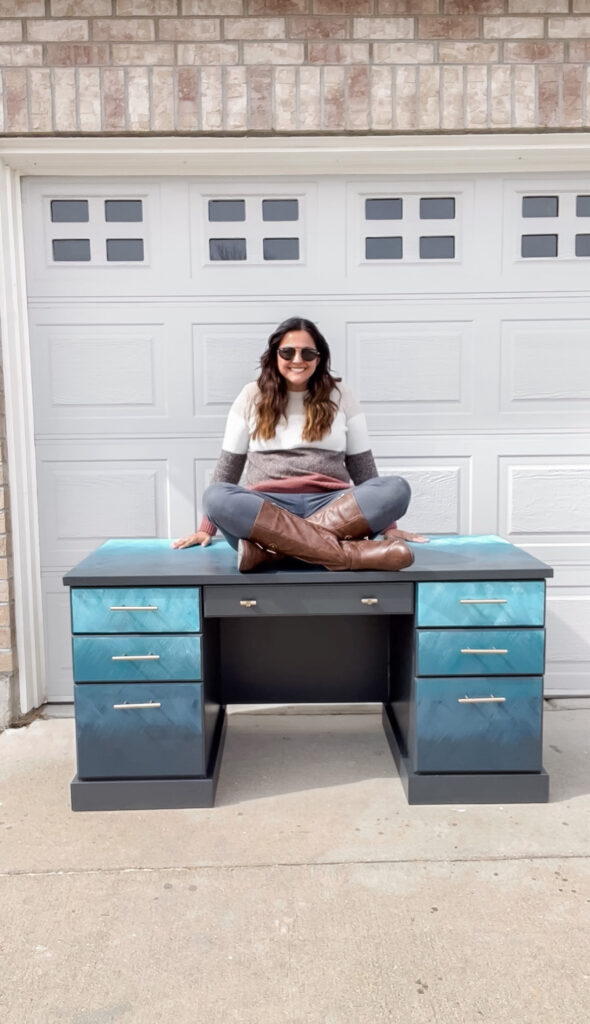
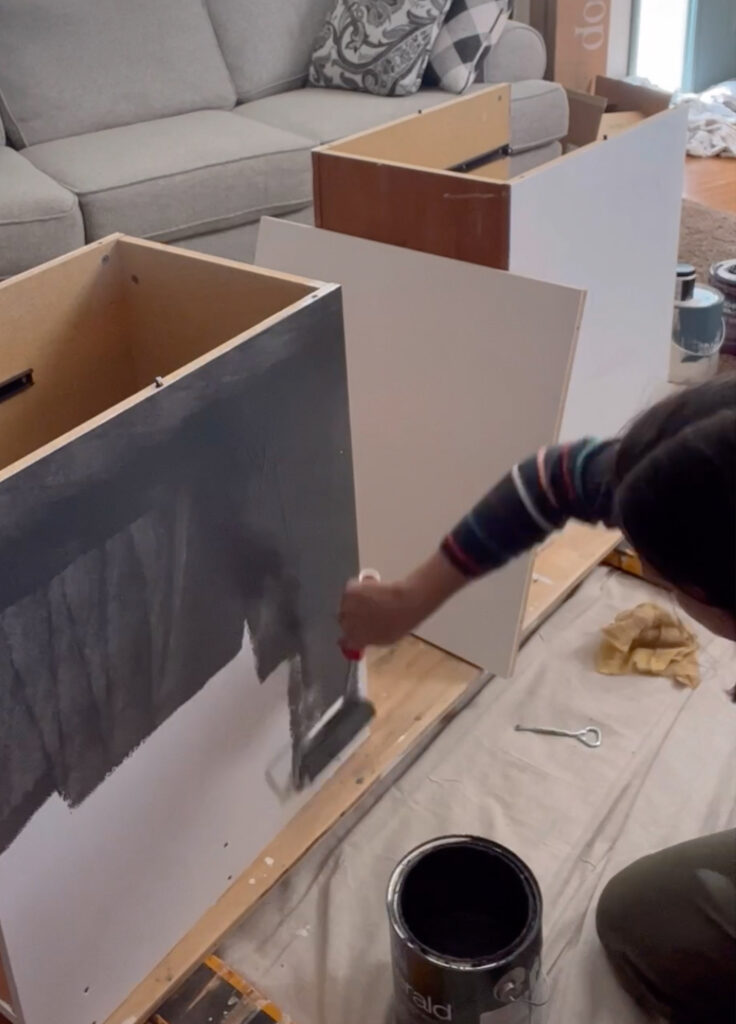
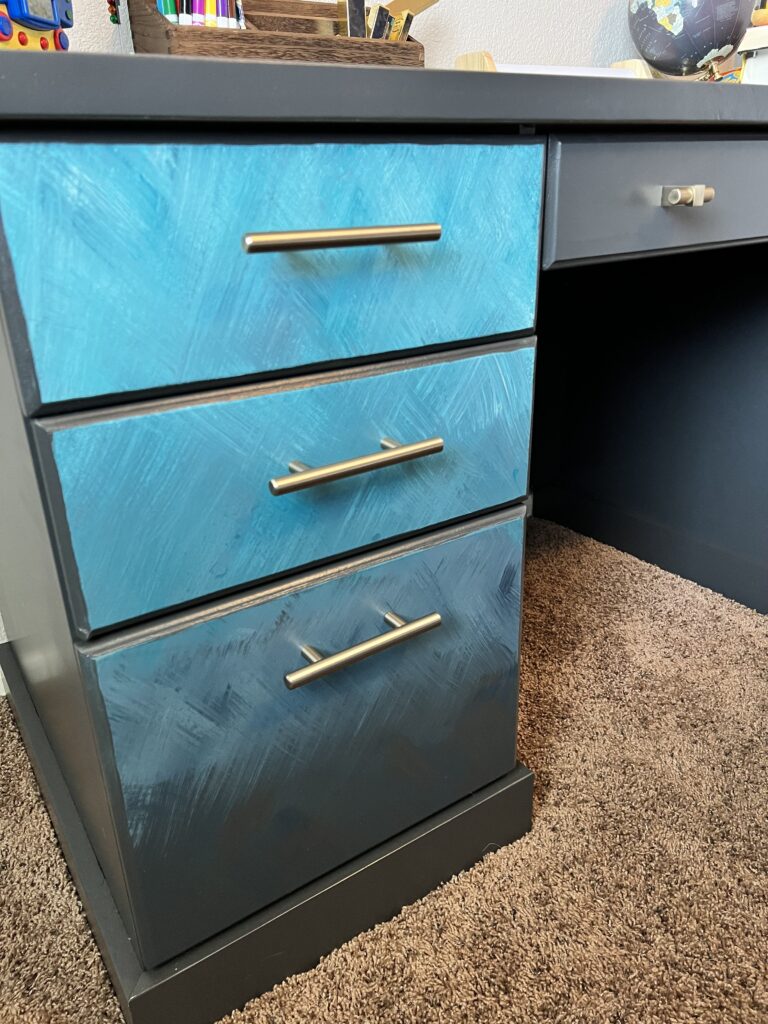
Let’s move on to the fun part! I let my son pick out a color to be included on this desk since I was making this for him. He picked out a bright blue color from Behr called Caribbean Current. I used a cross-hatch technique to create an ombré blend. I used 5 colors, starting with Behr Swiss Coffee, going into Behr Caribbean Current, into Clare Deep Dive, into Sherwin Williams Gale Force, and ending back into Sherwin Williams Iron Ore.
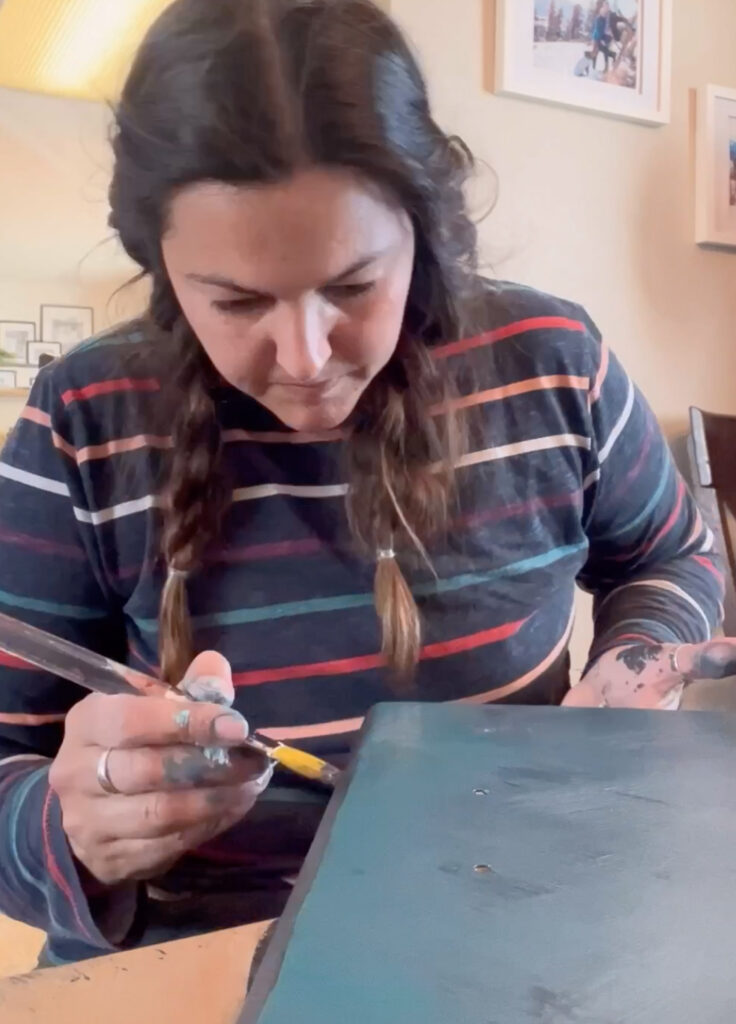
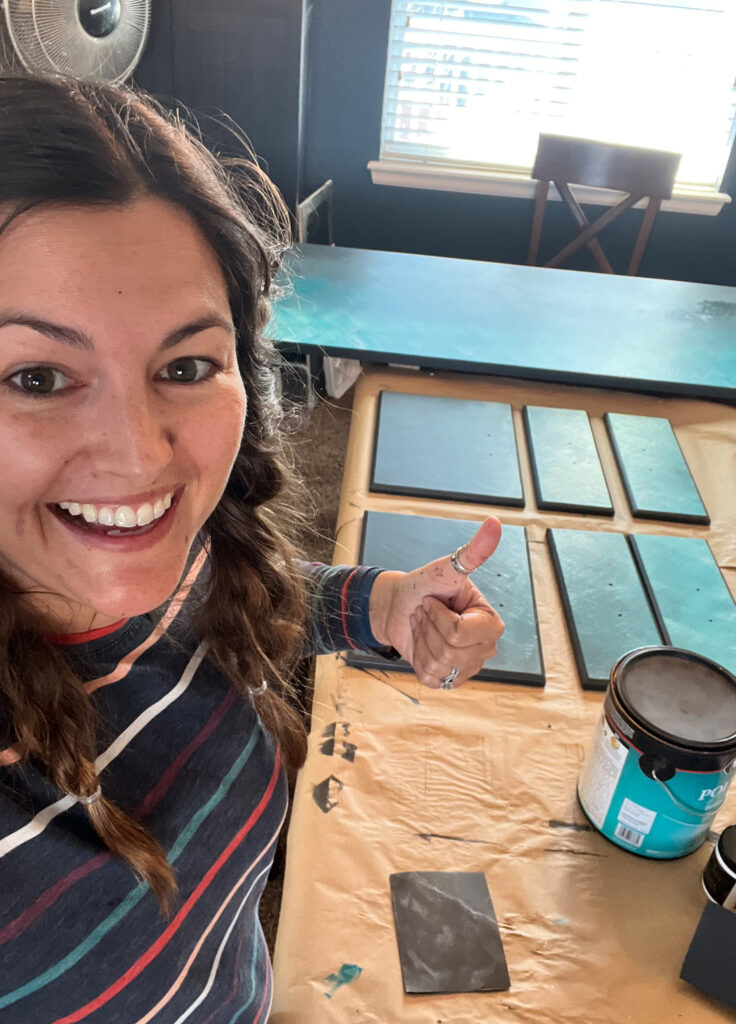
I grabbed some paper plates and added two colors per plate for the blend, using the worst brush I could find (to create a thick texture), I dipped the brush in the center of the two colors and made an X across the whole surface, I then repeated this with the next 3 combinations, moving fast, the colors blended better when the paint was wet. After I got to a place I felt good, I cleaned up the edges and painted a coat of Iron Ore to create a frame on the drawers. Then I applied 3 coats of Polycrylic, let it dry fully overnight and it was time for assembly!
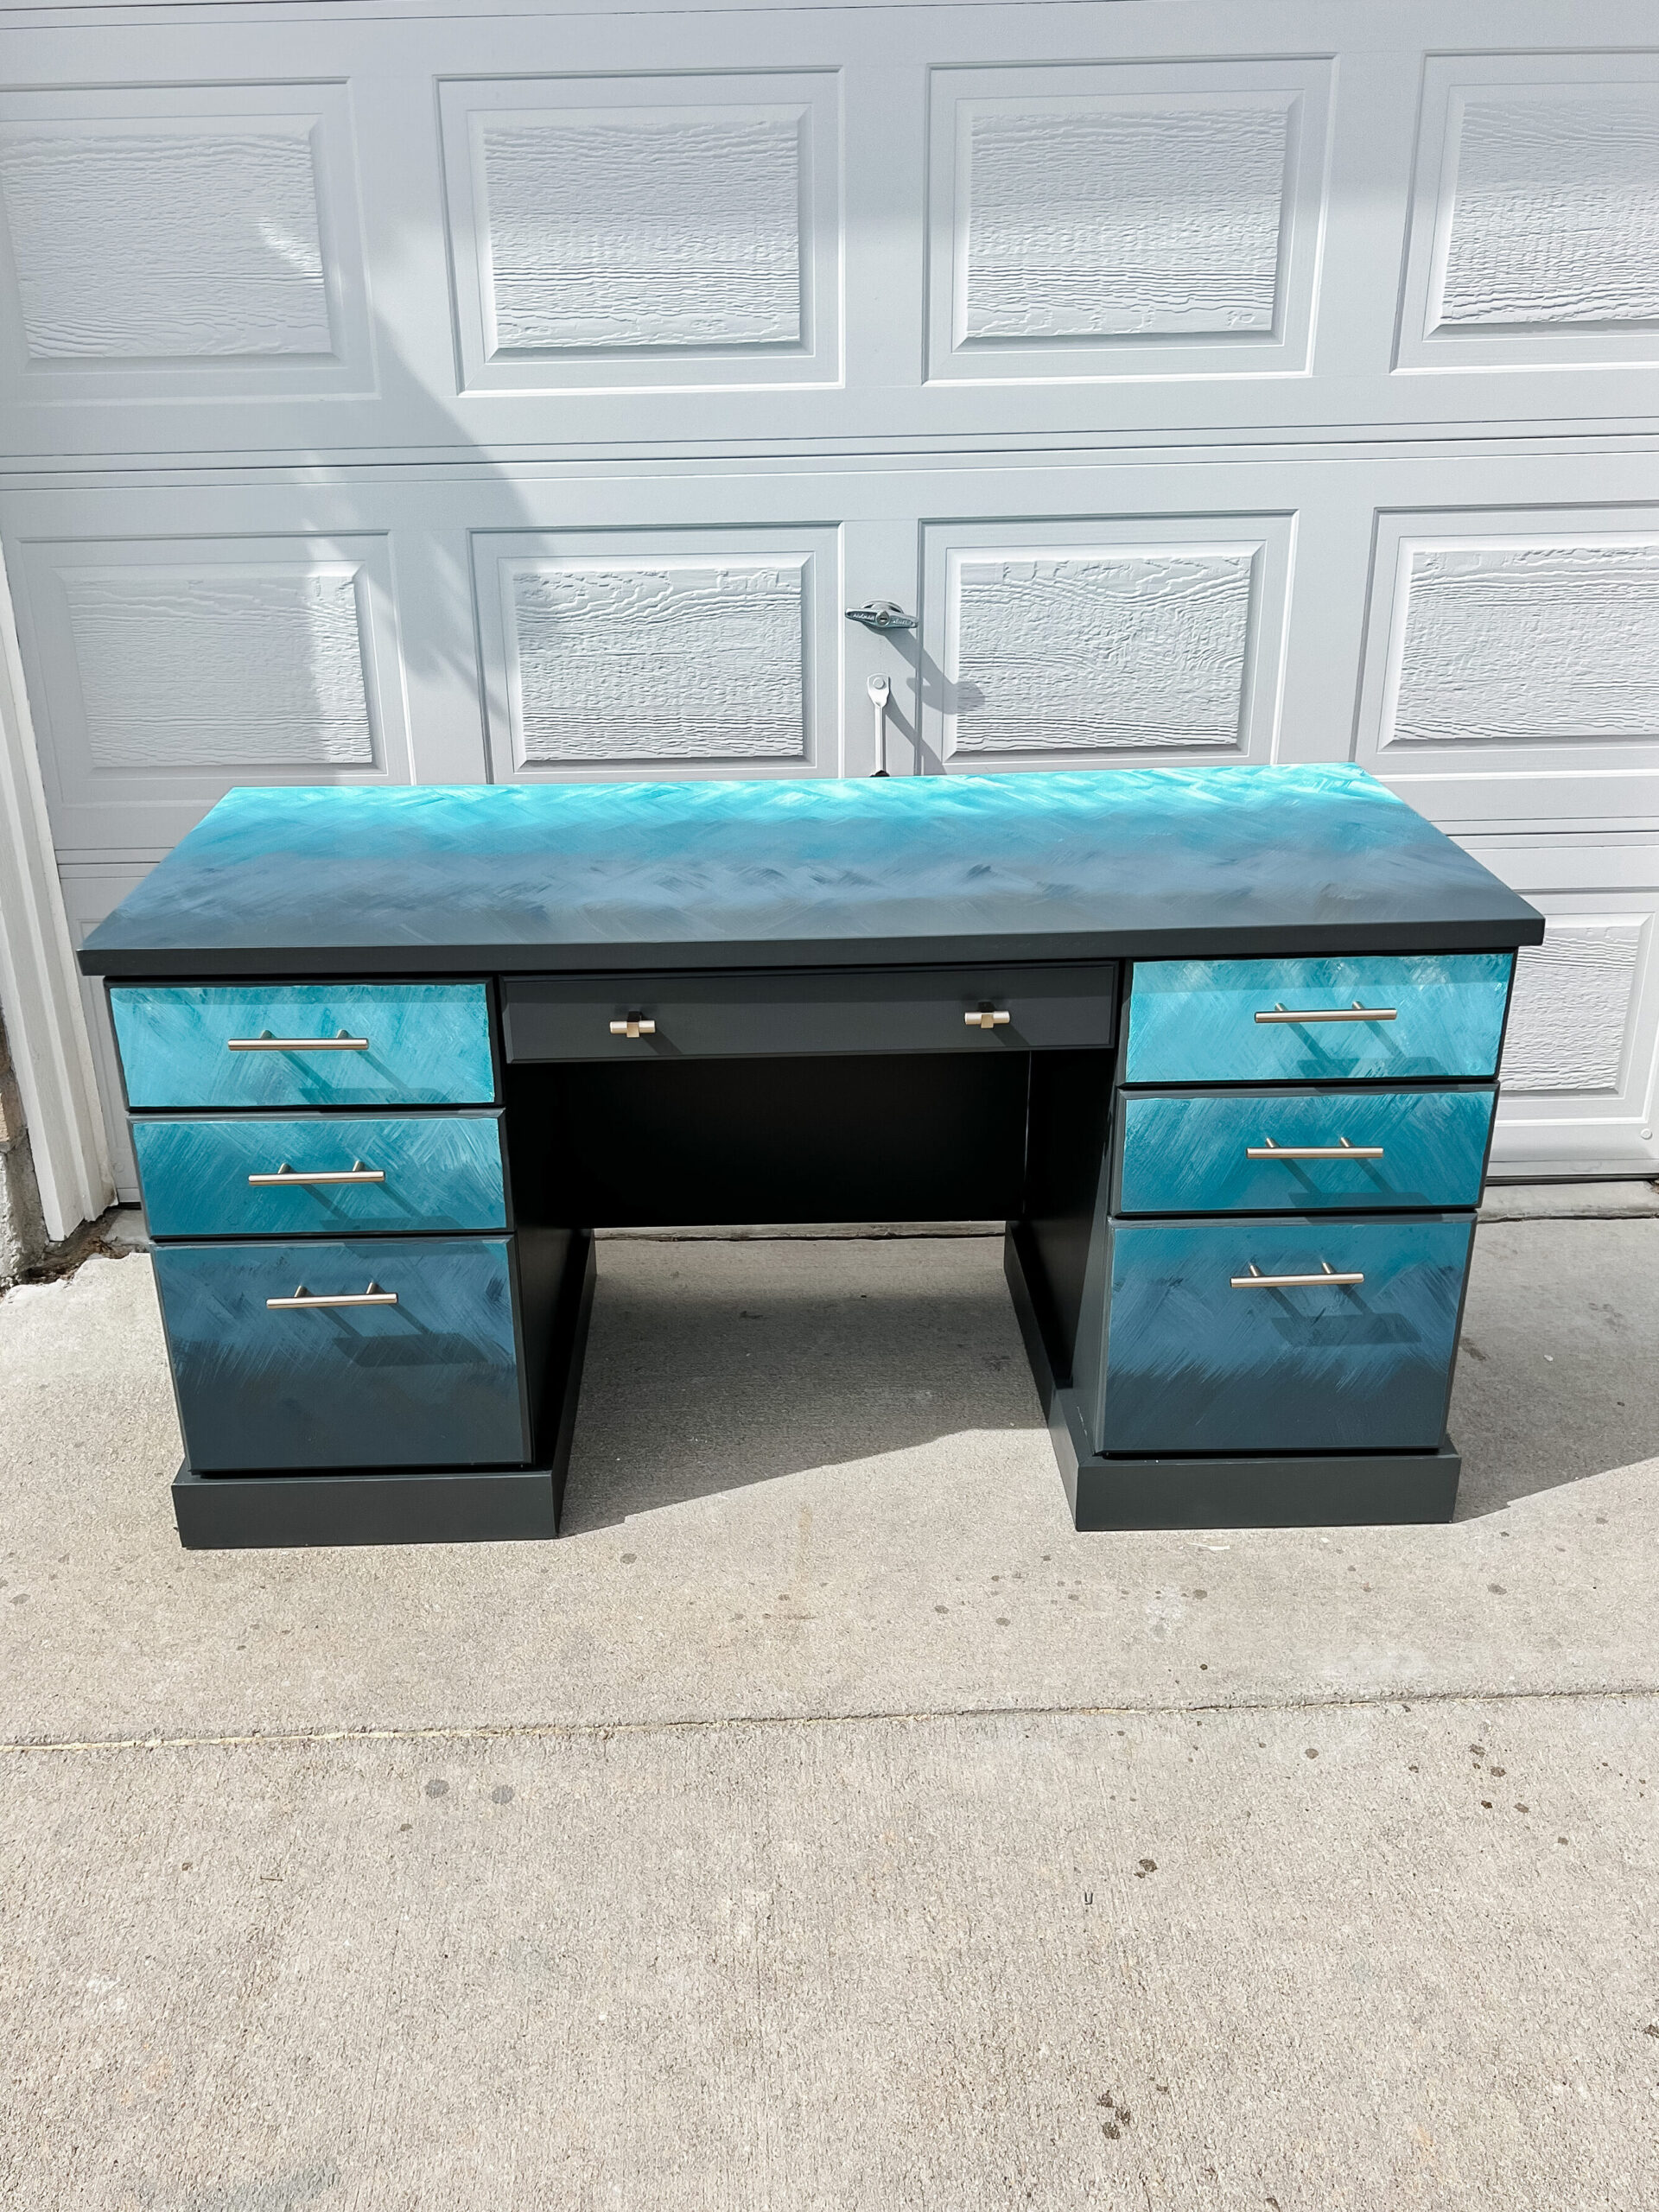

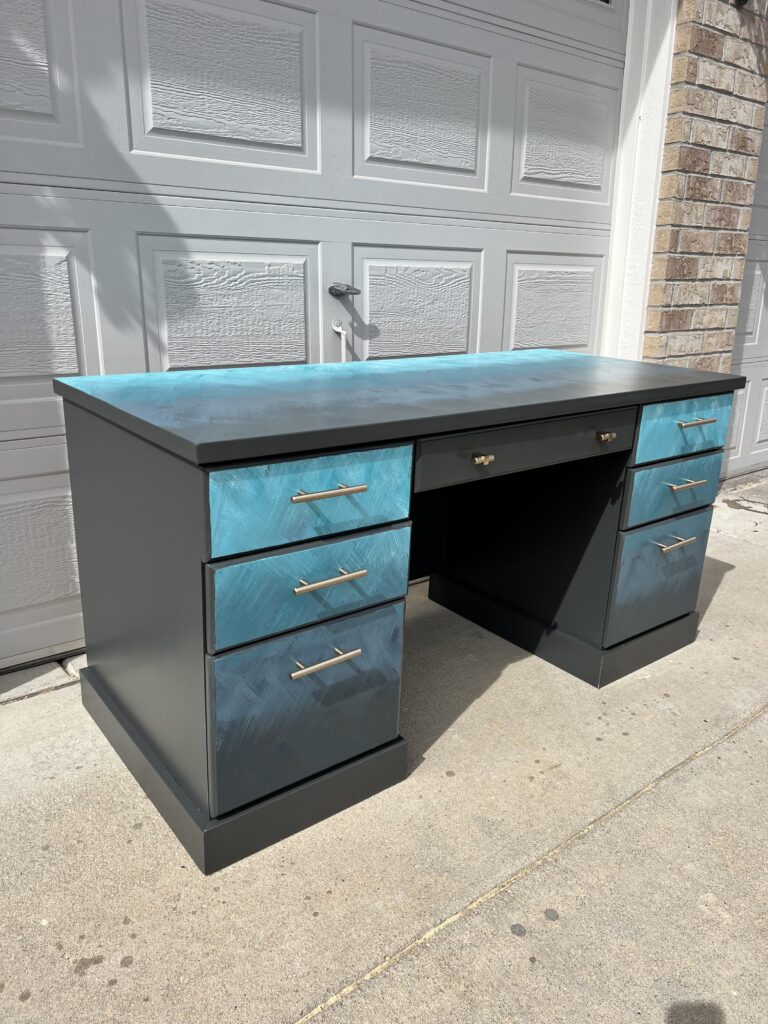
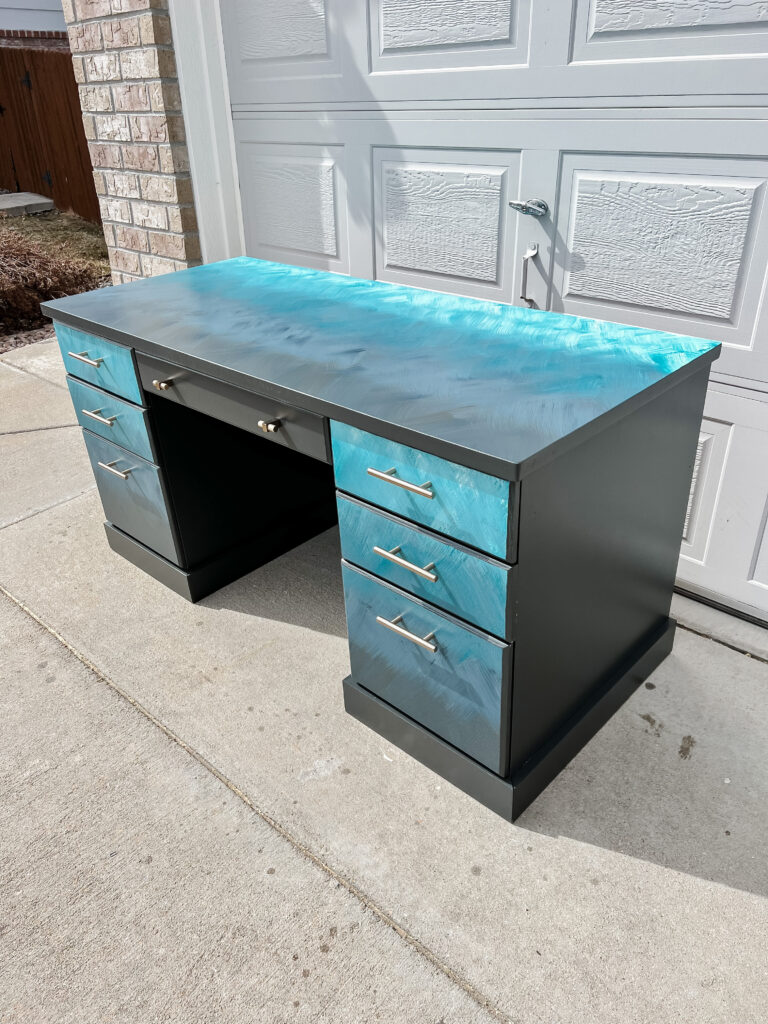

And that’s it! I’m beyond impressed with myself, this turned out better than I ever dreamed! And I literally thought of this idea as I was falling asleep and had to wake up to write it down. So this literally was the vision of my dreams!
Watch Videos on this project: Phase 1, Phase 2, Reveal
All Materials Used in this Project:
Protective Gear
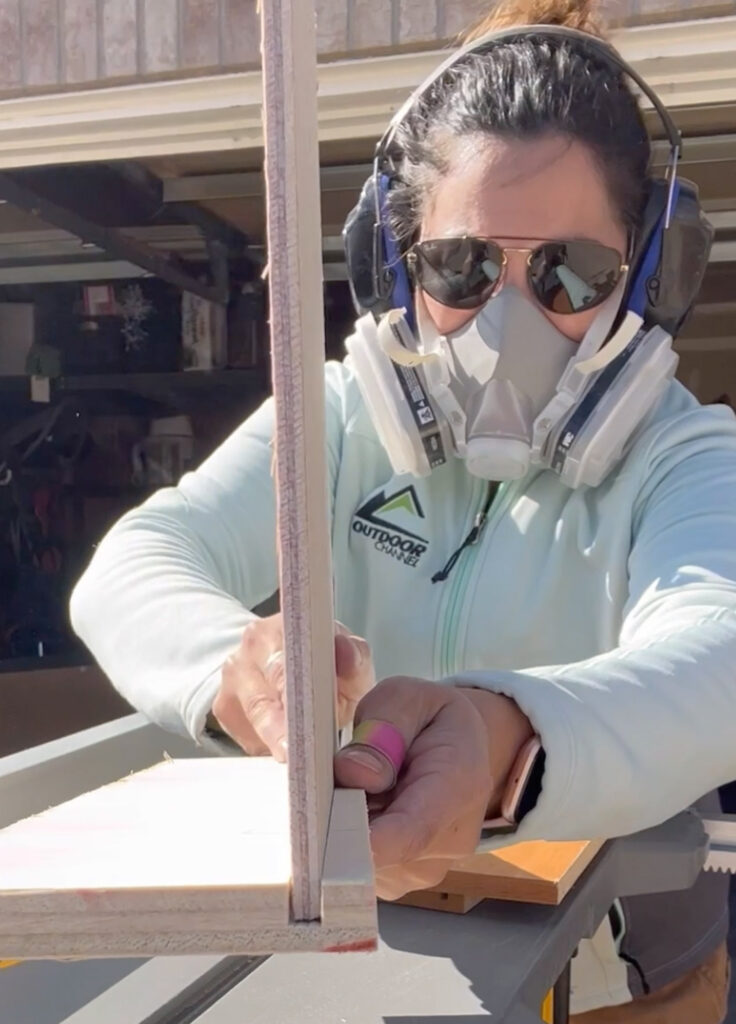
•Safety Gloves, Protective Eyewear, Ear muffs, Face Mask
Tools
•Table Saw, Miter Saw, Circular Saw, Kreg Pocket Hole Jig
Materials
• 6″ x 3/8″ nap Premium Microfiber roller, 4″ x 3/8″ nap Premium Microfiber roller, Foam Roller
• Bin Shellac Primer, Behr Swiss Coffee, Behr Caribbean Current, Clare Deep Dive, SW Gale Force, SW Iron Ore, Clear Satin Polycrylic
Hardware
•Champagne Brass Handles, Champagne Brass Bar Knobs
All Materials can be found HERE!