How To Upgrade Your Baseboards
*This post contains affiliate links. I will receive a commission for items purchased through these links at no extra cost to you. I appreciate your support. Please read all labels and follow all manufacturer safety recommendations when working with any tools or equipment recommended.
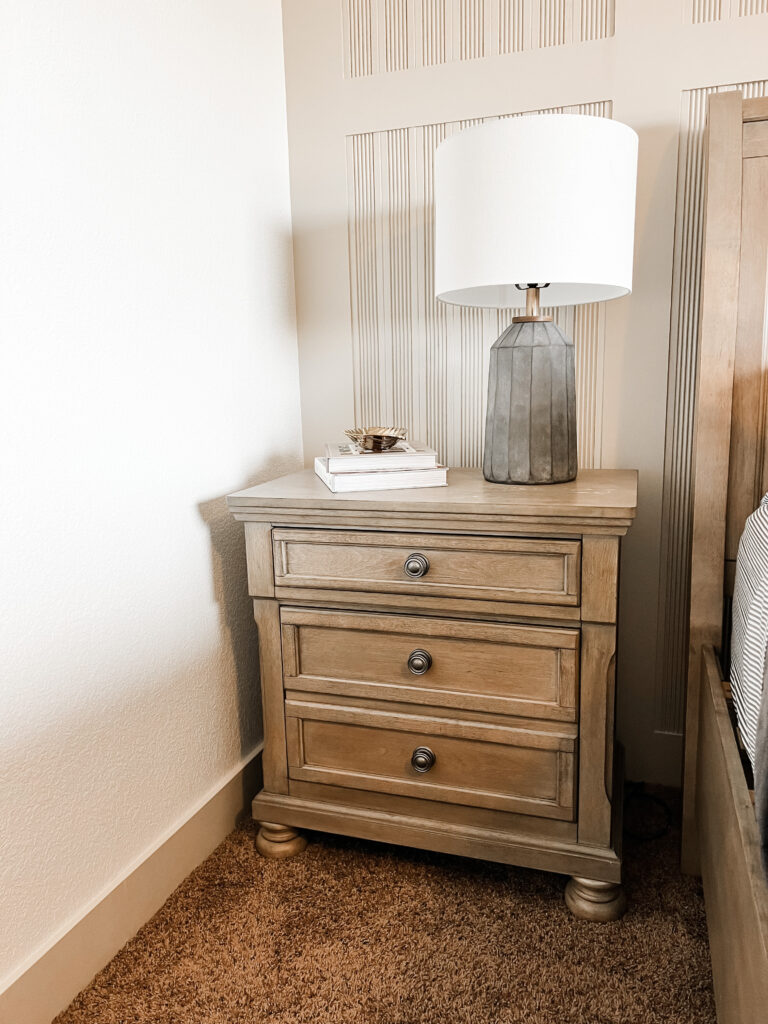
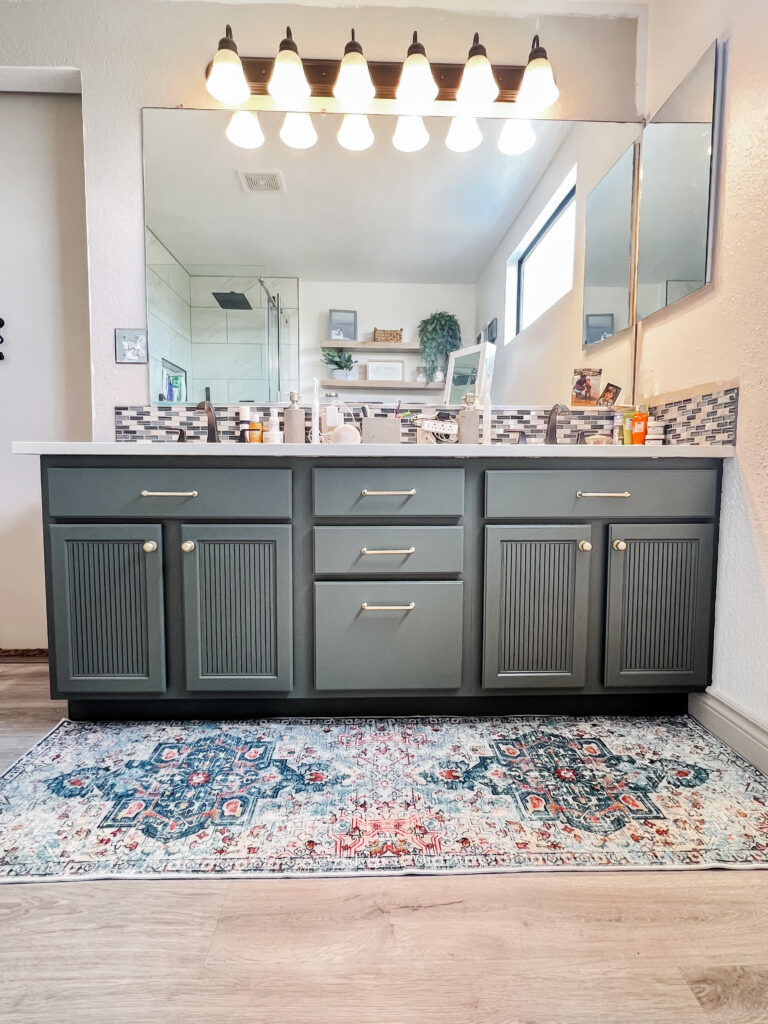
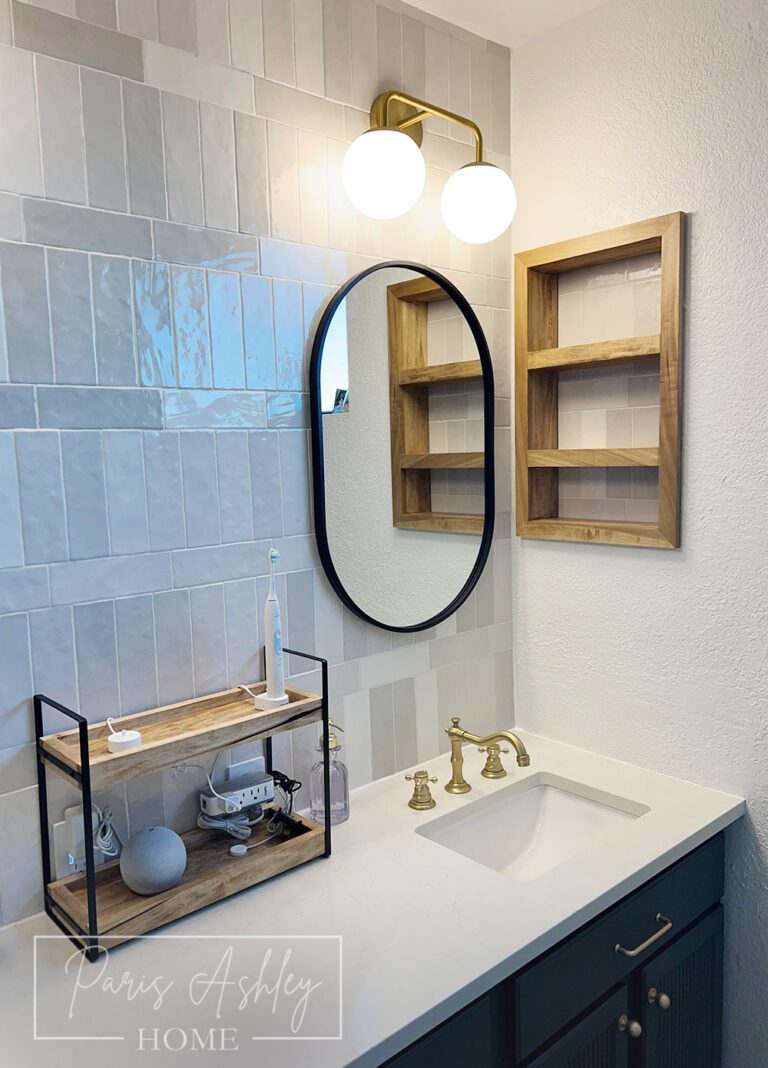
Shop this image: Charcoal Lamp | Gold Leaf Dish | Joanna Gaines Book | Made For Living Book
Tools Needed:
Watch a video tutorial Here!
More Detailed Steps:
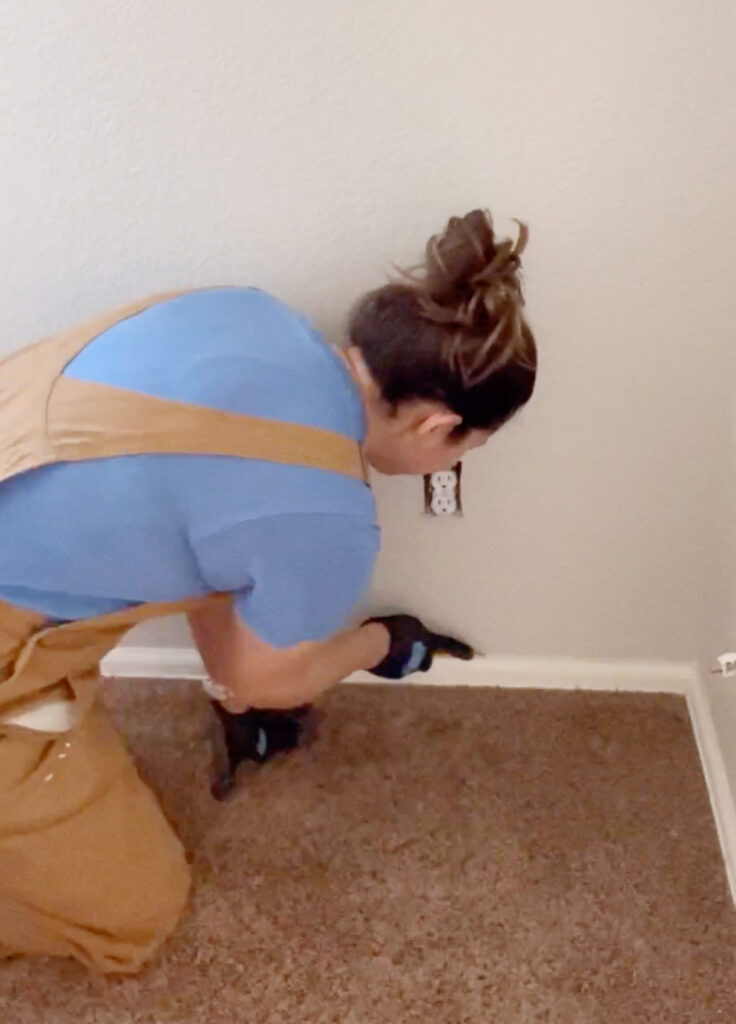
1. Score the caulk on the top of your baseboards, this will prevent your baseboards from ripping the paint off the drywall
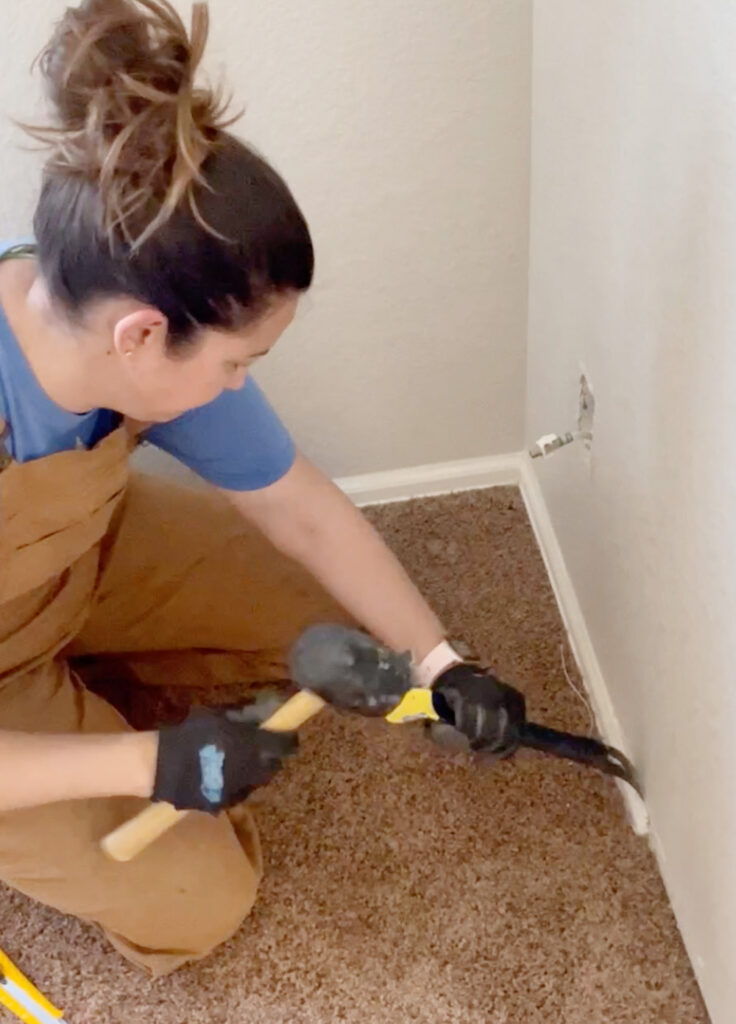
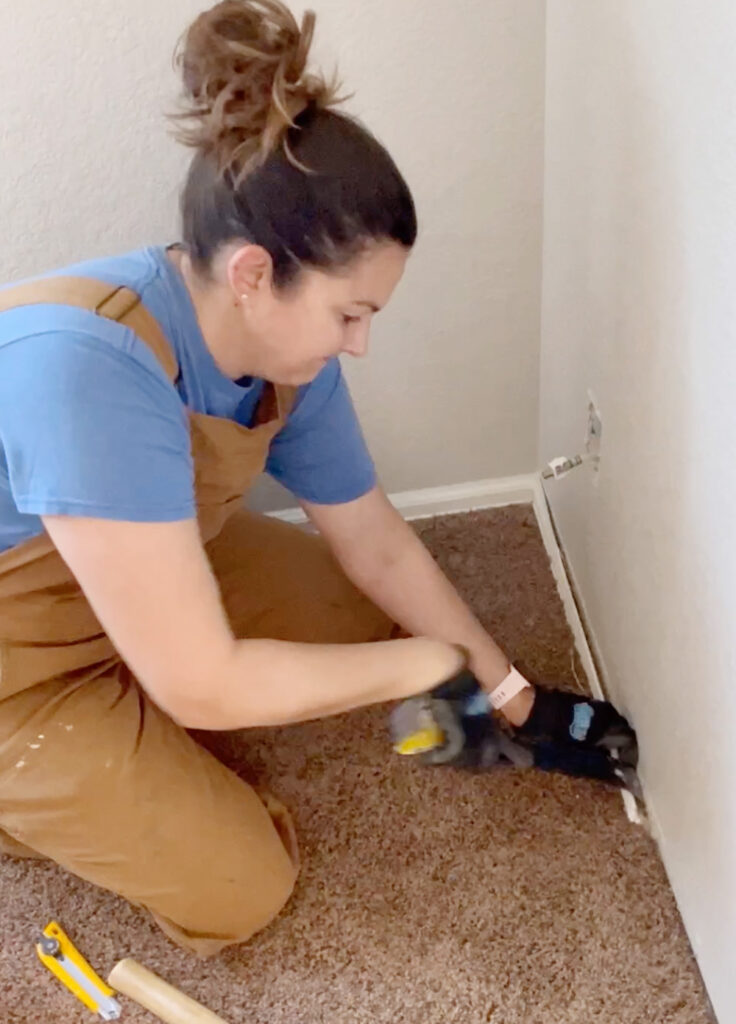
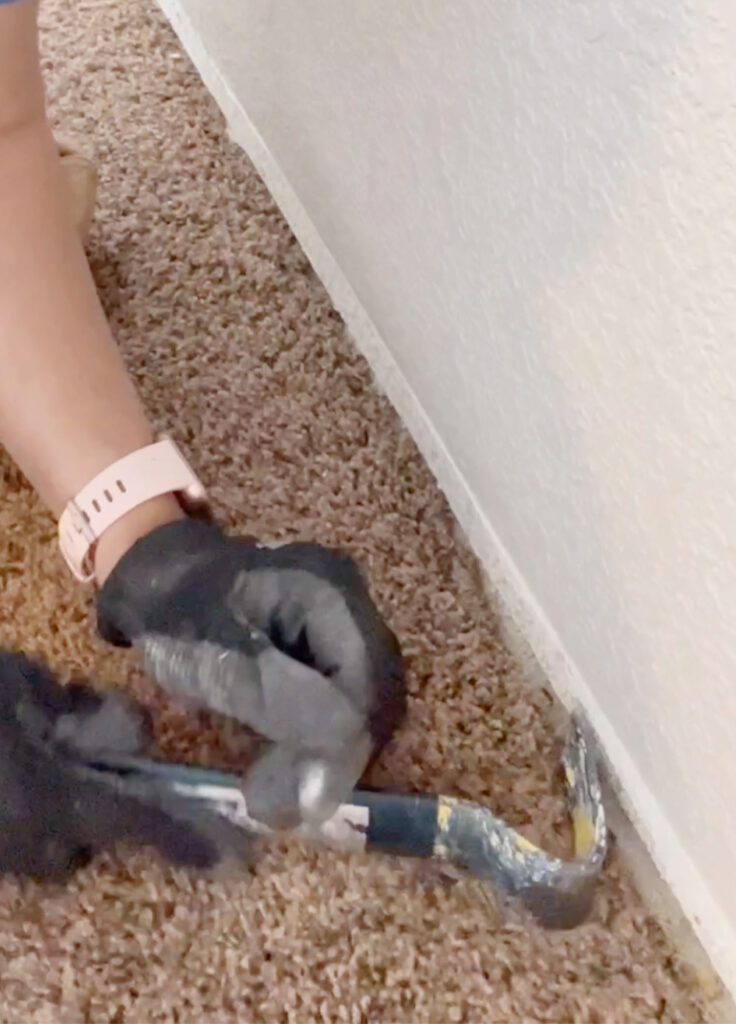
2. Grab your flat bar and rubber mallet, gently tap the rubber mallet on the flat bar to wedge behind the baseboard
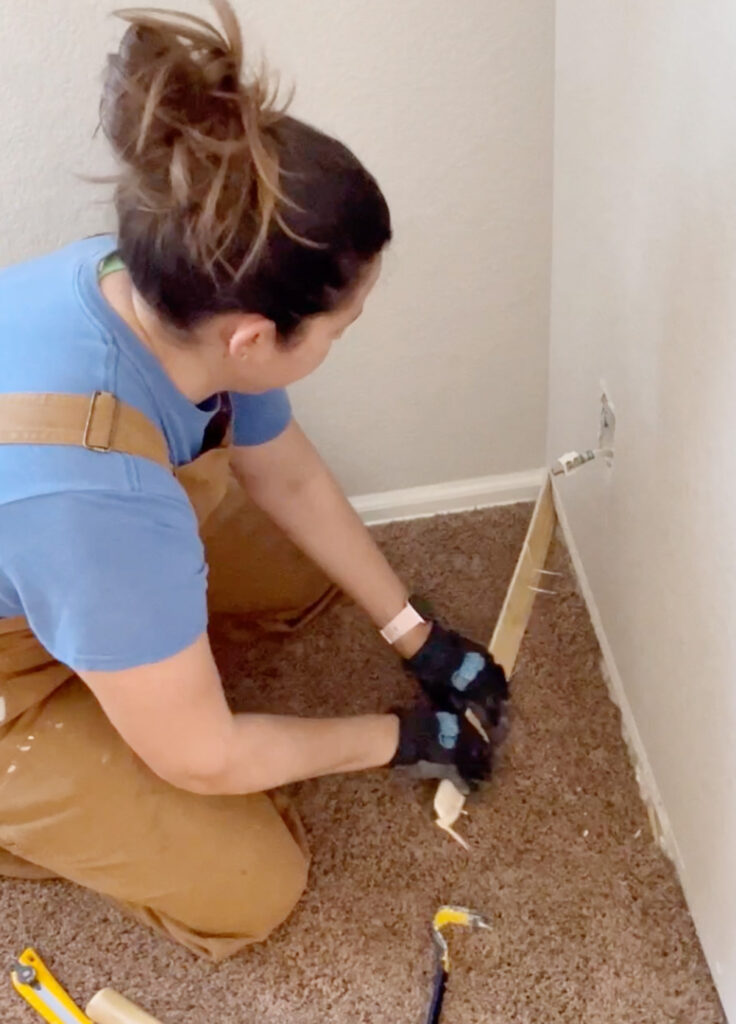
3. Wiggle back and forth, DON’T PRY AGGRESSIVELY, this will put holes in your wall, keep wiggling until the baseboard is far enough off the wall the grab with your hands and pull!
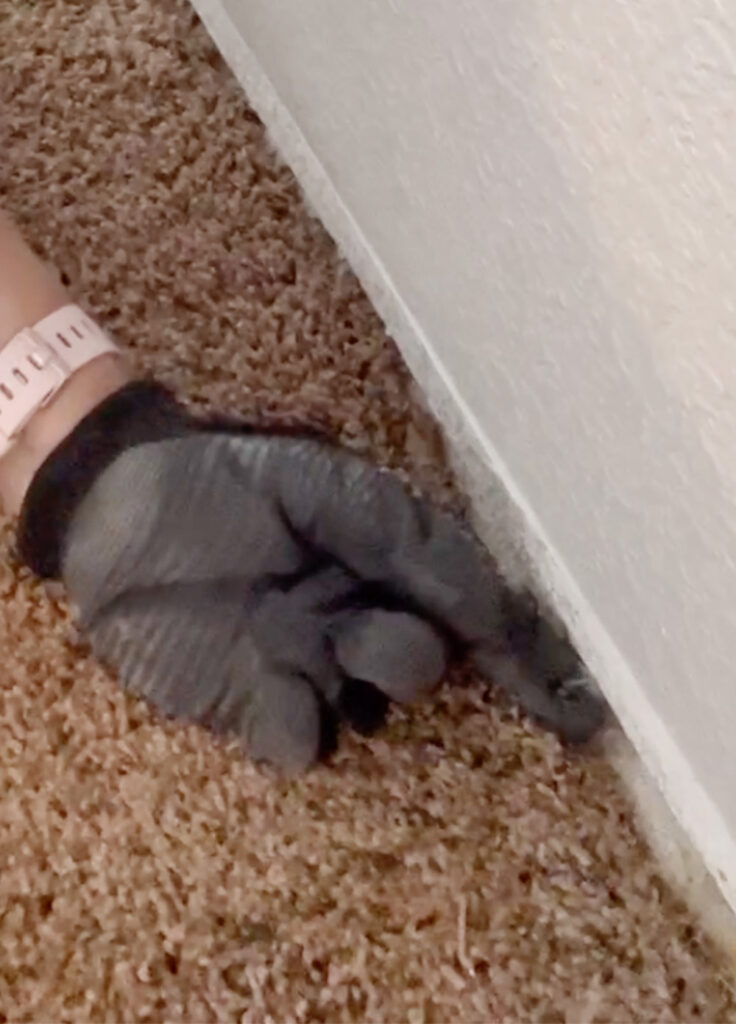
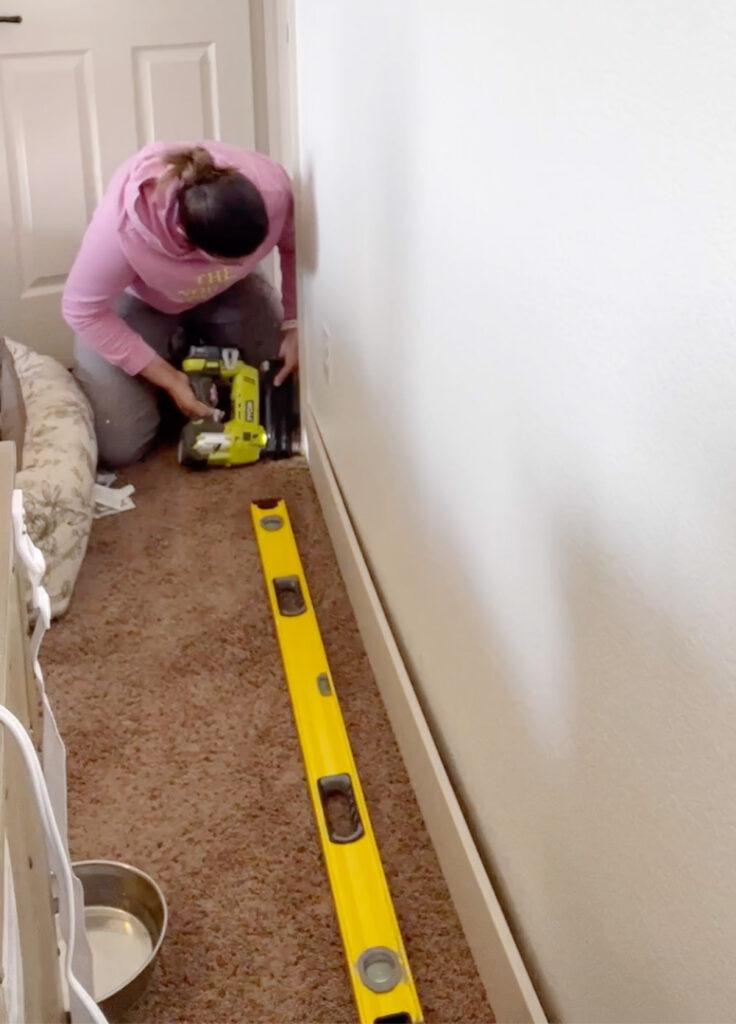
4. When the baseboard is off the wall, make sure to remove any remaining nails.
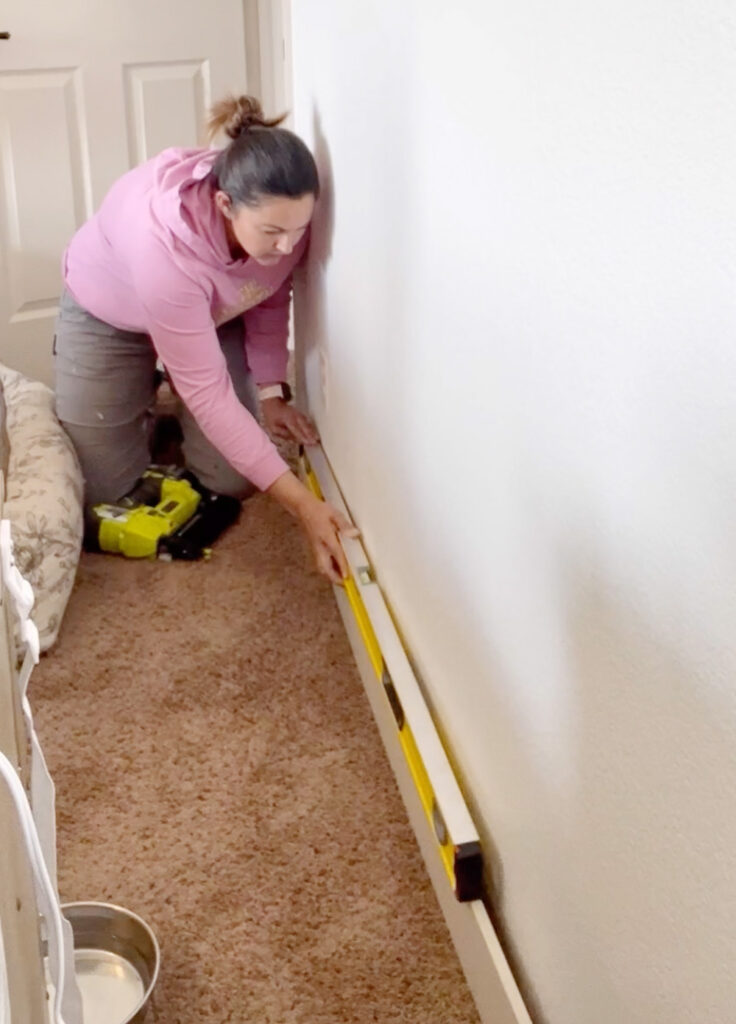
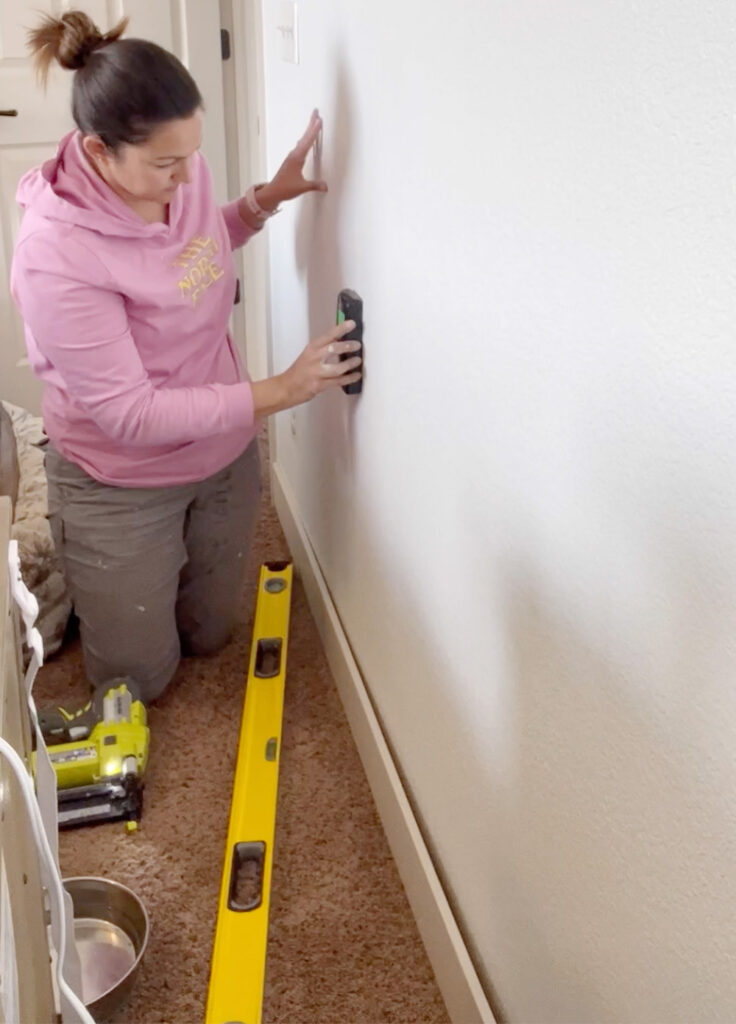
5. Grab your new baseboards, a level, a nail gun, stud finder, caulk, spackle and your touch-up paint
6. Lay your baseboard against the wall, make sure it’s level and get your first two nails in
7. Use your stud finder, nailing your board into a stud will make it more secure
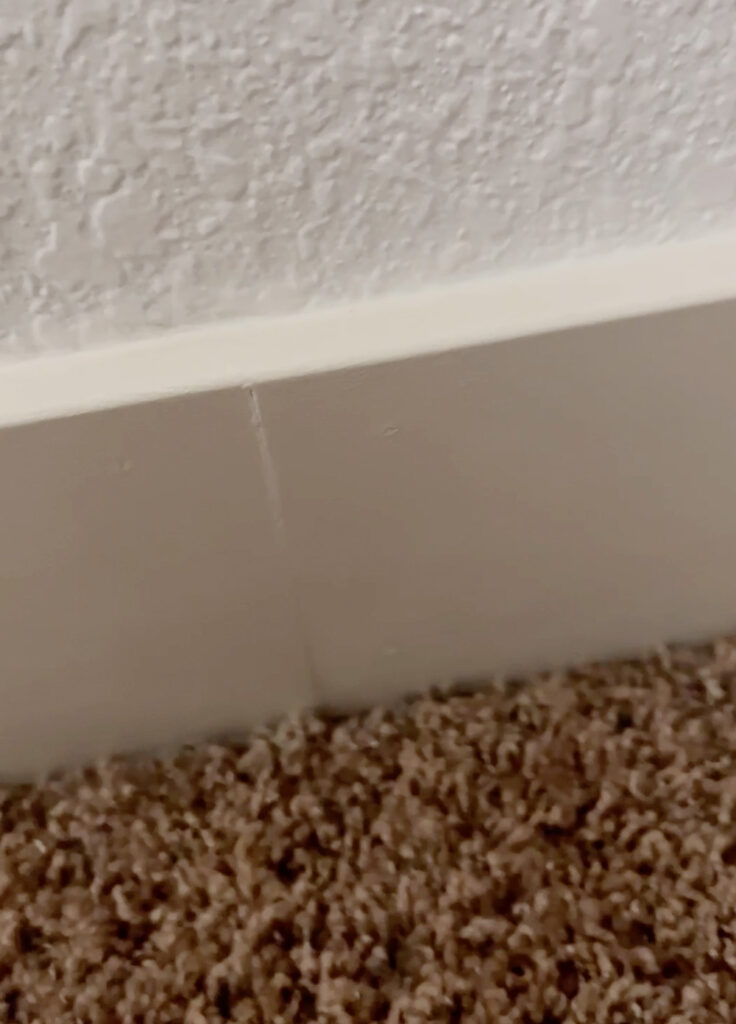
8. When combining two boards, cut at a 45-degree angle, this will reduce the visibility of the seam
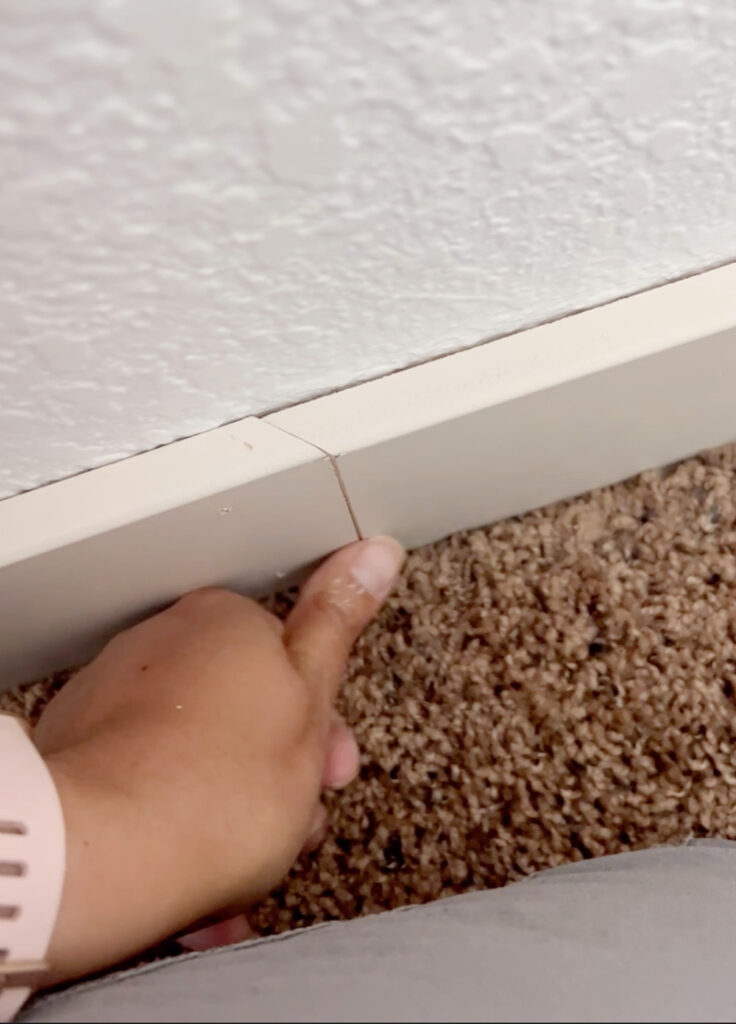
9. Spackle your nail holes and seam (wood filler is better, but spackle does work)
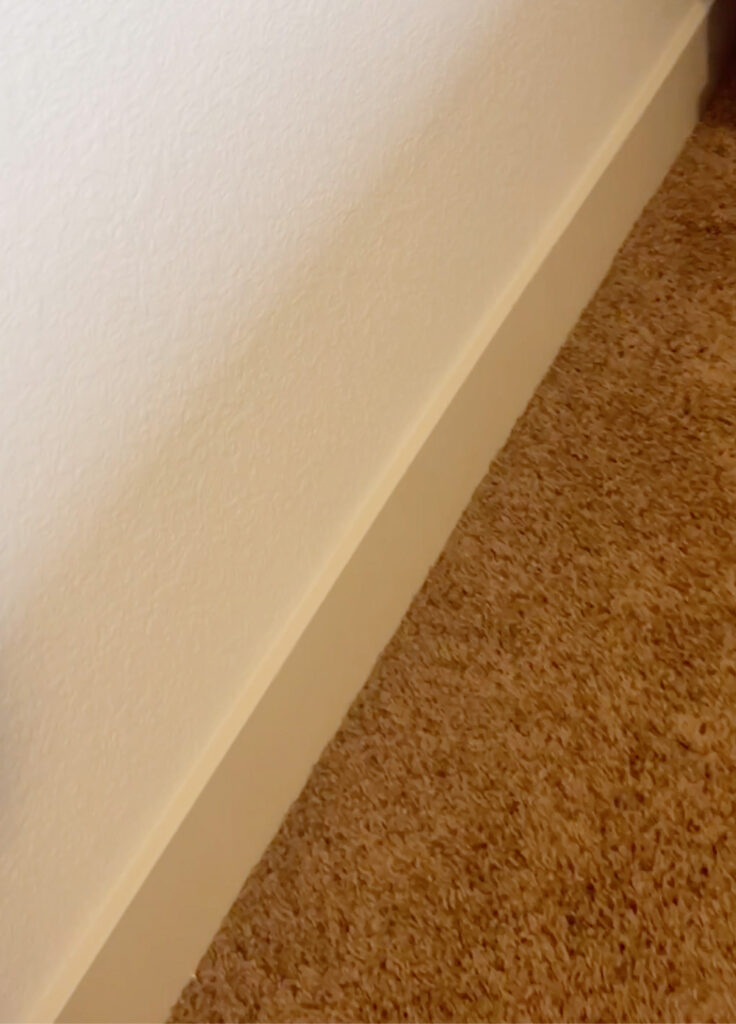
10. Caulk the seam of the baseboard to the wall
11. Use your paint for any touch-ups you may need
12. Stand back and look at how good those new baseboards look!
Watch a video tutorial Here!
Follow for more DIY Tutorials! @parisashleyhome
#diy #diytutorial #baseboardupgrade